Burgers at Blake Island
Post written by Marissa,Shane and I took this week off from our day jobs to get a taste of boat life. Before we could set sail, we had three major tasks to complete:
- Rename the boat - done ✅
- Install our new 135% Genoa
- Prepare and install our new anchor rode
In addition, before I felt comfortable staying overnight at a mooring ball, I wanted to spend a night in the marina, disconnected from shore power. I wanted to make sure we wouldn’t wake up to a dead battery if we ran the anchor light, refrigerator, and other essentials overnight.
So, first up, the genoa. We foolishly waited until the windiest part of the day to raise it, but our friendly marina neighbor Chris gave us some helpful advice (let the sail luff completely to relieve pressure on the lines), and before long, our new sail was up.
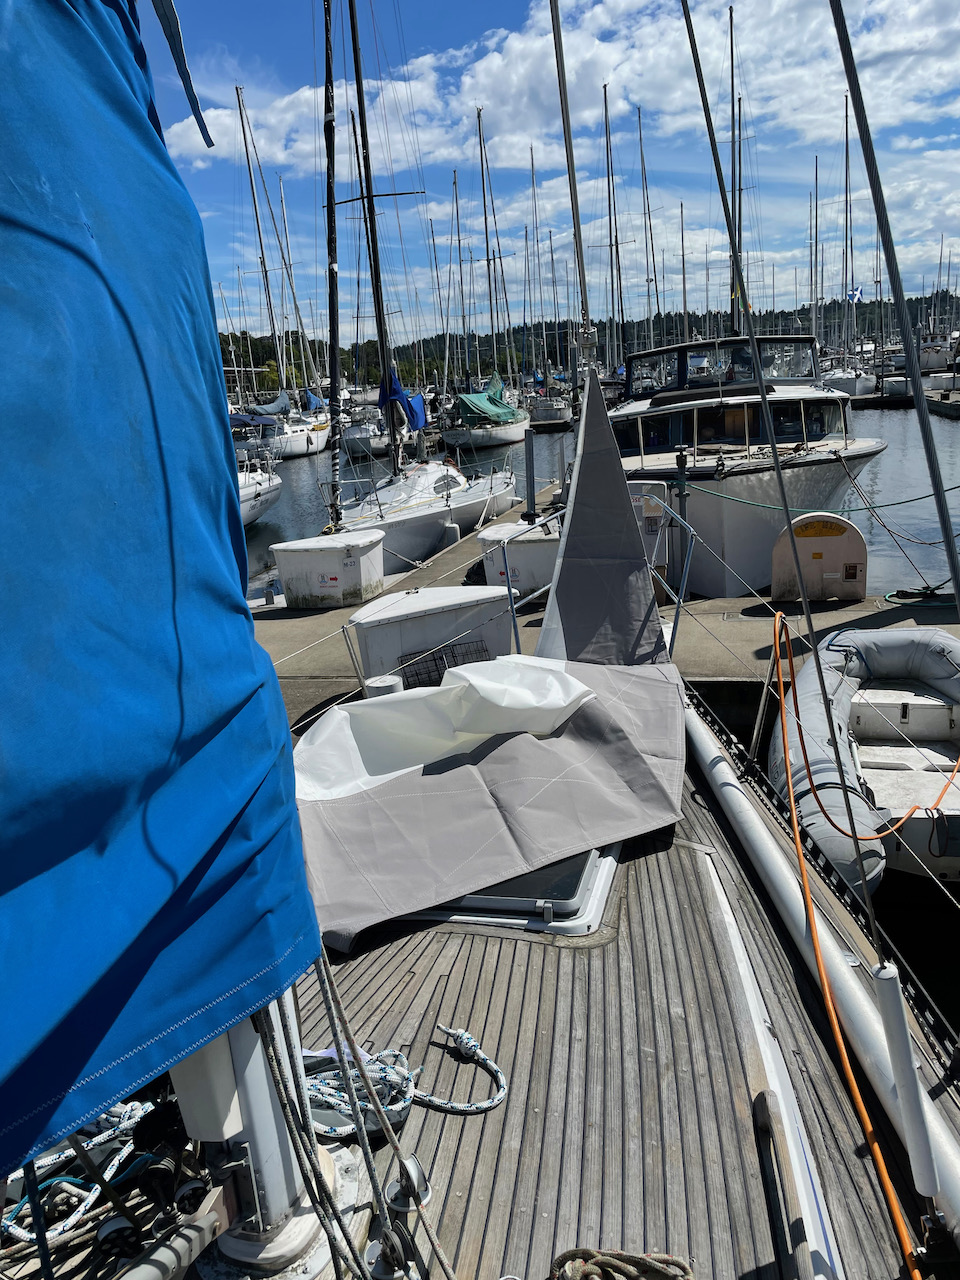
With the sail up, our next task was preparing the new anchor rode. We weren’t planning on anchoring out, but it’s important to have a functioning anchor, in case of emergencies. Looking at the chain we had re-galvanized, we realised we actually had three sections of chain. The longest was a 200ft, 7/16" diameter “trailer safety chain”. We also had a 20ft segment of that same chain, and a 50ft segment of 5/16" BBB chain. We talked it over and decided that an all-chain rode probably wasn’t necessary, at least not for this summer, so we opted to make two chain and nylon rodes, using the smaller segments of chain.
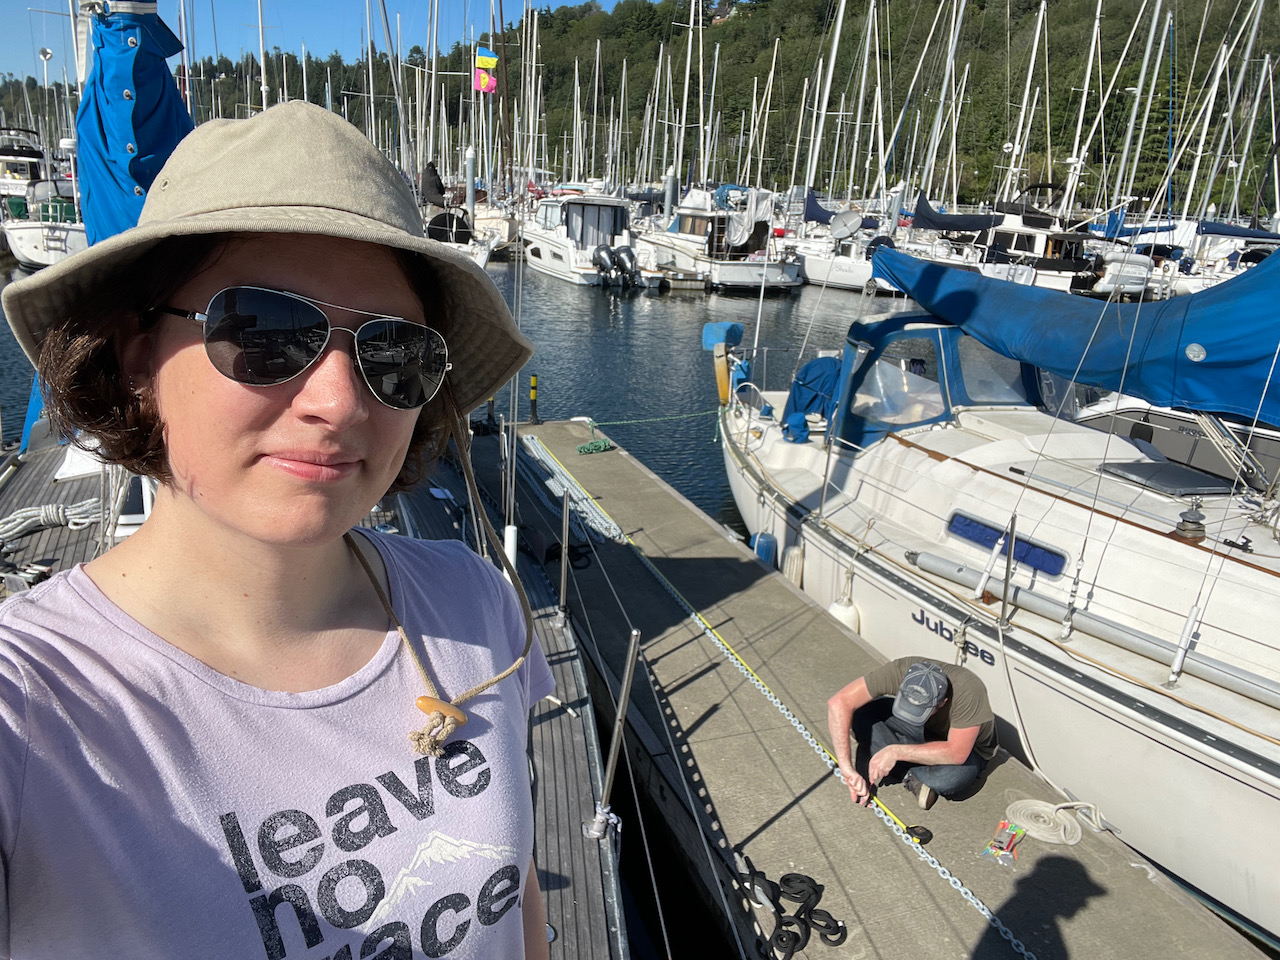
We already had a 240ft segment of nylon set up for use as an anchor rode, but because we wanted two rodes for safety, we had to purchase another. We went with 220ft of 7/16" nylon triple braid. Materials in hand, we marked depths on the rode, so that we’ll know how much rode we’ve deployed.
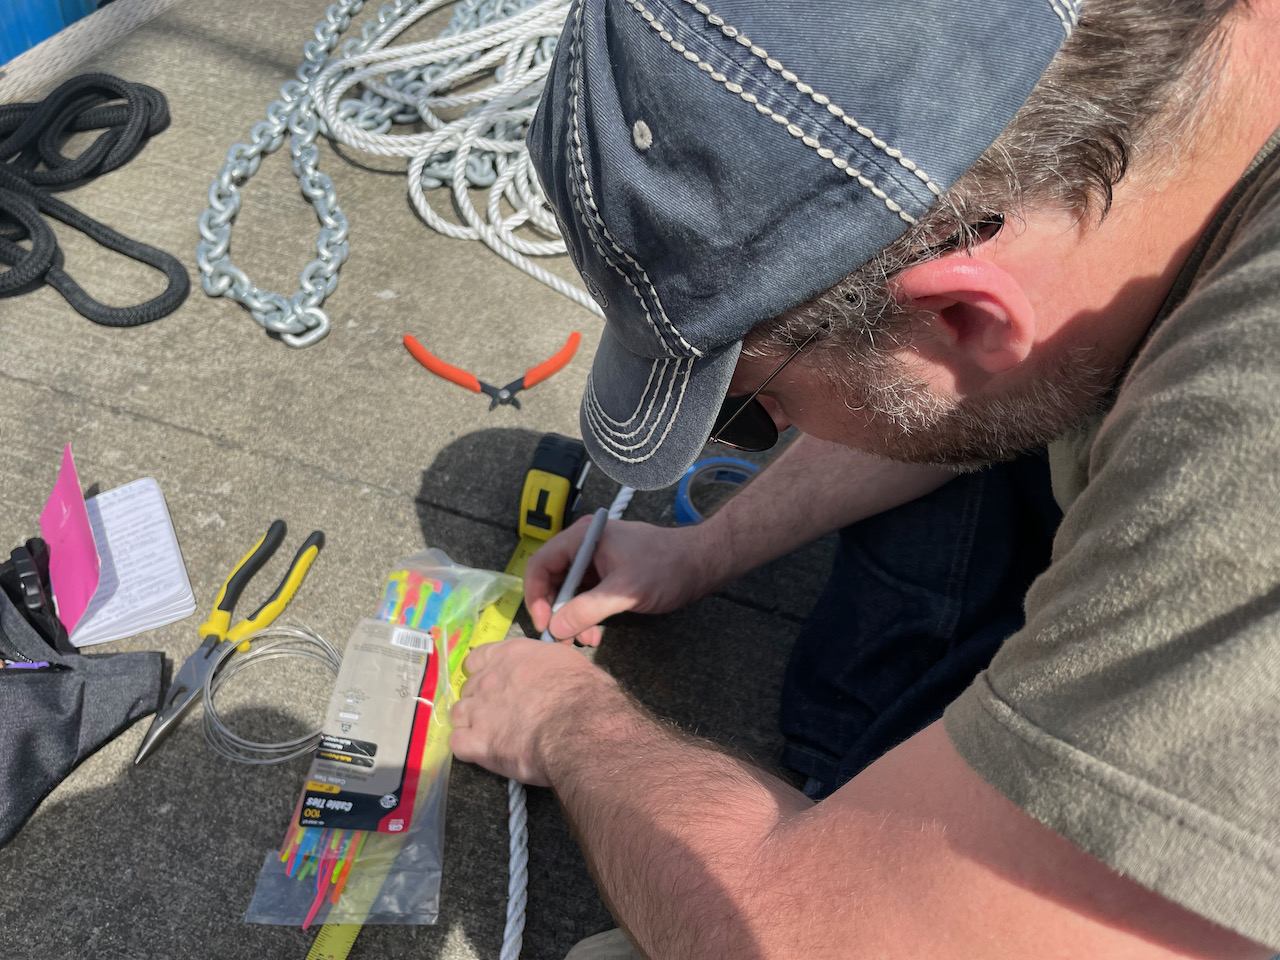
We used zip ties to mark depths on the chain, and waxed whipping twine to mark depths on the nylon. We’re not sure how well these markings will hold up, so we’ll just keep an eye on them for wear and tear.
With these tasks complete, the last remaining item before setting sail was our overnight camp out in the marina.
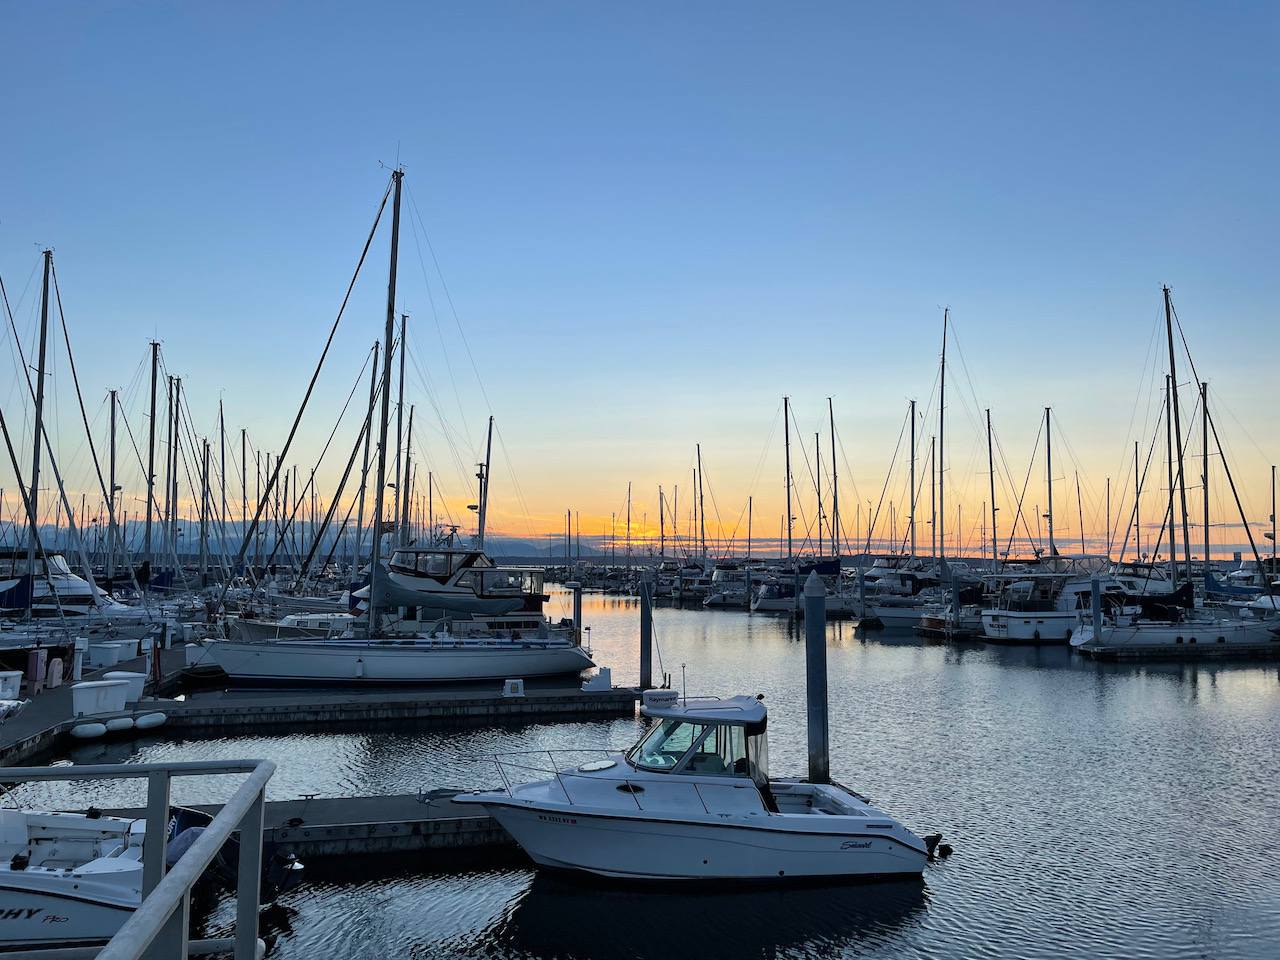
After sunset, we disconnected from shore power, turned on the refrigerator, tested all exterior lights, and went to sleep.
Our boat doesn’t have a fancy battery controller, so the only way to tell how much juice we’ve got is to check the voltage. There is a switch in the breaker panel just for this purpose. A fully charged battery is 13.2v to 13.6v, and 11.8v means the battery is essentially dead. I woke up at 3am and checked the voltage, and it showed 12v, or about 25% remaining. It’s not healthy for this type of battery to be discharged below 50%, so I turned off the fridge before going back to sleep, and plugged us into shore power when I got up a couple of hours later. First lesson learned: we can’t run the refrigerator overnight on the battery alone.
The next day after provisioning, we set off.
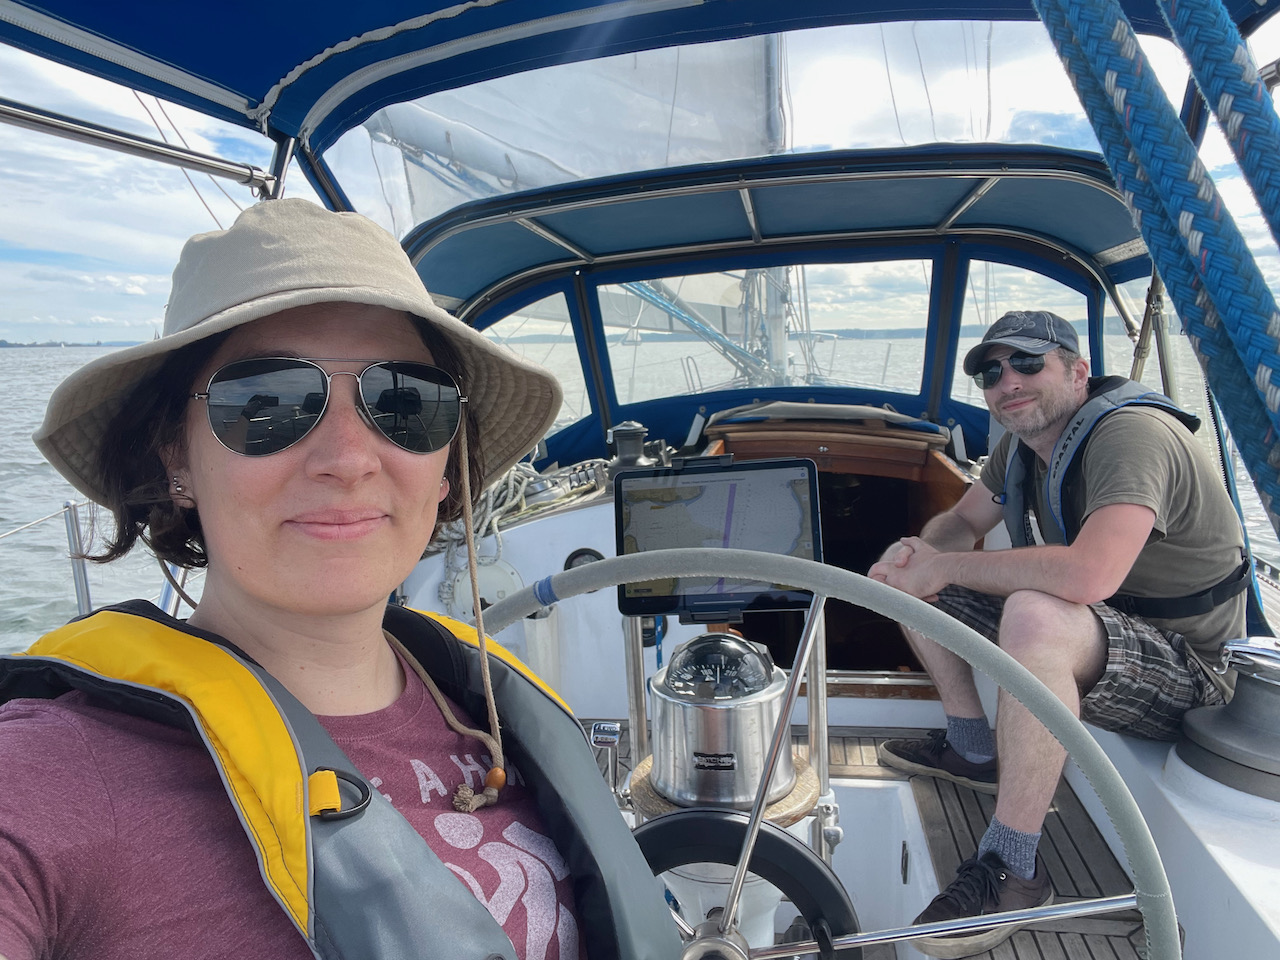
It was a sunny day with about 8kts of wind from the north. We motored out past the traffic near the marina, hoisted the sails, and turned the engine off. As we began sailing at about 5kts, I felt a great sense of satisfaction. This is why we do all of that boat work. It reminded me that all the effort and expense of boat ownership is worth it.
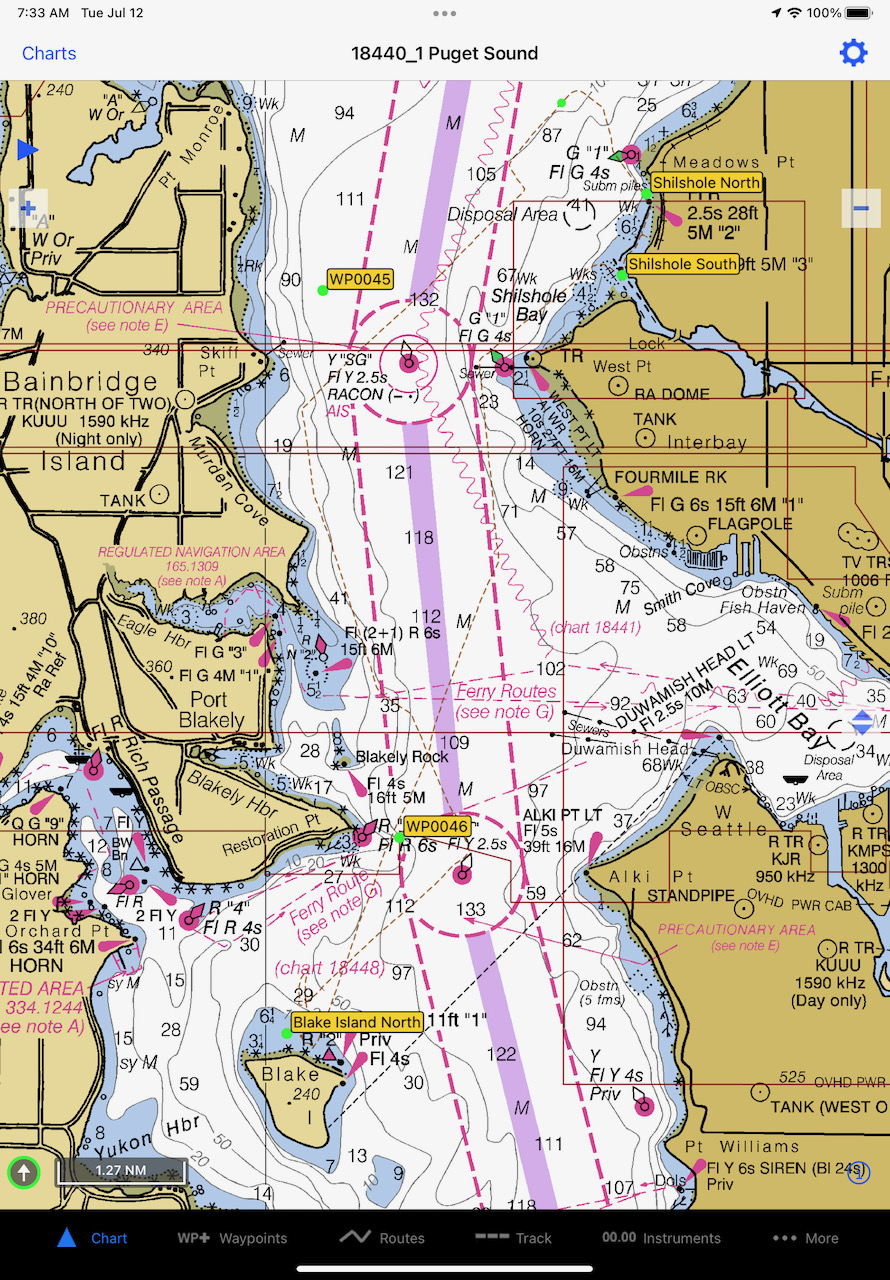
We sailed on a broad reach towards our destination, which was about 12 nautical miles from our marina. The most important thing on this leg of the journey was keeping out of the traffic separation zone - we saw 2 cruise ships and a cargo ship in less than an hour.
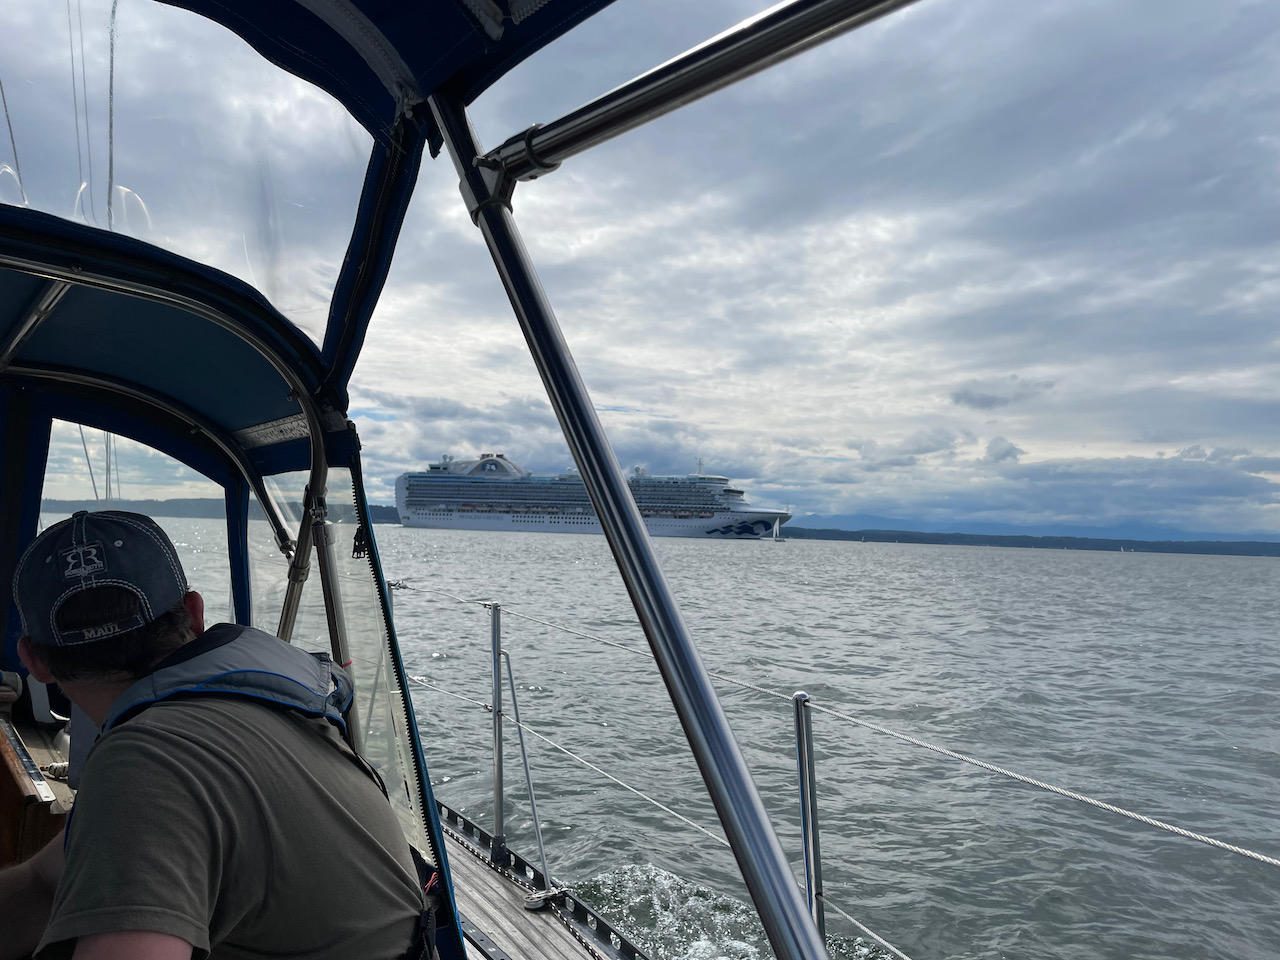
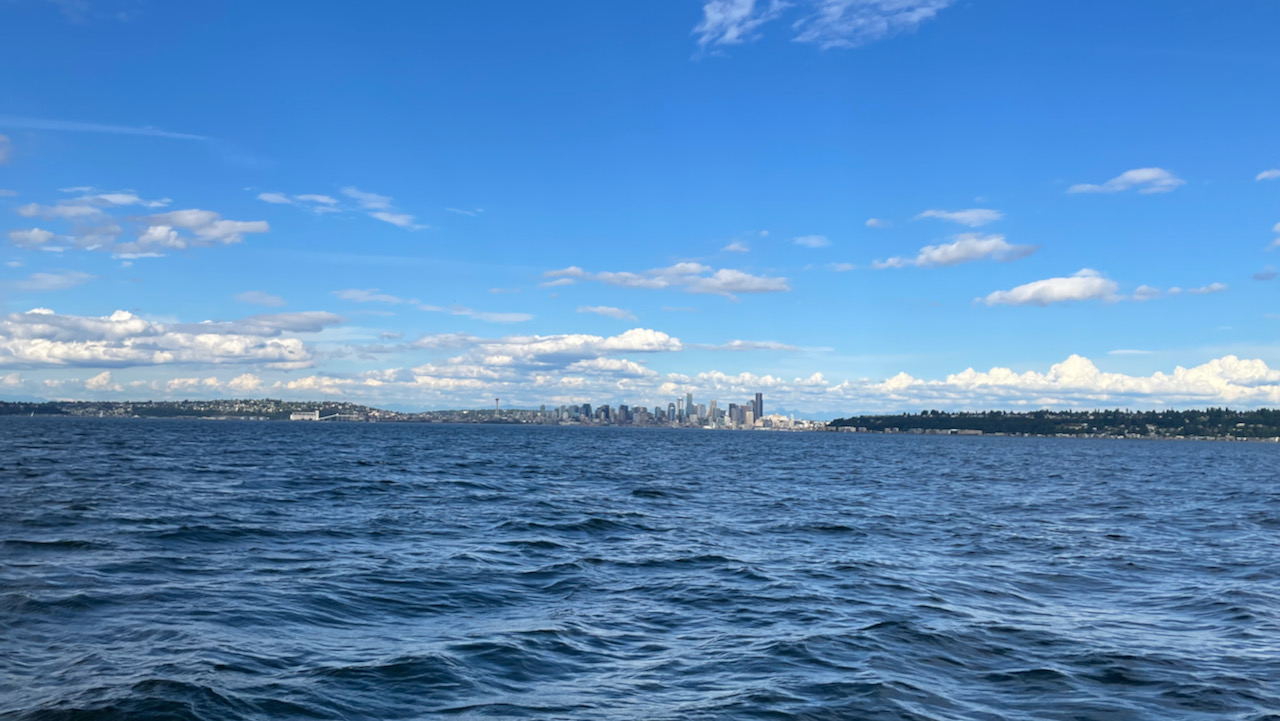
Our plan was to pick up a mooring ball at Blake Island. There are 7 mooring balls on the north side of the island, and as we approached, we saw only 3 were occupied. We started the engine and turned into the wind to lower the sails, only to realize that the jib furler was stuck. Not just that, but the apparent wind had kicked up to 15+ kts.
I went forward to the mast to rig up the lazy jacks, so we could drop the main. The jib was luffing like crazy at this point. I remember thinking “wow, this seems dangerous”, but I had my PFD on and kept calm. Before long, I had the main down without issue. Then Shane went forward, crawling on his belly under the luffing jib, and furled the jib by manually rotating the furling drum, while I kept us pointed at the wind and hauled in the furling line. Second lesson learned: it is very important to keep tension on the furling line when deploying the sail, to prevent the furling line from getting stuck.
Disaster averted, it was time to pick up the mooring ball. We’d done this before in our sailing classes, but this was the first time we did it on our own. We did a small practice run in front of the mooring field, to get a sense for how much throttle was required to keep the boat stationary against the incoming wind and waves (forward idle did the trick). Then Shane went forward with the boat hook, and I carefully steered us towards the mooring ball, making sure to keep out of the shallow water just behind the mooring field.
After securing the mooring ball with a single line, I went forward to inspect it. This mooring field was very exposed to the wind and waves, and I was worried about the line chafing. If we broke free, we’d be grounded on the island right behind us, so we added a second line.
With the boat secured, it was time to make dinner! I used the BBQ on the stern to grill up burgers.
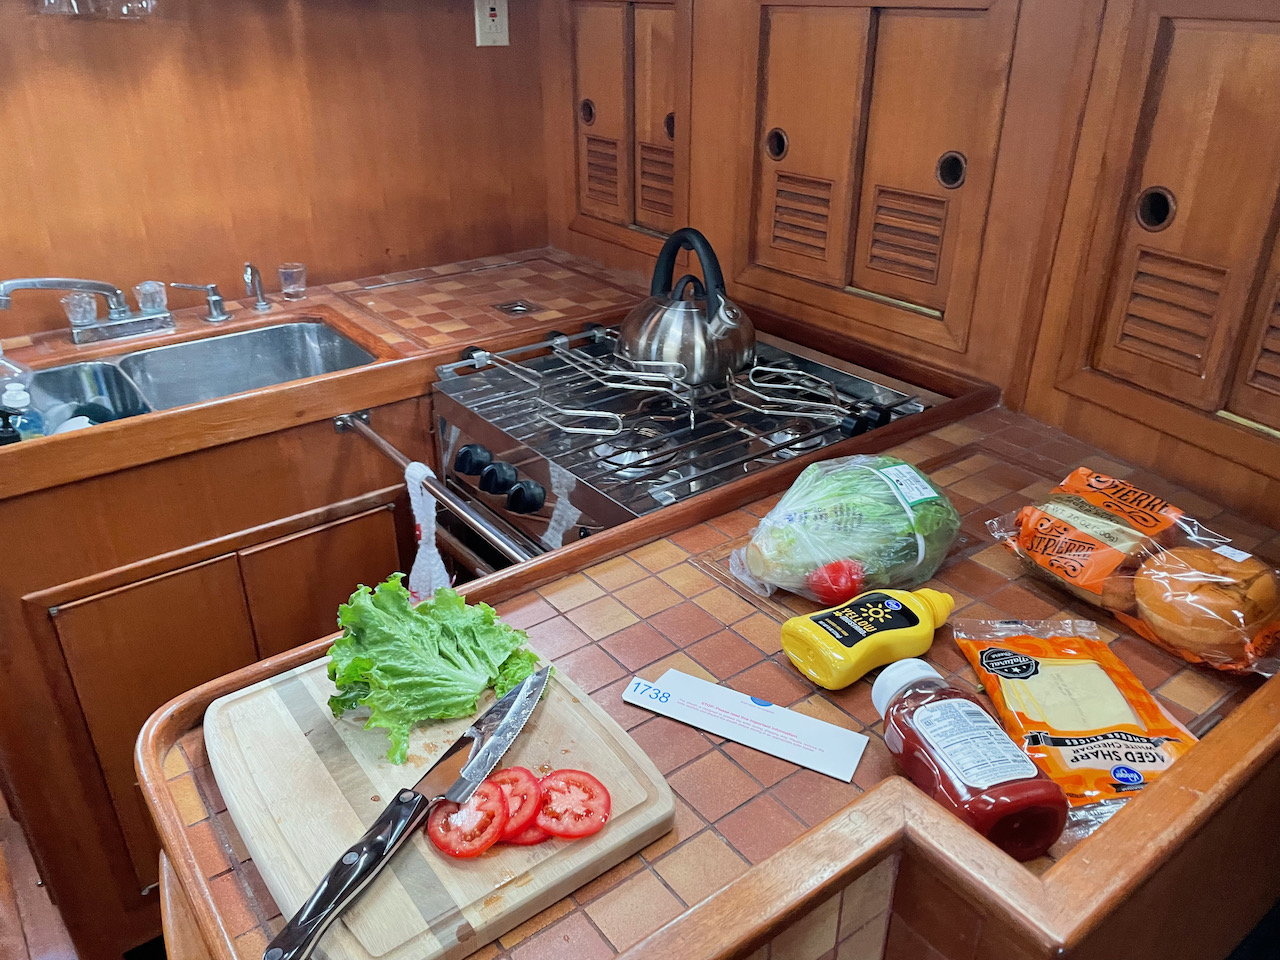
It was our first time using the BBQ, but everything worked as expected, and before long, we were chowing down on delicious boat burgers. Given the size of the waves, we were bobbing up and down pretty hard at the mooring ball. I posted a video trying to illustrate this on Instagram. Even so, it was a beautiful evening - we even caught a glimpse of Mt. Rainer peeking out over the island.
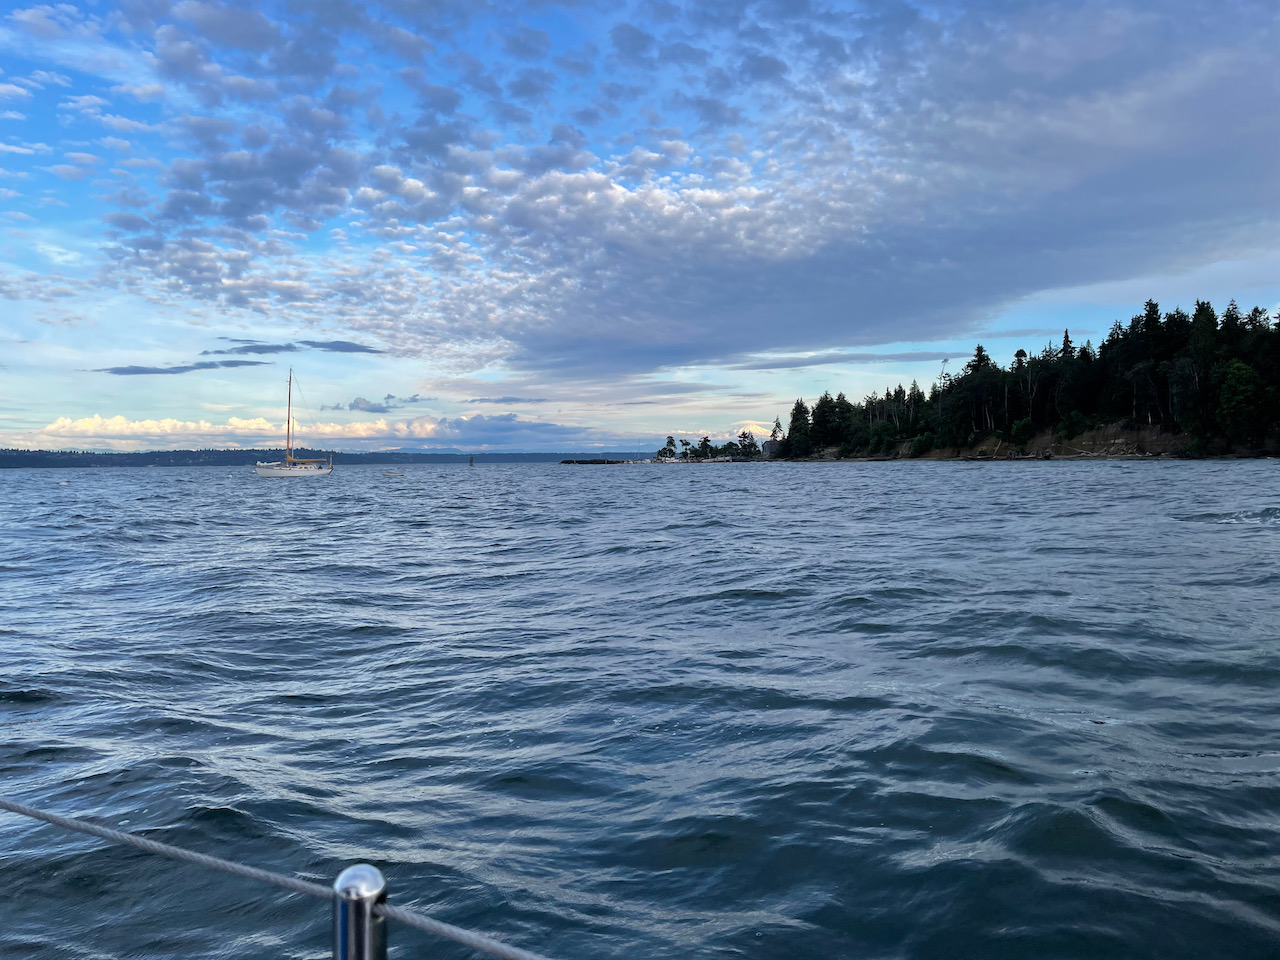
We were both exhausted, and went to bed early. At about 11pm, I woke suddenly to a loud banging next to my head. After a brief moment of panic, I ran up on deck, and realized that it was the boat bumping into the mooring ball. The wind and waves had calmed down enough by this point that we were just sort of floating, and had floated directly into the mooring ball. I fended the ball off with the boat hook, but unfortunately this happened two or three more times during the night. Needless to say, it was a bit of a restless night.
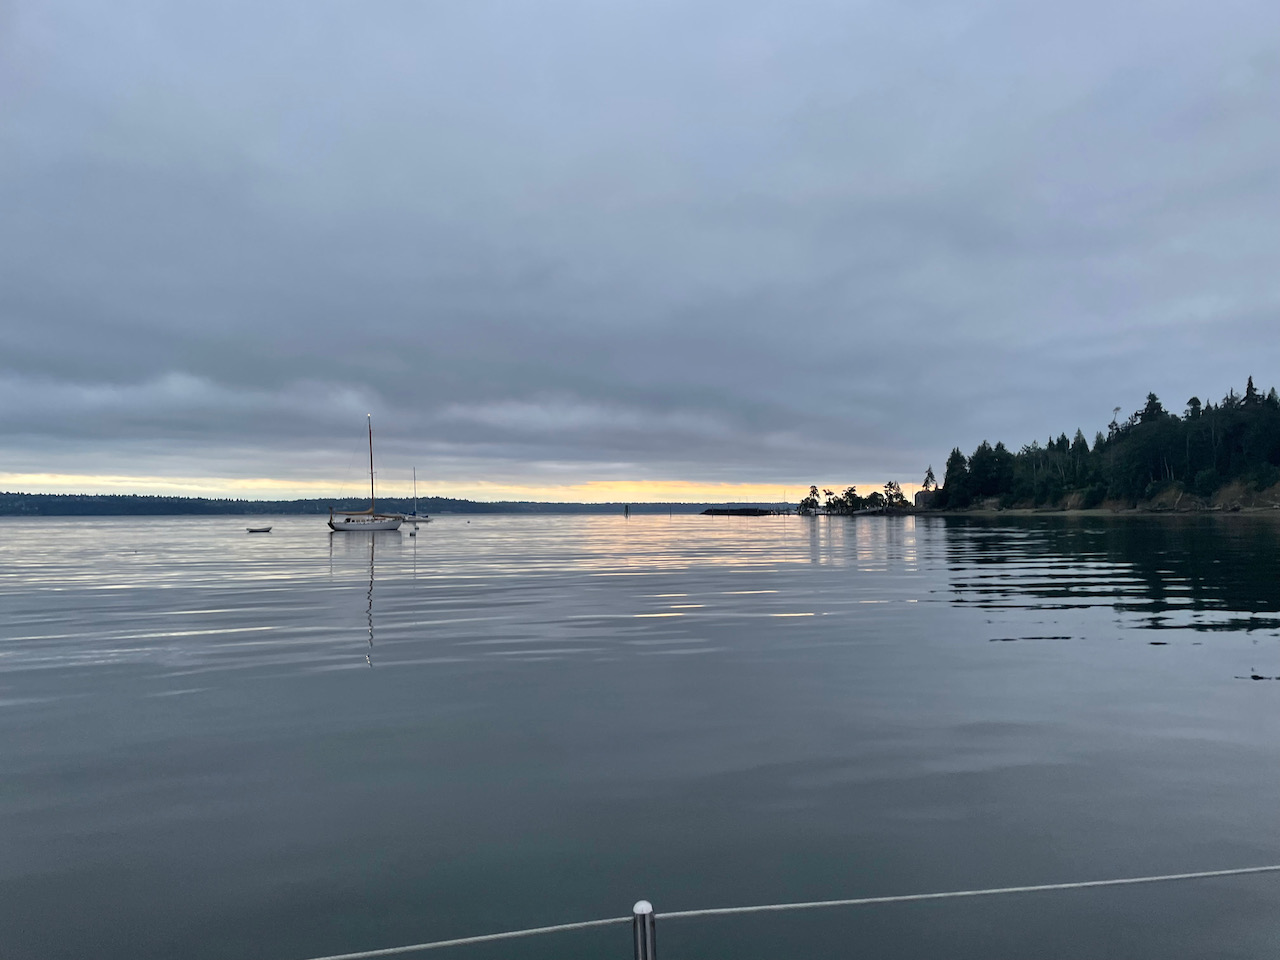
The next morning, the water was smooth as glass. I got up early and made us a small breakfast. By 7am, we were leaving the island.
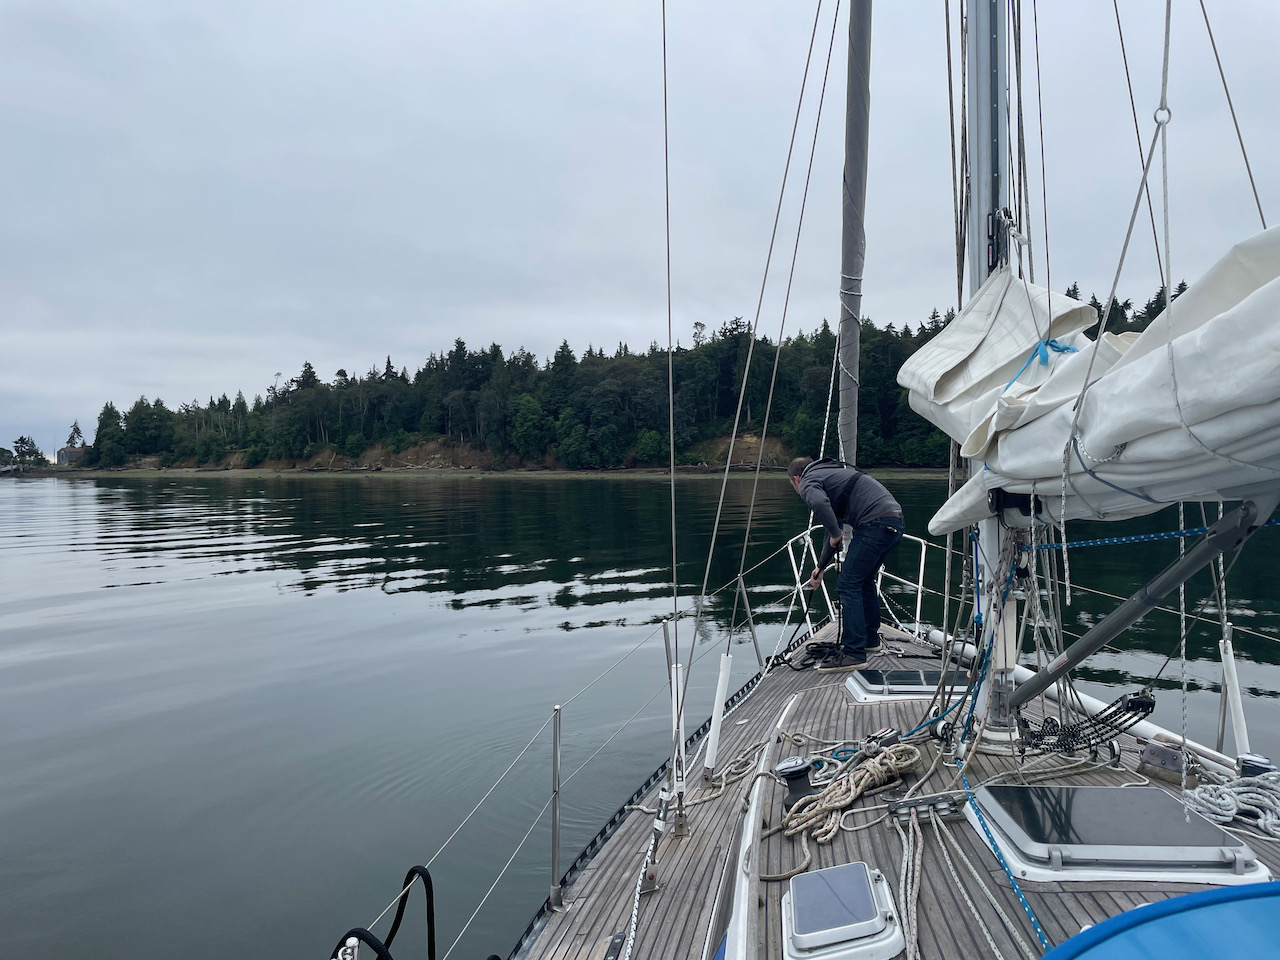
We motored back up to Shilshole since the wind was calm. By 9am, we were back in the marina. All in all, I felt like this was a very successful, if somewhat short, journey.
Shane has to get back to his day job, but I’ve got this week off, and I’ll be spending it down at the boat, working through our never ending list of boat projects. I’m not sure where our next destination will be, but this journey has renewed my sense of exploration, and I’m excited to see where we’ll go next!
Finally, I realized that sharing these updates would be easier on a social media platform, so I created an Instagram account for Sailing Ripley. You can see more pictures of us working on the jib on Instagram. Be sure to follow us for more updates! ⛵