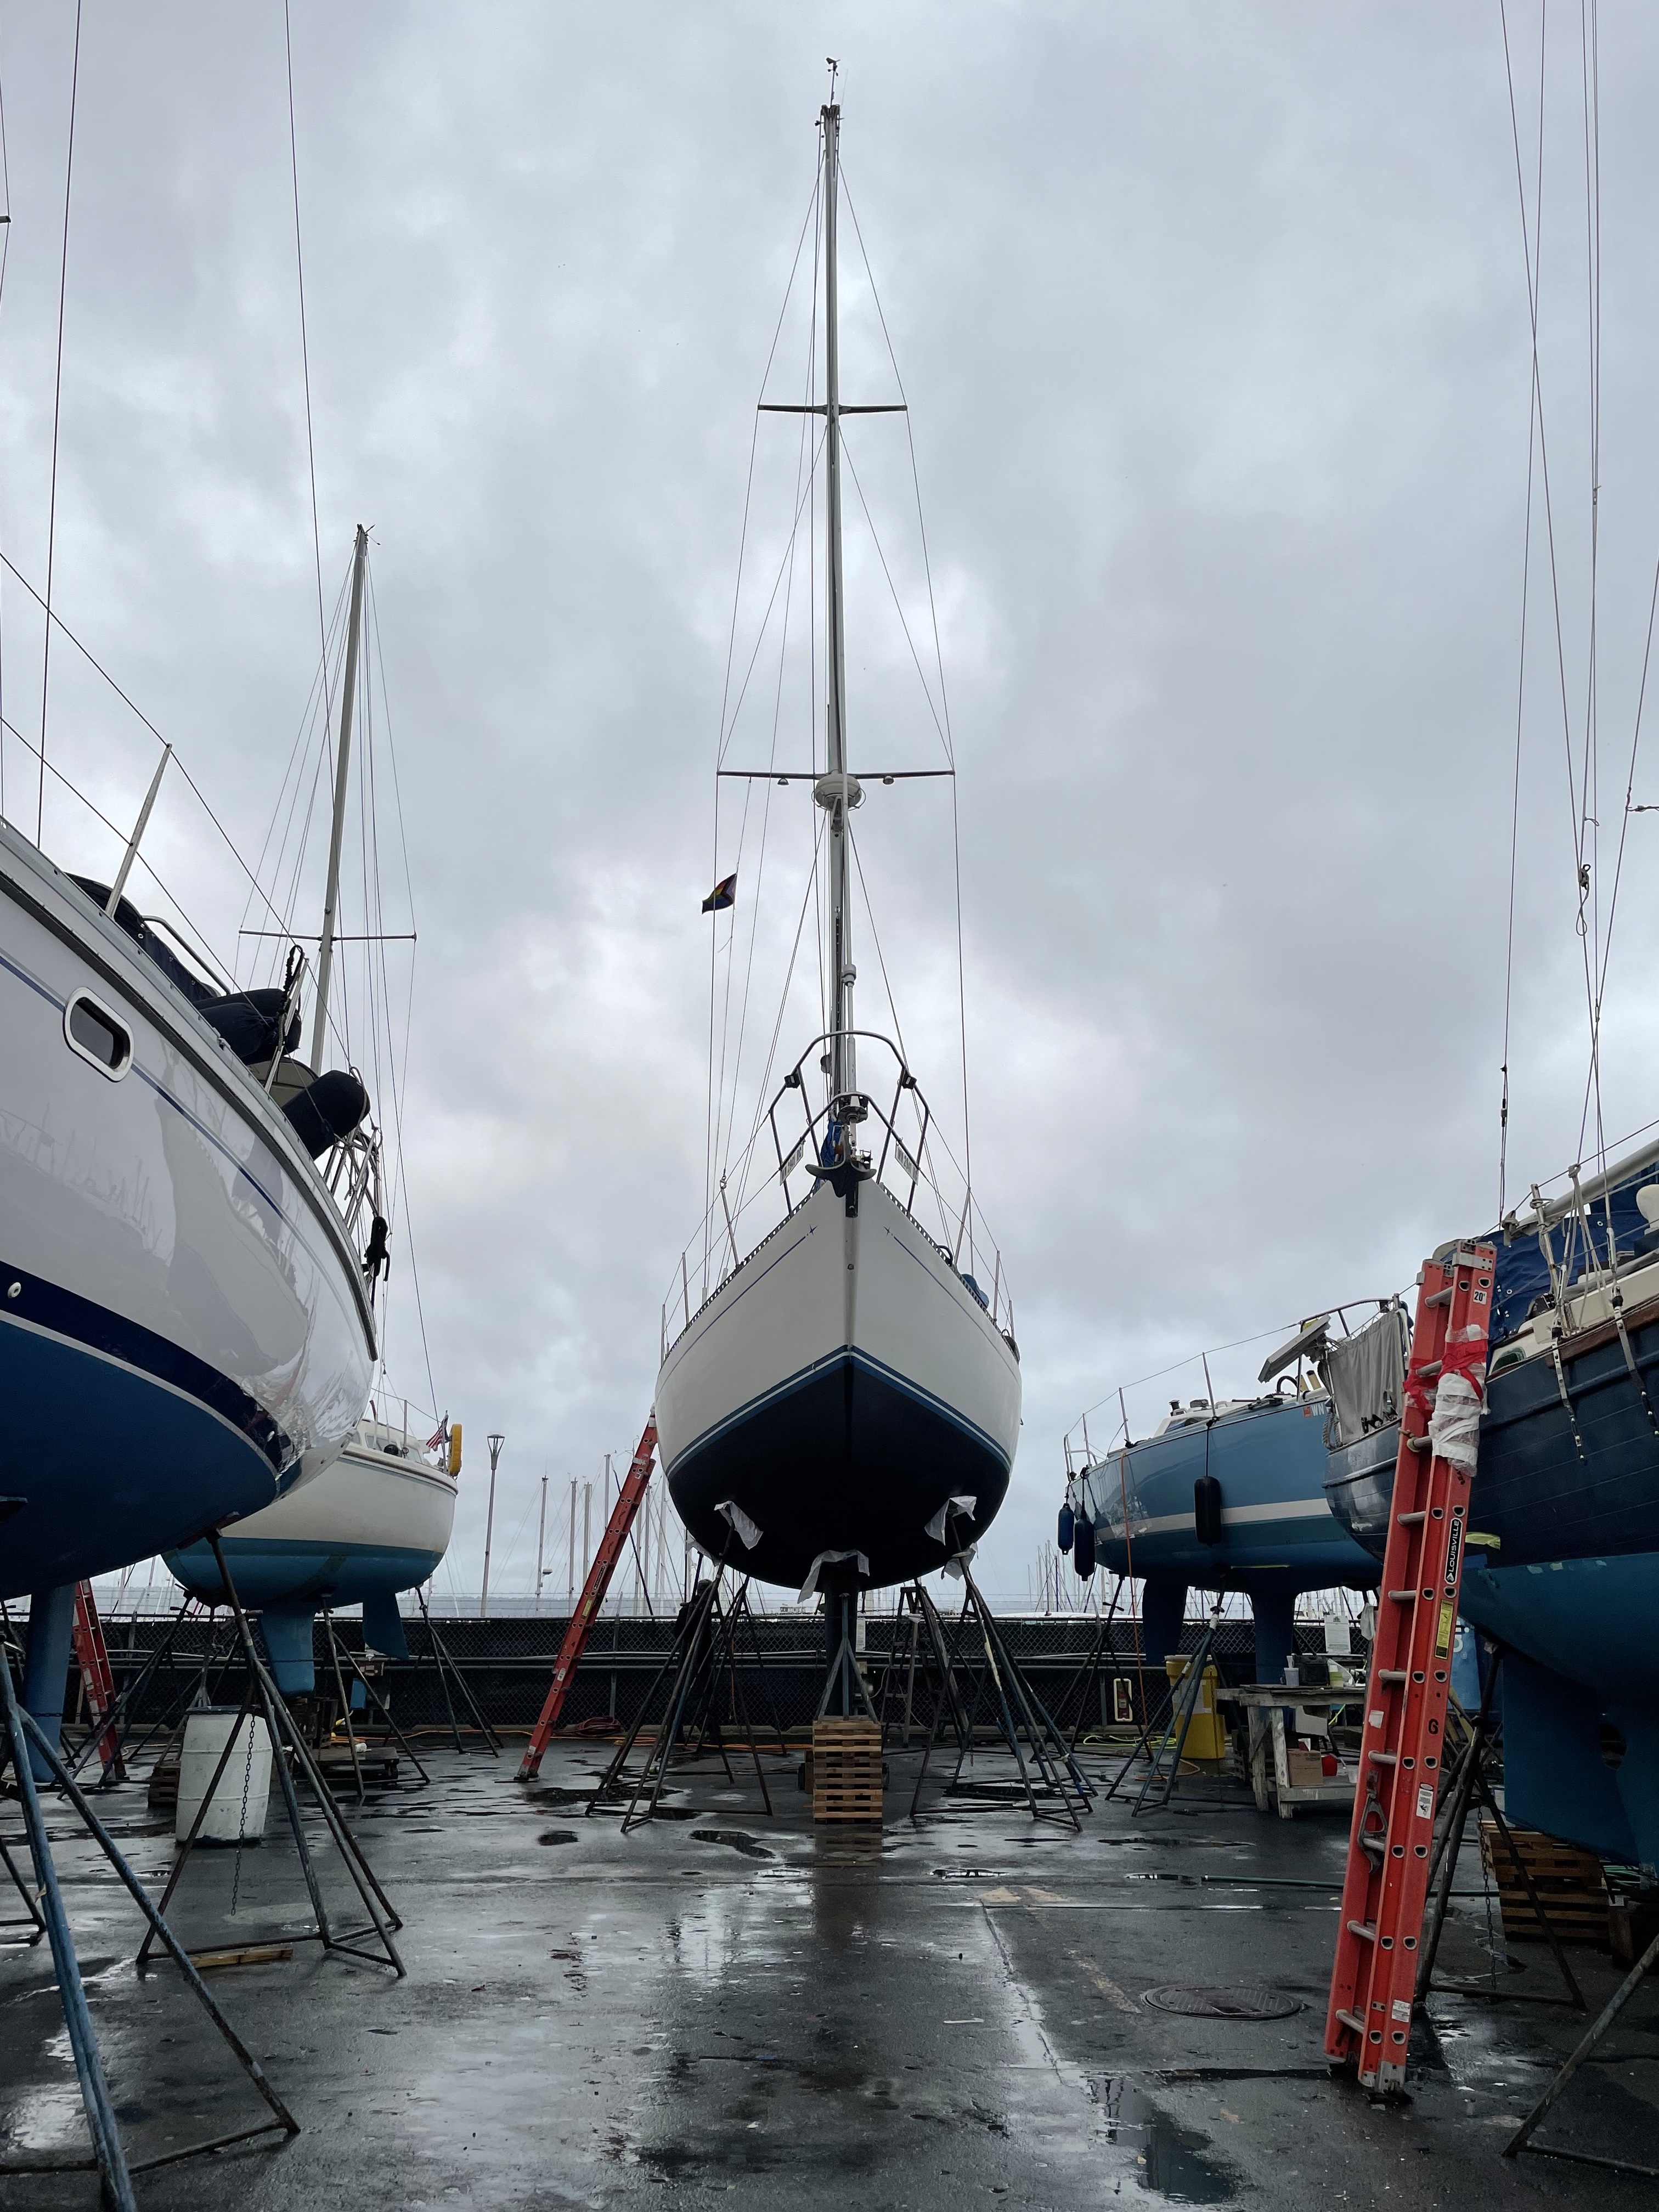
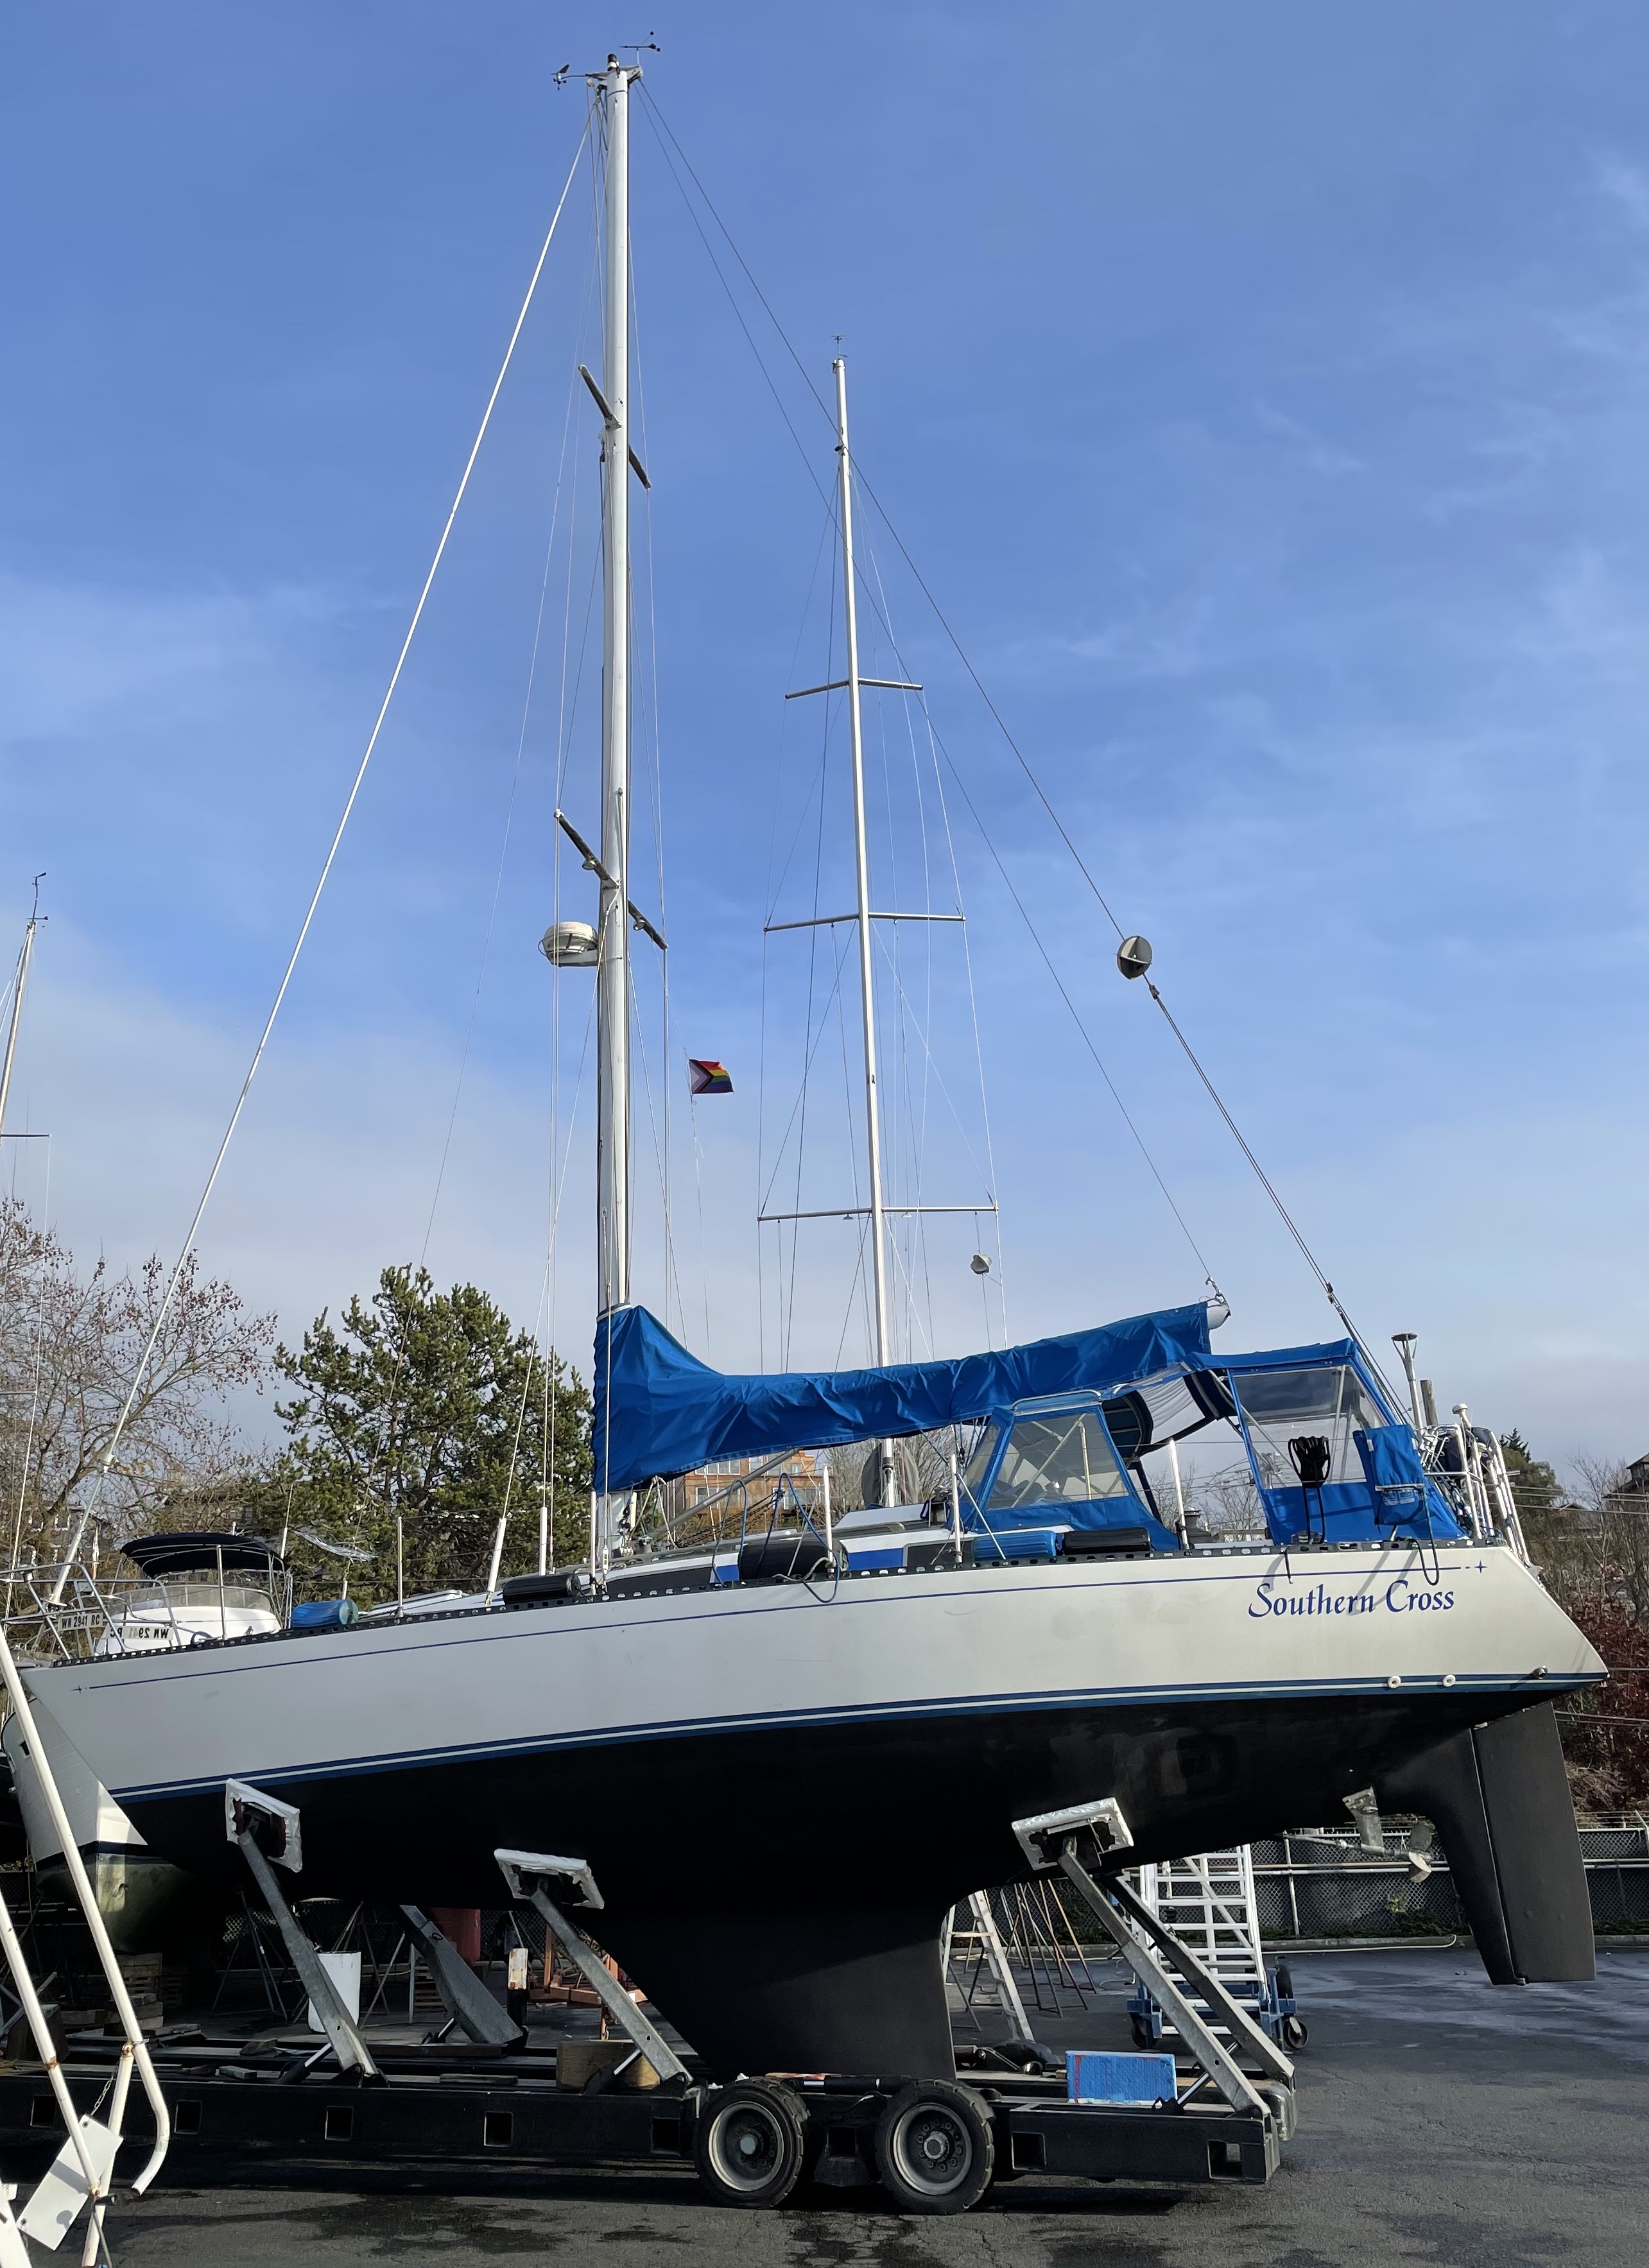
Back in the Water
Post written by Marissa,In the last post, I mentioned the boatyard estimated another week on the hard. Instead, they were able to rustle up a mechanic to look at the rudder quicker than expected. After we decided to leave the rudder alone for now, the yard quickly finished painting, and set our appointment to splash at 10am today.

We arrived at the boat at 8am, to finish reconnecting the steering quadrant and cockpit drain tubes. The steering quadrant went back together quickly enough, but the cockpit drain tubes were pretty difficult to wrestle into place. Finally, we got everything hooked up. Before long, Shane and I were watching the boatyard crew load Ripley onto a hydraulic trailer. They drove her from the yard to the staging area, where she was transferred to the boat sling. I was feeling pretty nervous at this point - our work from the last two weeks needs to work.
As we were lowered into the water, Shane and I donned our trusty headlamps and went about inspecting all the thru-hulls. I started in the bathroom with the shower drain. I watched it for several seconds, felt it, and found no discernible leak. So far, so good.
I put on my knee-pads and crawled into the stern to check the other one we had replaced - the cockpit drain. As I watched, a small bead of water escaped the bottom of the valve. After a few seconds, another. My heart sank - this was not good. Thoughts flashed briefly though my mind: “maybe we can fix it from this side… “, but as soon as I had the thoughts I knew they wouldn’t work. The only way to fix this properly was to go back up.
I told Shane to take a look. He saw the same thing, and after a brief conversation about our options (we had only one), I went out and told the boatyard crew the bad news. They were really gracious about it - “It’s a boatyard, things happen”. Brian, one of the workers at the yard, crawled back and took a look at it, and suggested that all we needed was to re-bed the seacock - make it tighter, and add way more sealant. He estimated he could do it in an hour and a half, and offered to pull us back out, so we could either let him do it, or try to do it over ourselves.
We agreed, and back up we went. The boatyard crew had to haul at least two other very large, tricky boats out of the water, but they were able to leave Ripley on the hydraulic trailer, stabilized enough that Shane and I could crawl around inside.

Shane was able to remove the seacock pretty easily, and we scraped off and cleaned the 5200 that we’d used previously.
We then applied thread tape, and a very generous amount of 5200 to the base of the thru-hull on the inside, as well as the bottom of the seacock flange. Shane tightened the valve back on the thru-hull, an entire 180 degrees tighter than it had been. Then, we waited. We’d completed the repair around 12:30, but due to the other boats the yard had to haul, it was about 3:30 before Ripley was hanging in the sling again.
I was even more nervous this time around. This was one of those moments where the thing has to work. Screwing this up would mean spending another night on the hard, and another ride down and up the boat sling - a very costly mistake. I was so wrapped up with it that I forgot to take any pictures whatsoever.
Finally the time came. Again we were lowered into the water, and again we donned our headlamps. This time Shane went down to look at the cockpit drain, while I inspected the other valves we’d serviced. He was silent for many seconds - no news is good news - and finally, the all-clear. We’re good to go!
We started up the engine, and as we backed out of the sling, I found myself navigating in very close quarters. I had been so wrapped up in the anxiety about whether the boat would leak, I’d completely forgotten to be anxious about driving the boat back to the slip. We took it slow, and although it wasn’t a perfect docking, it was uneventful and damage-free, which makes it a success in my book.
Driving home, Shane and I could only express relief at what had turned out to be one of the most stressful days of boat ownership to date. But there is still more to do, and eventually, relaxation to be had. This type of thru-hull is immune to corrosion, so as long as we maintain the seacocks correctly (exercise them monthly, grease them at haul-outs), we’ll never have to replace them again. 🤞
Lessons Learned
- Use way more 5200 than you think you need - it’s easier to clean it up than to re-do the entire thing.
- Tighten the seacock down as much as you can.