On the Hard: Two Weeks In
Post written by Marissa,After breaking the bronze seacocks, we began to research what we must do to replace them. Shane and I both read the relevant sections in two different books, both of which had similar instructions and advice. In the end, we came up with a six-step plan.
1. Remove the old hardware
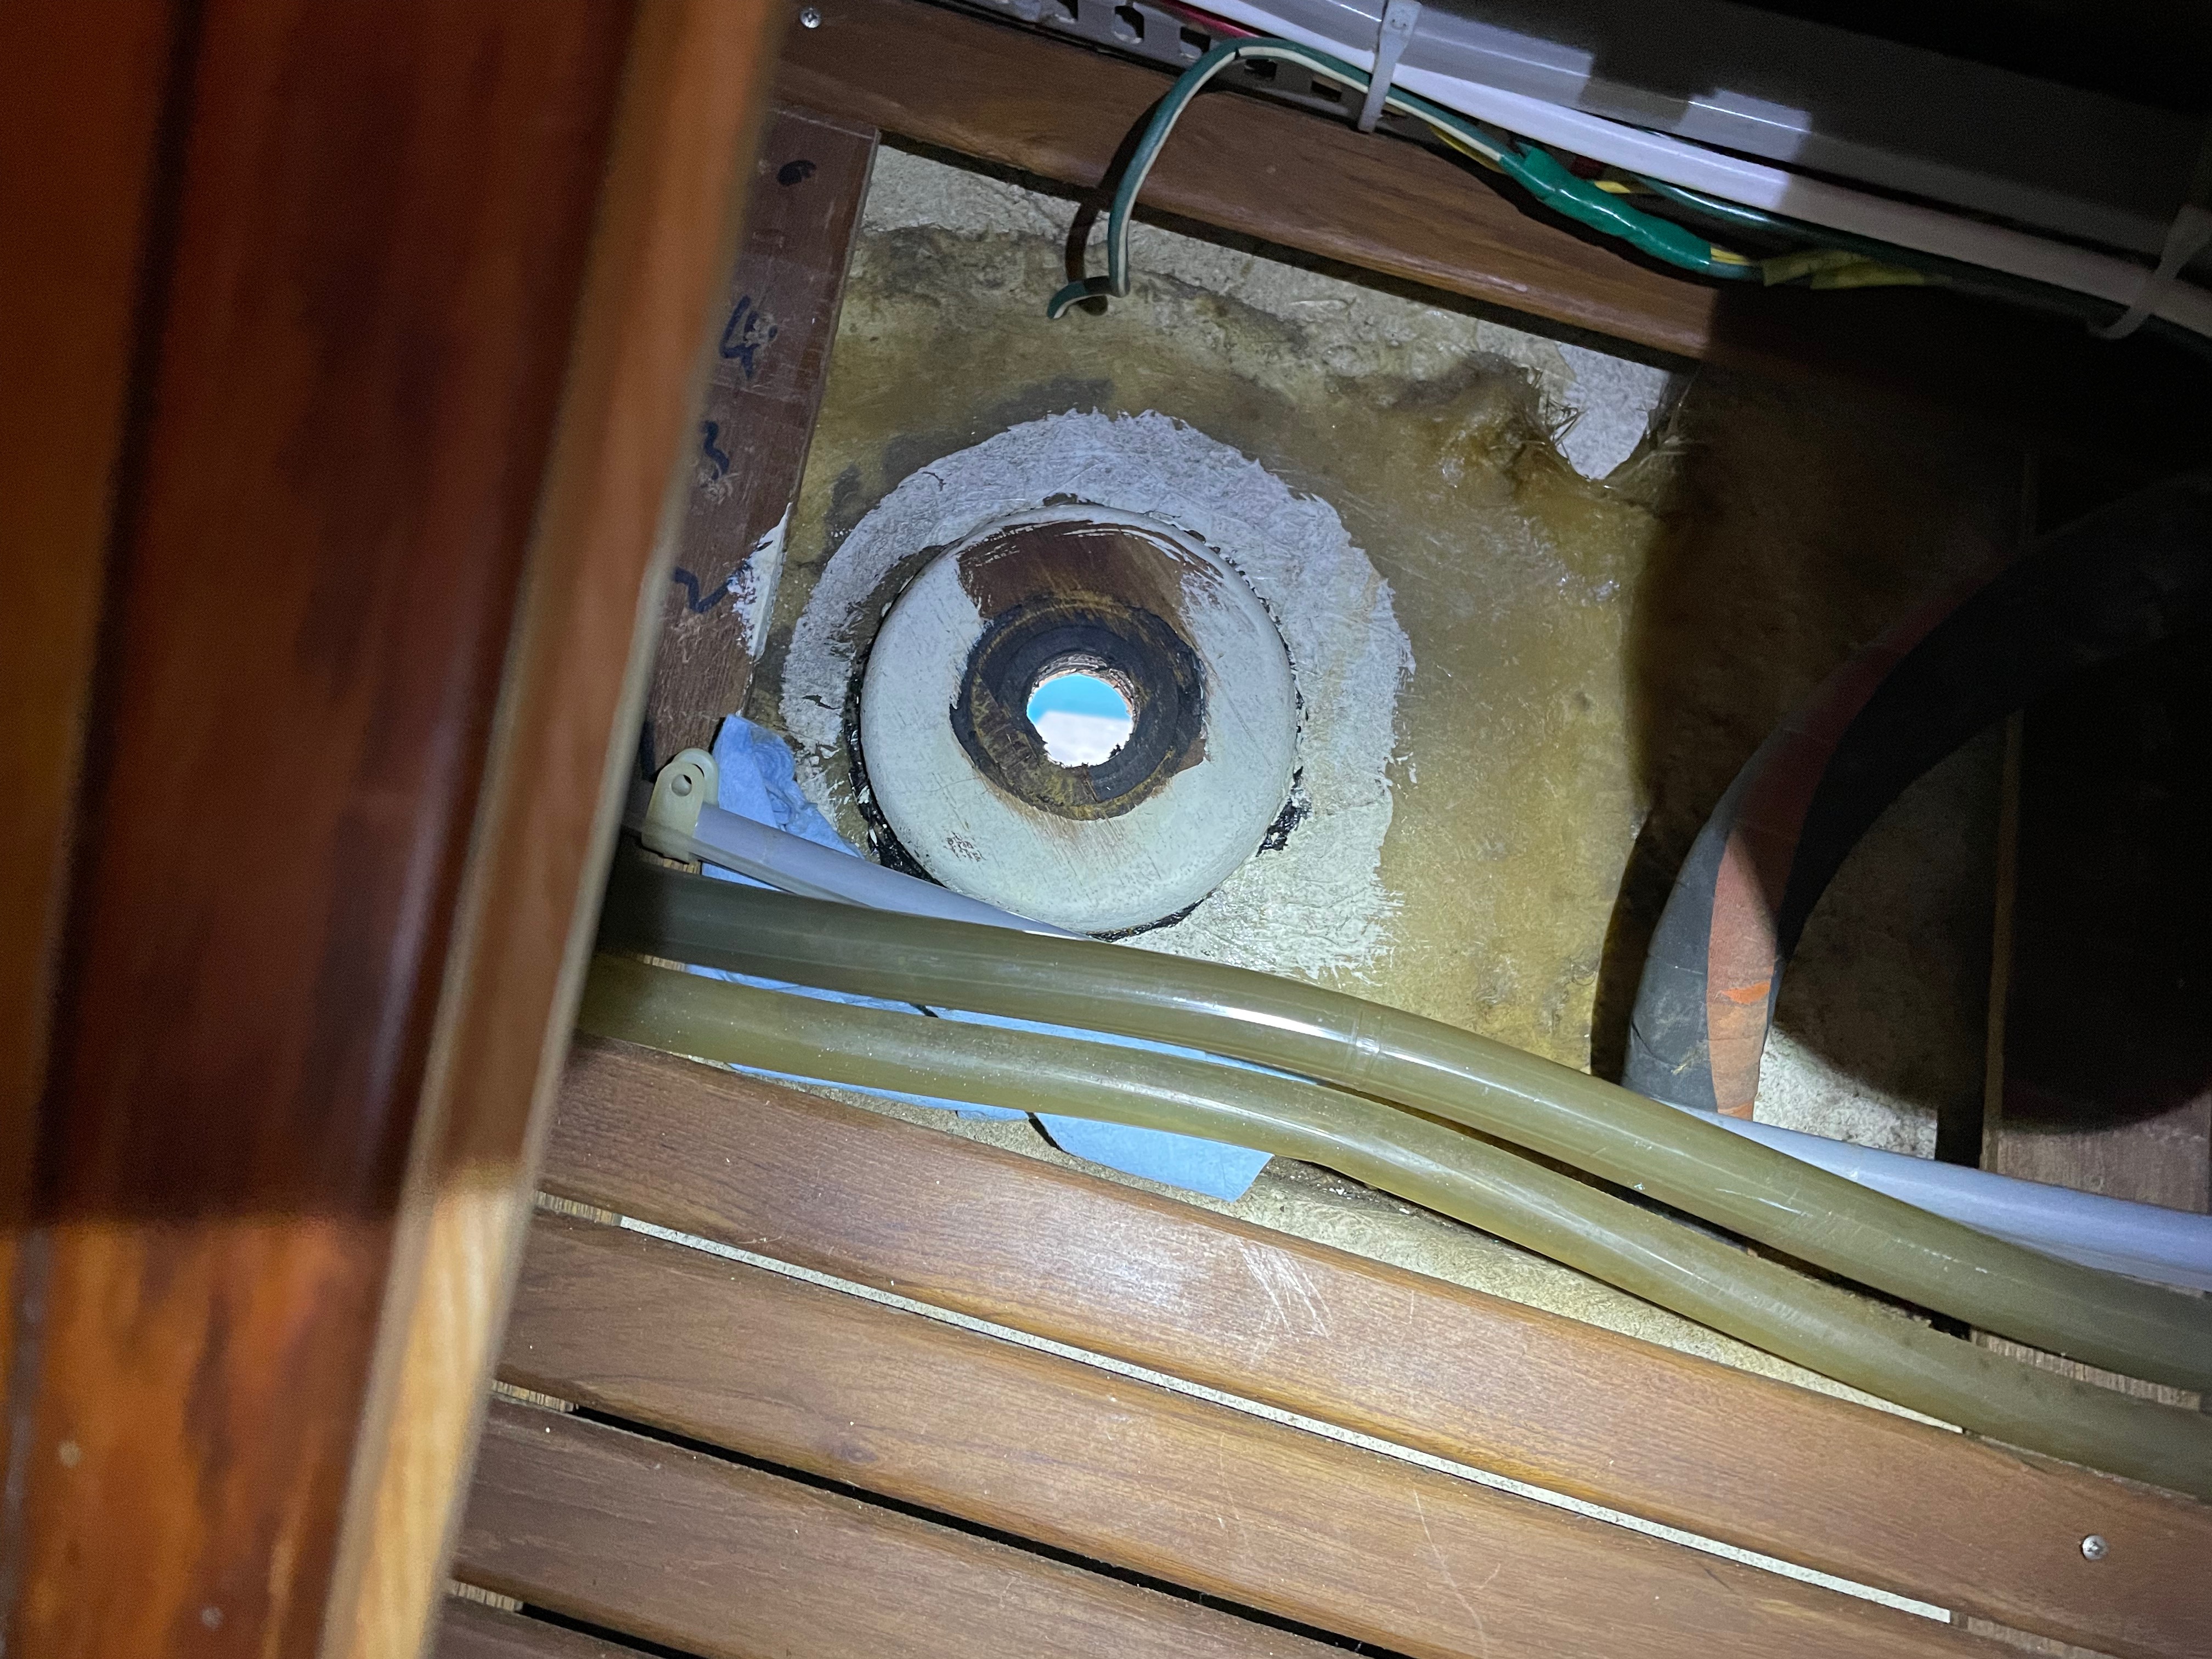
This was somewhat difficult, due to the cramped space and the strength of the adhesive sealant that had been used to attach the old backing plate, but with a chisel, a hammer, and a little brute strength, we were able to get the backing plates up.
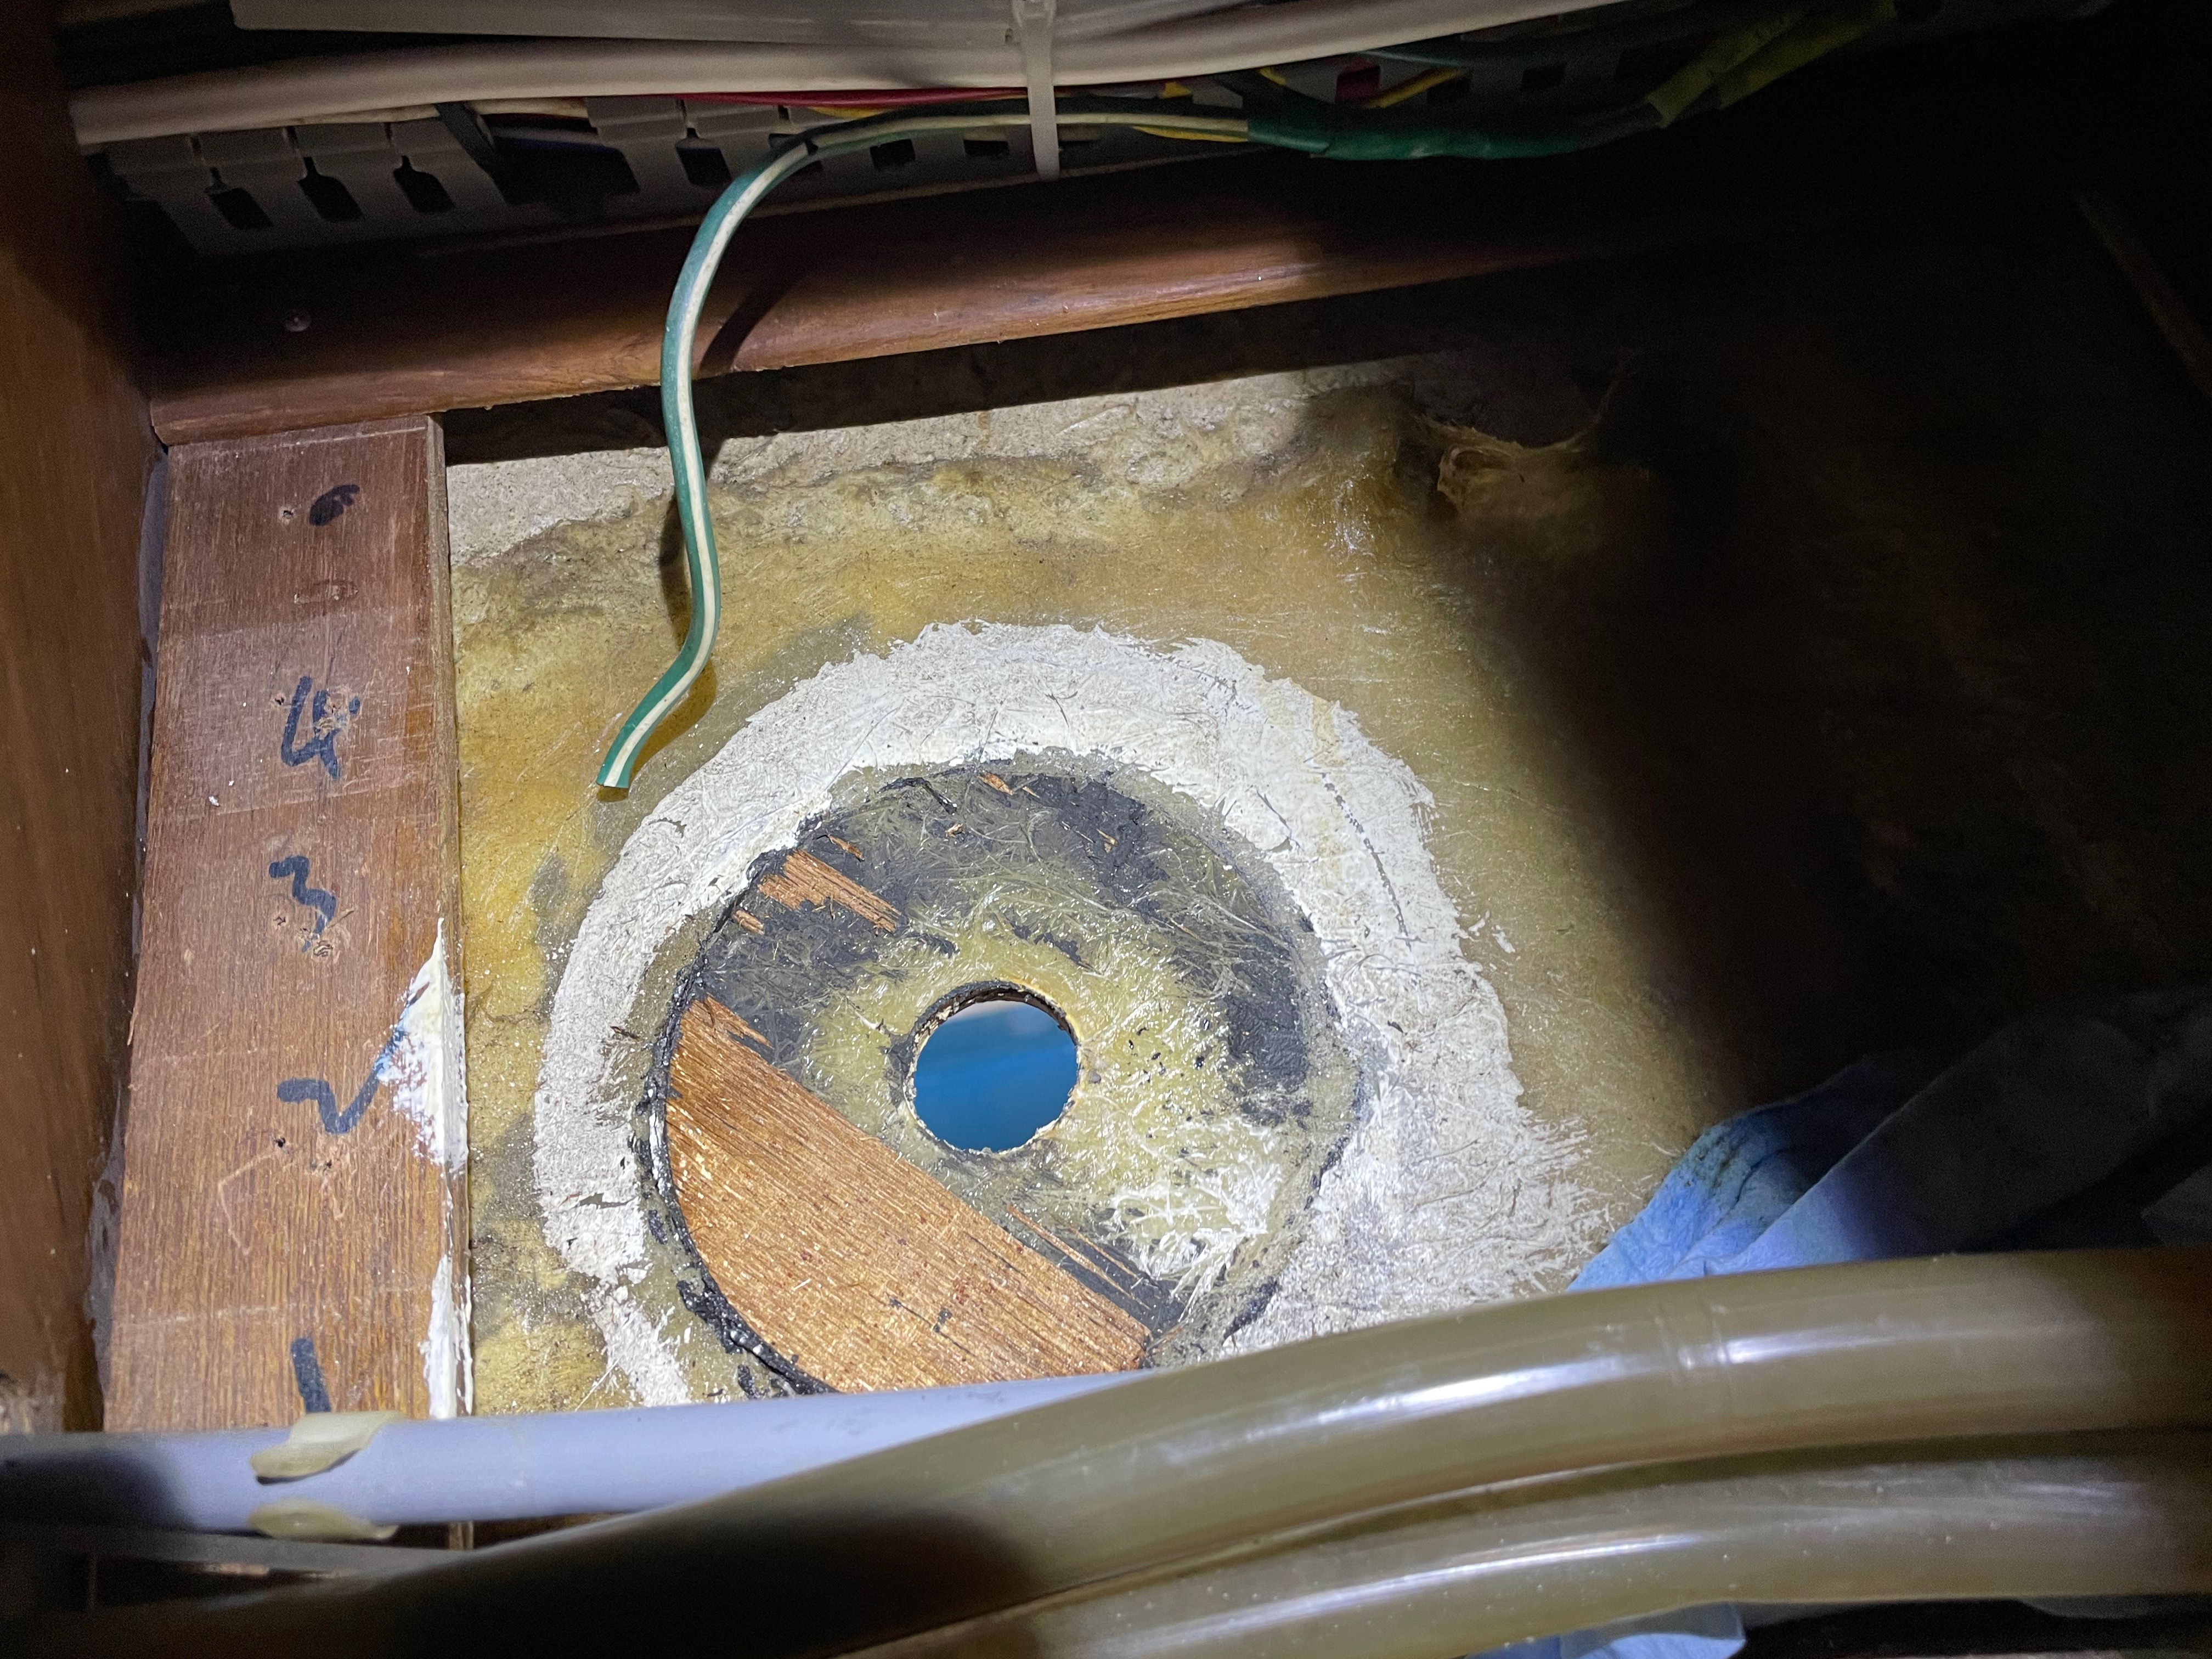
2. Interior prep
- Remove all old sealant
- Sand area for new backing plate
- Build backing plate with thickened epoxy
- Drill hole
We used the cross-section of a 2-liter bottle as the mold, and milled glass fibers as the thickening agent for the epoxy. This was our first time using epoxy, much less thickening it, so we weren’t sure what to expect. We tried to thicken the epoxy until it would cling to a mostly vertical surface, but we foolishly underestimated gravity.
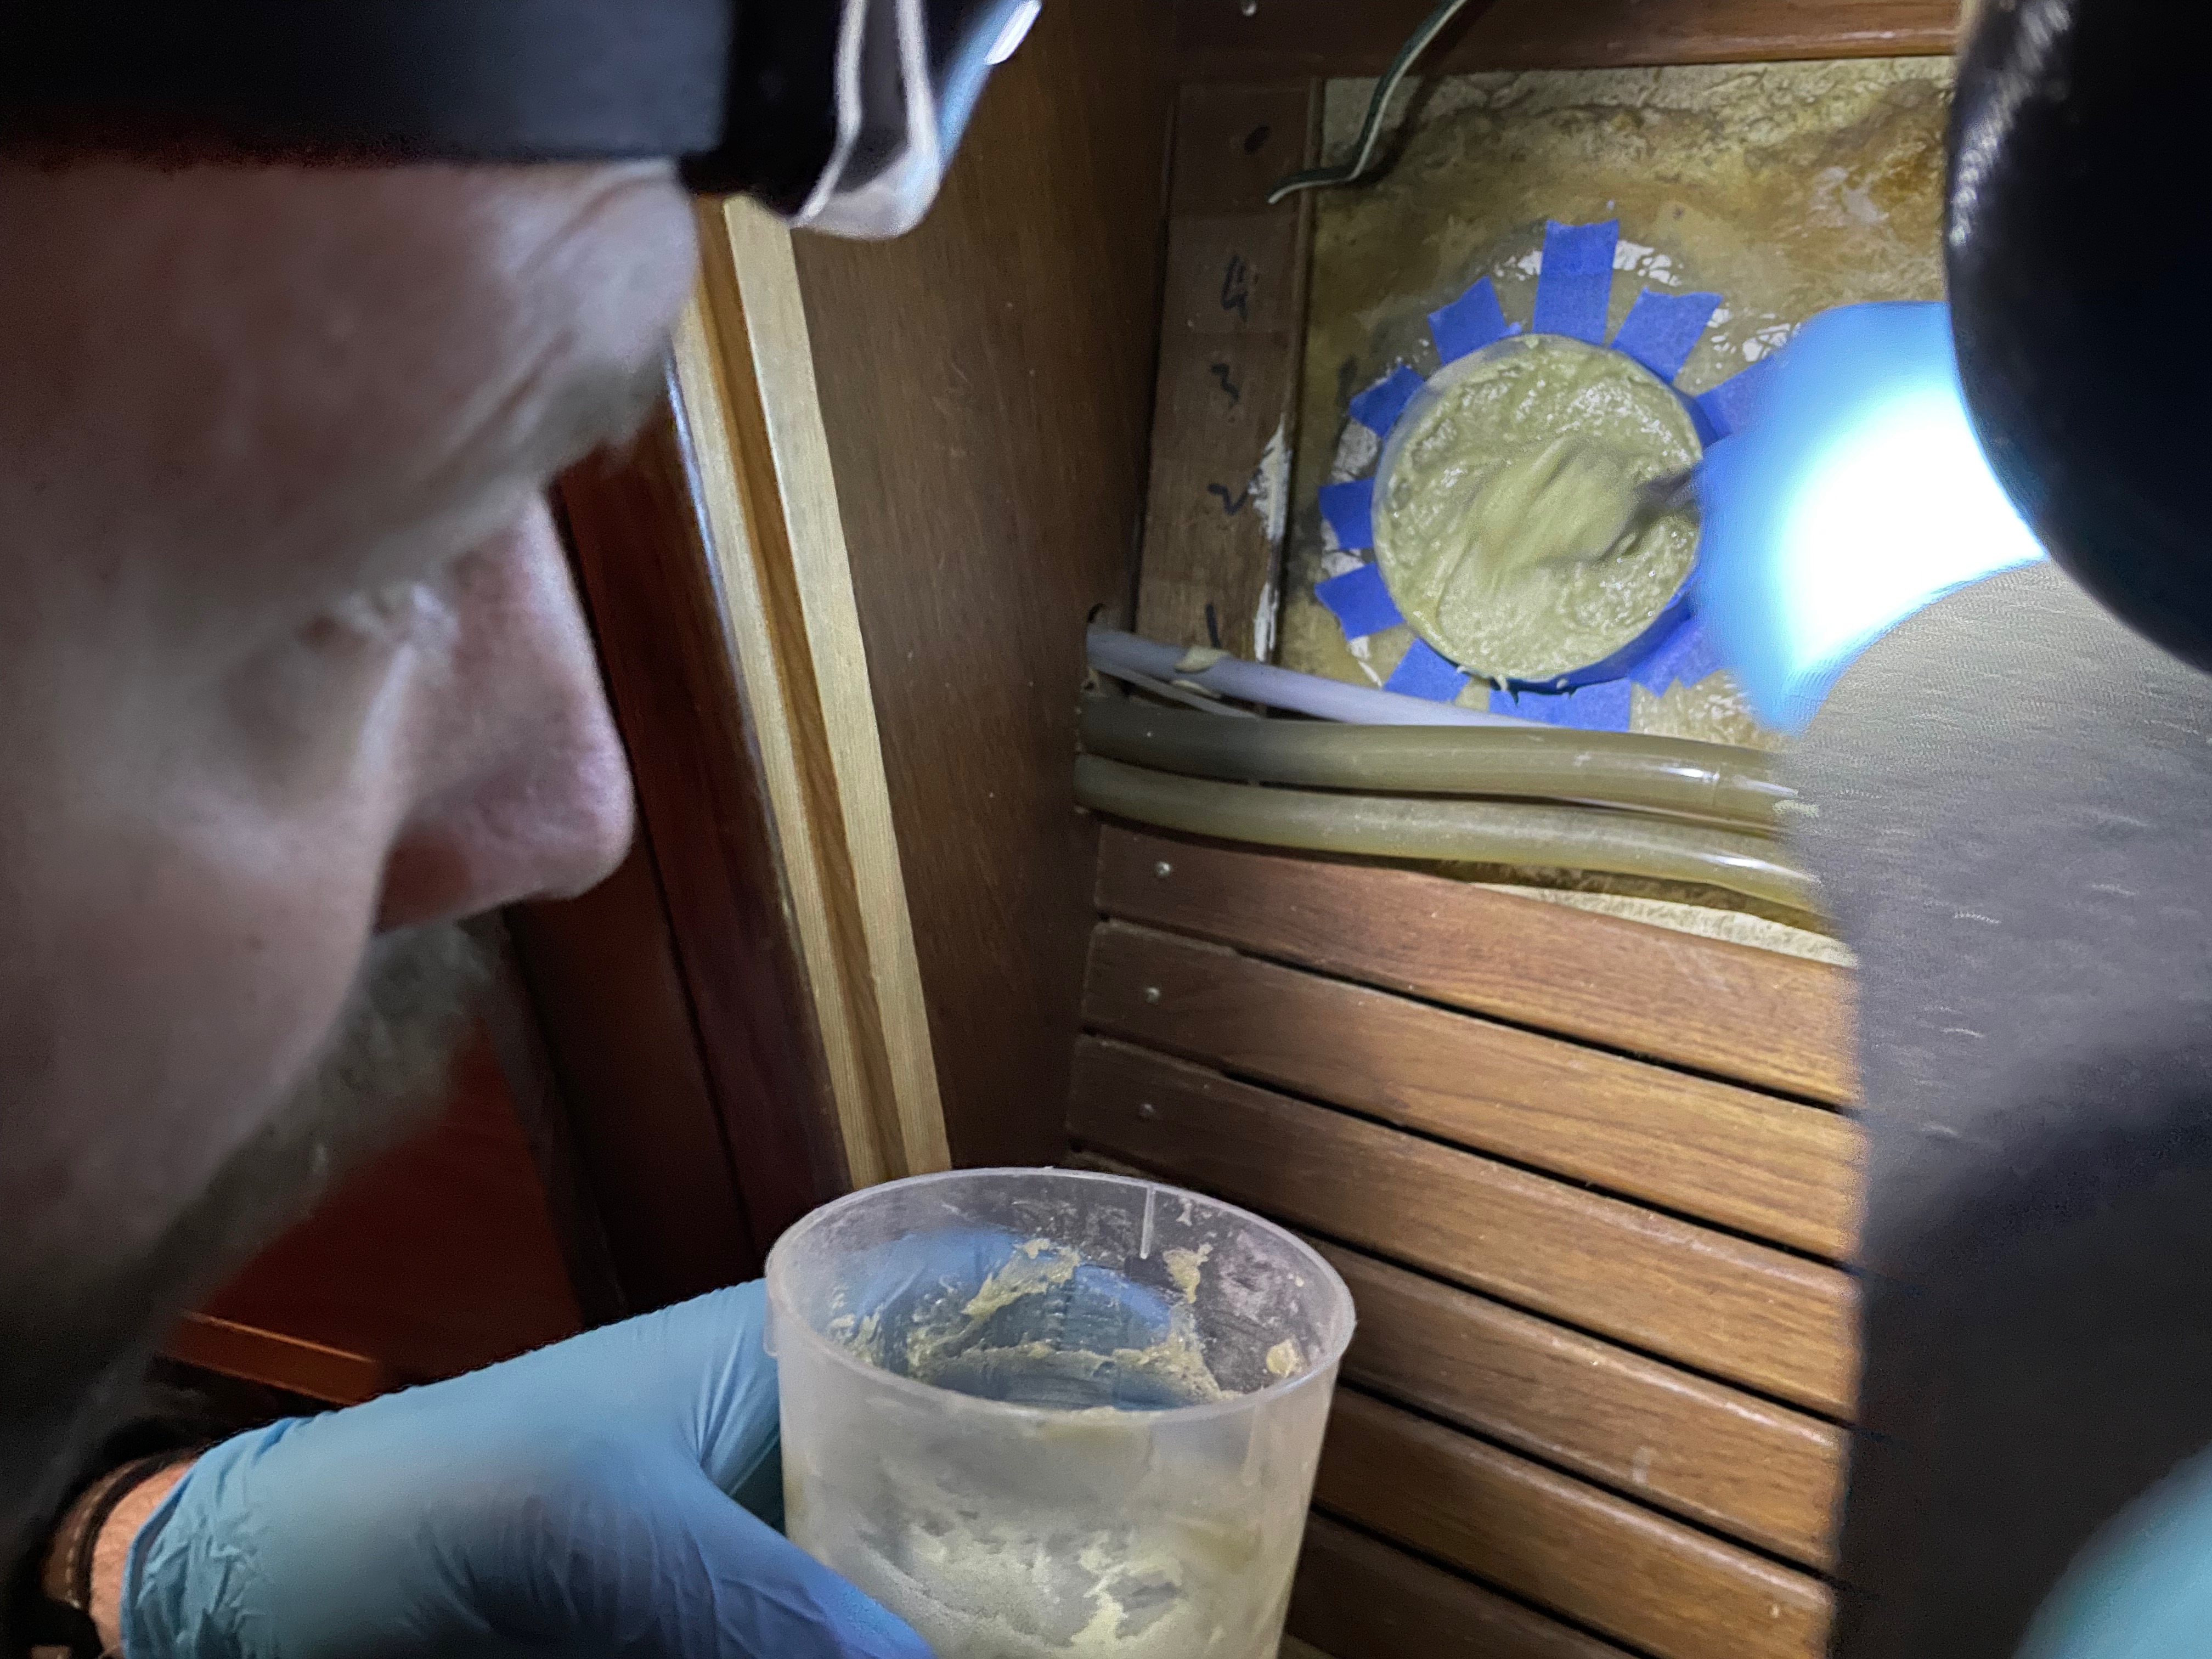
The epoxy sagged down, resulting in an uneven surface, even after being sanded down - not something we can mount our valves onto.
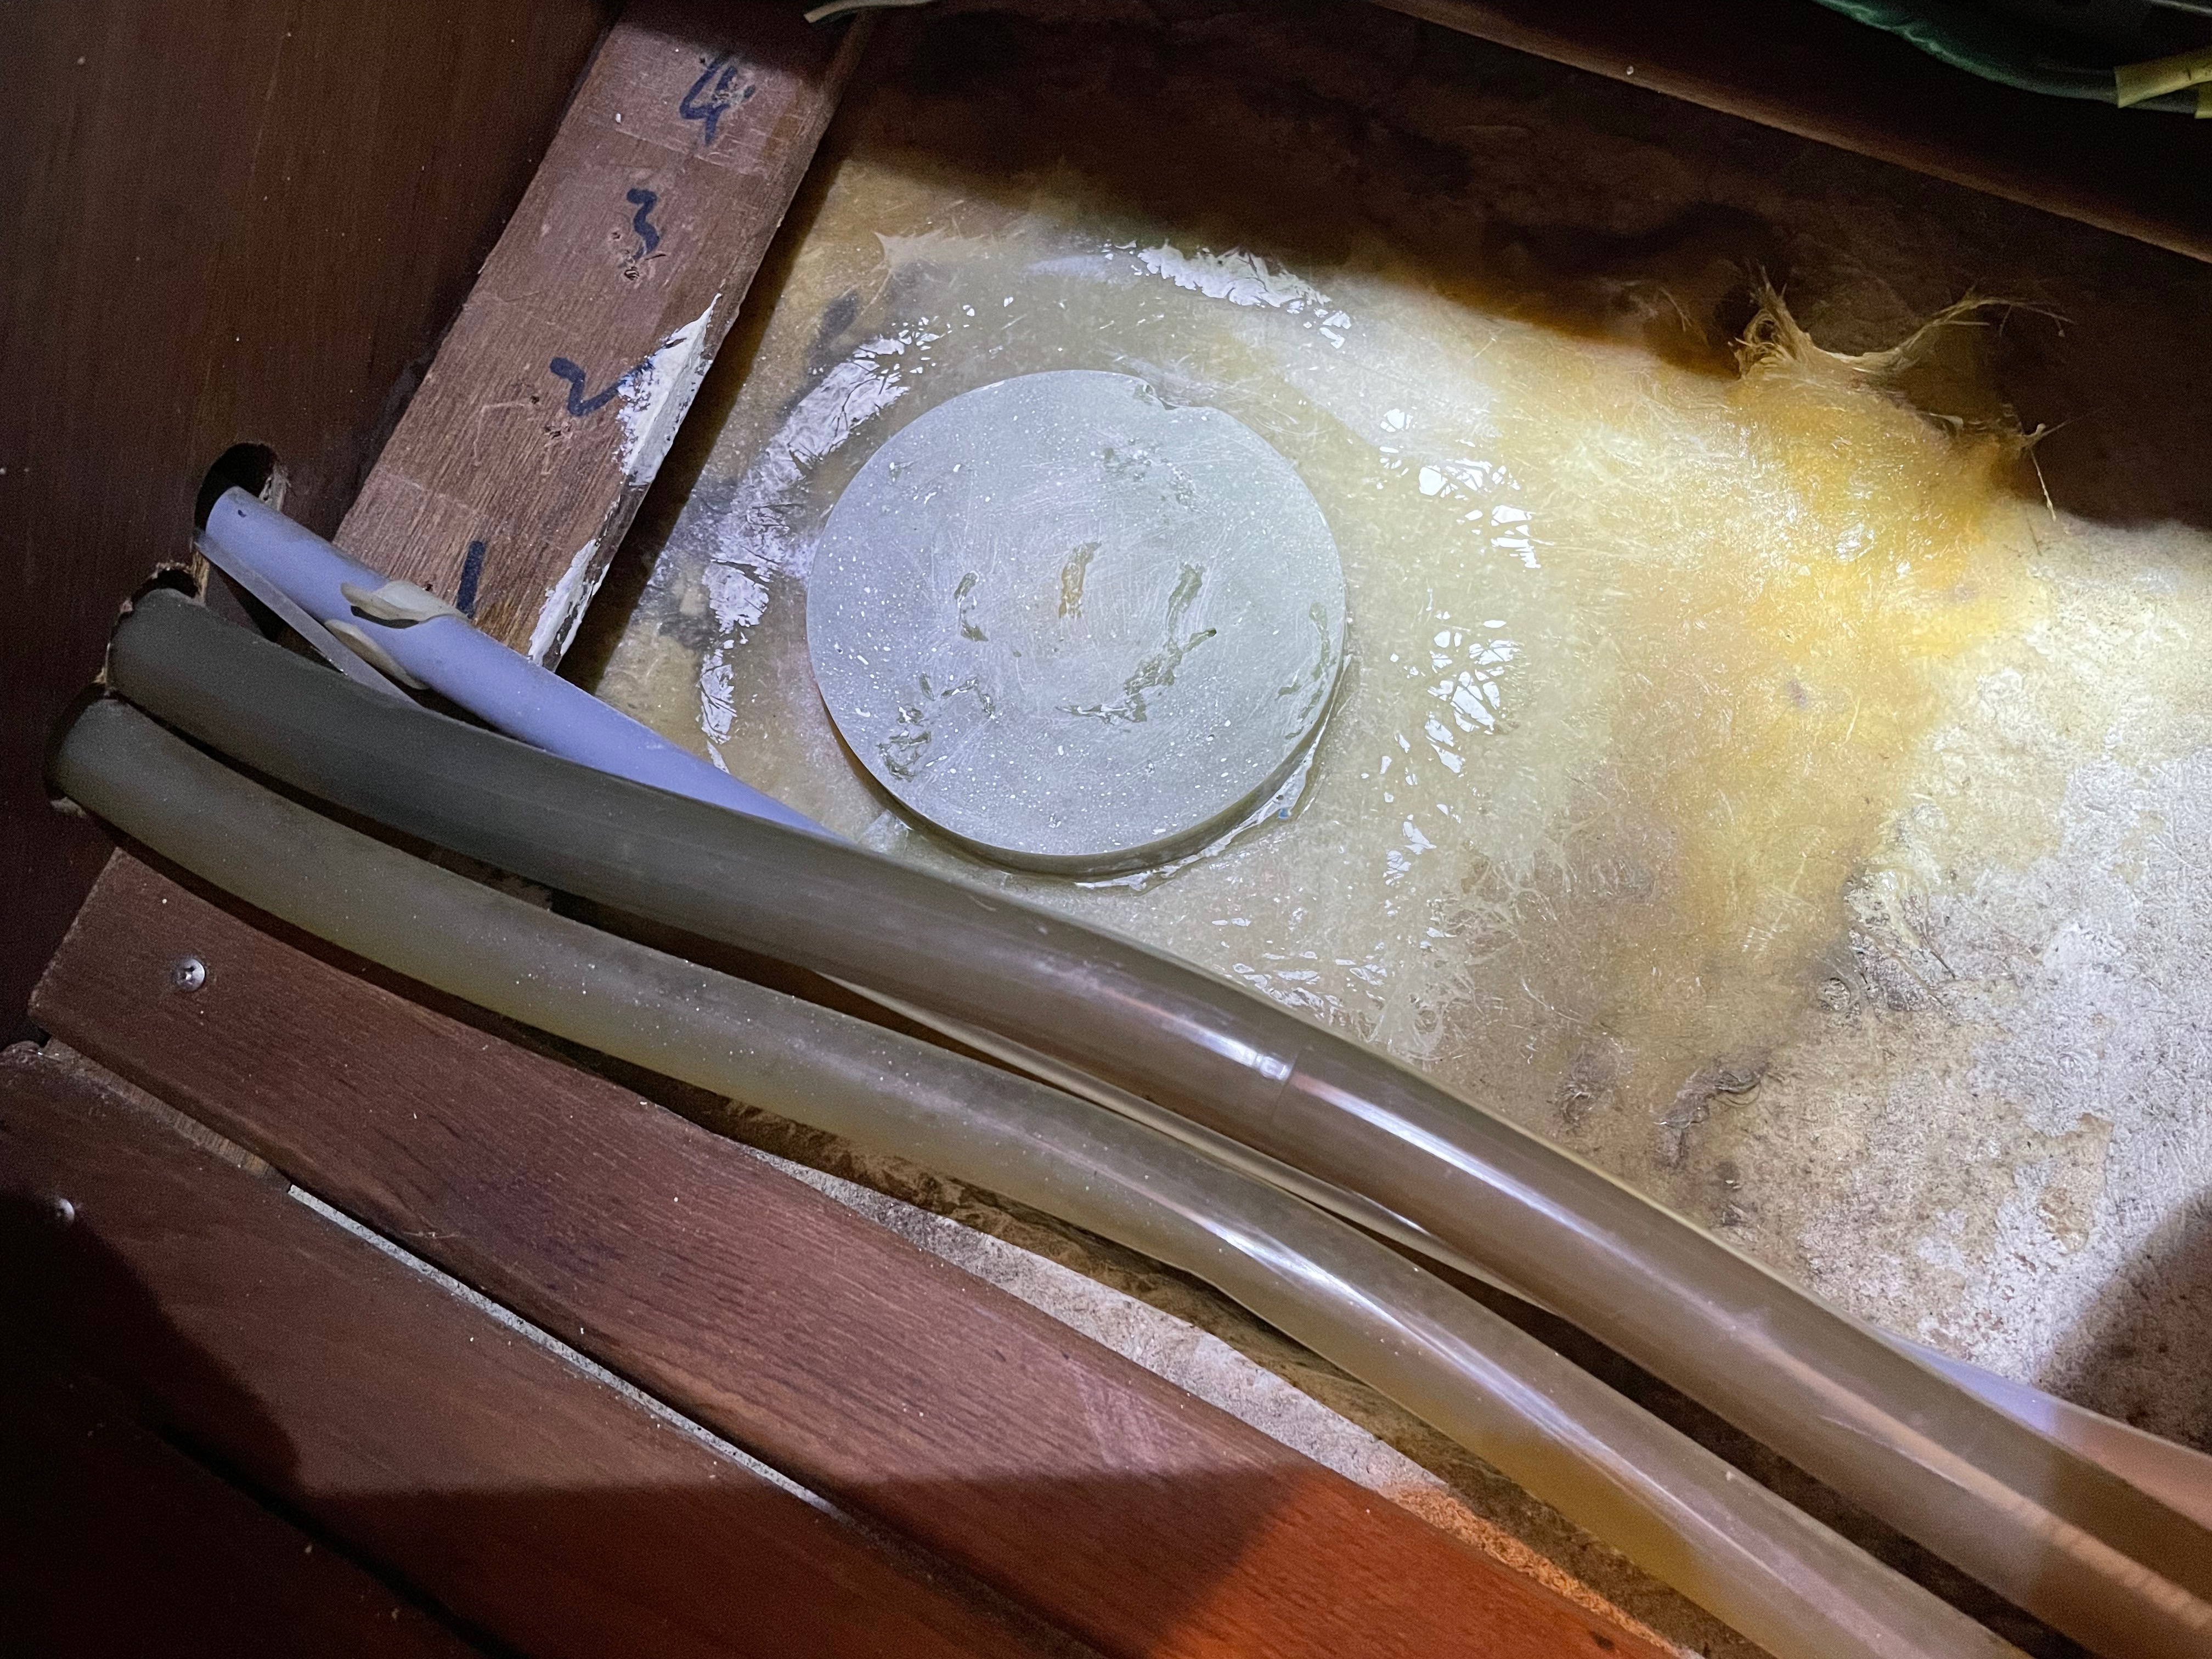
Not to be dissuaded, we talked through our options. Worst case, we could just grind out the epoxy we’d poured, and try again. I had the idea of trying to craft a top to the mold, so that we could fill the entire thing with epoxy and prevent the sagging effect from gravity.
We did this on the second batch, and it worked.
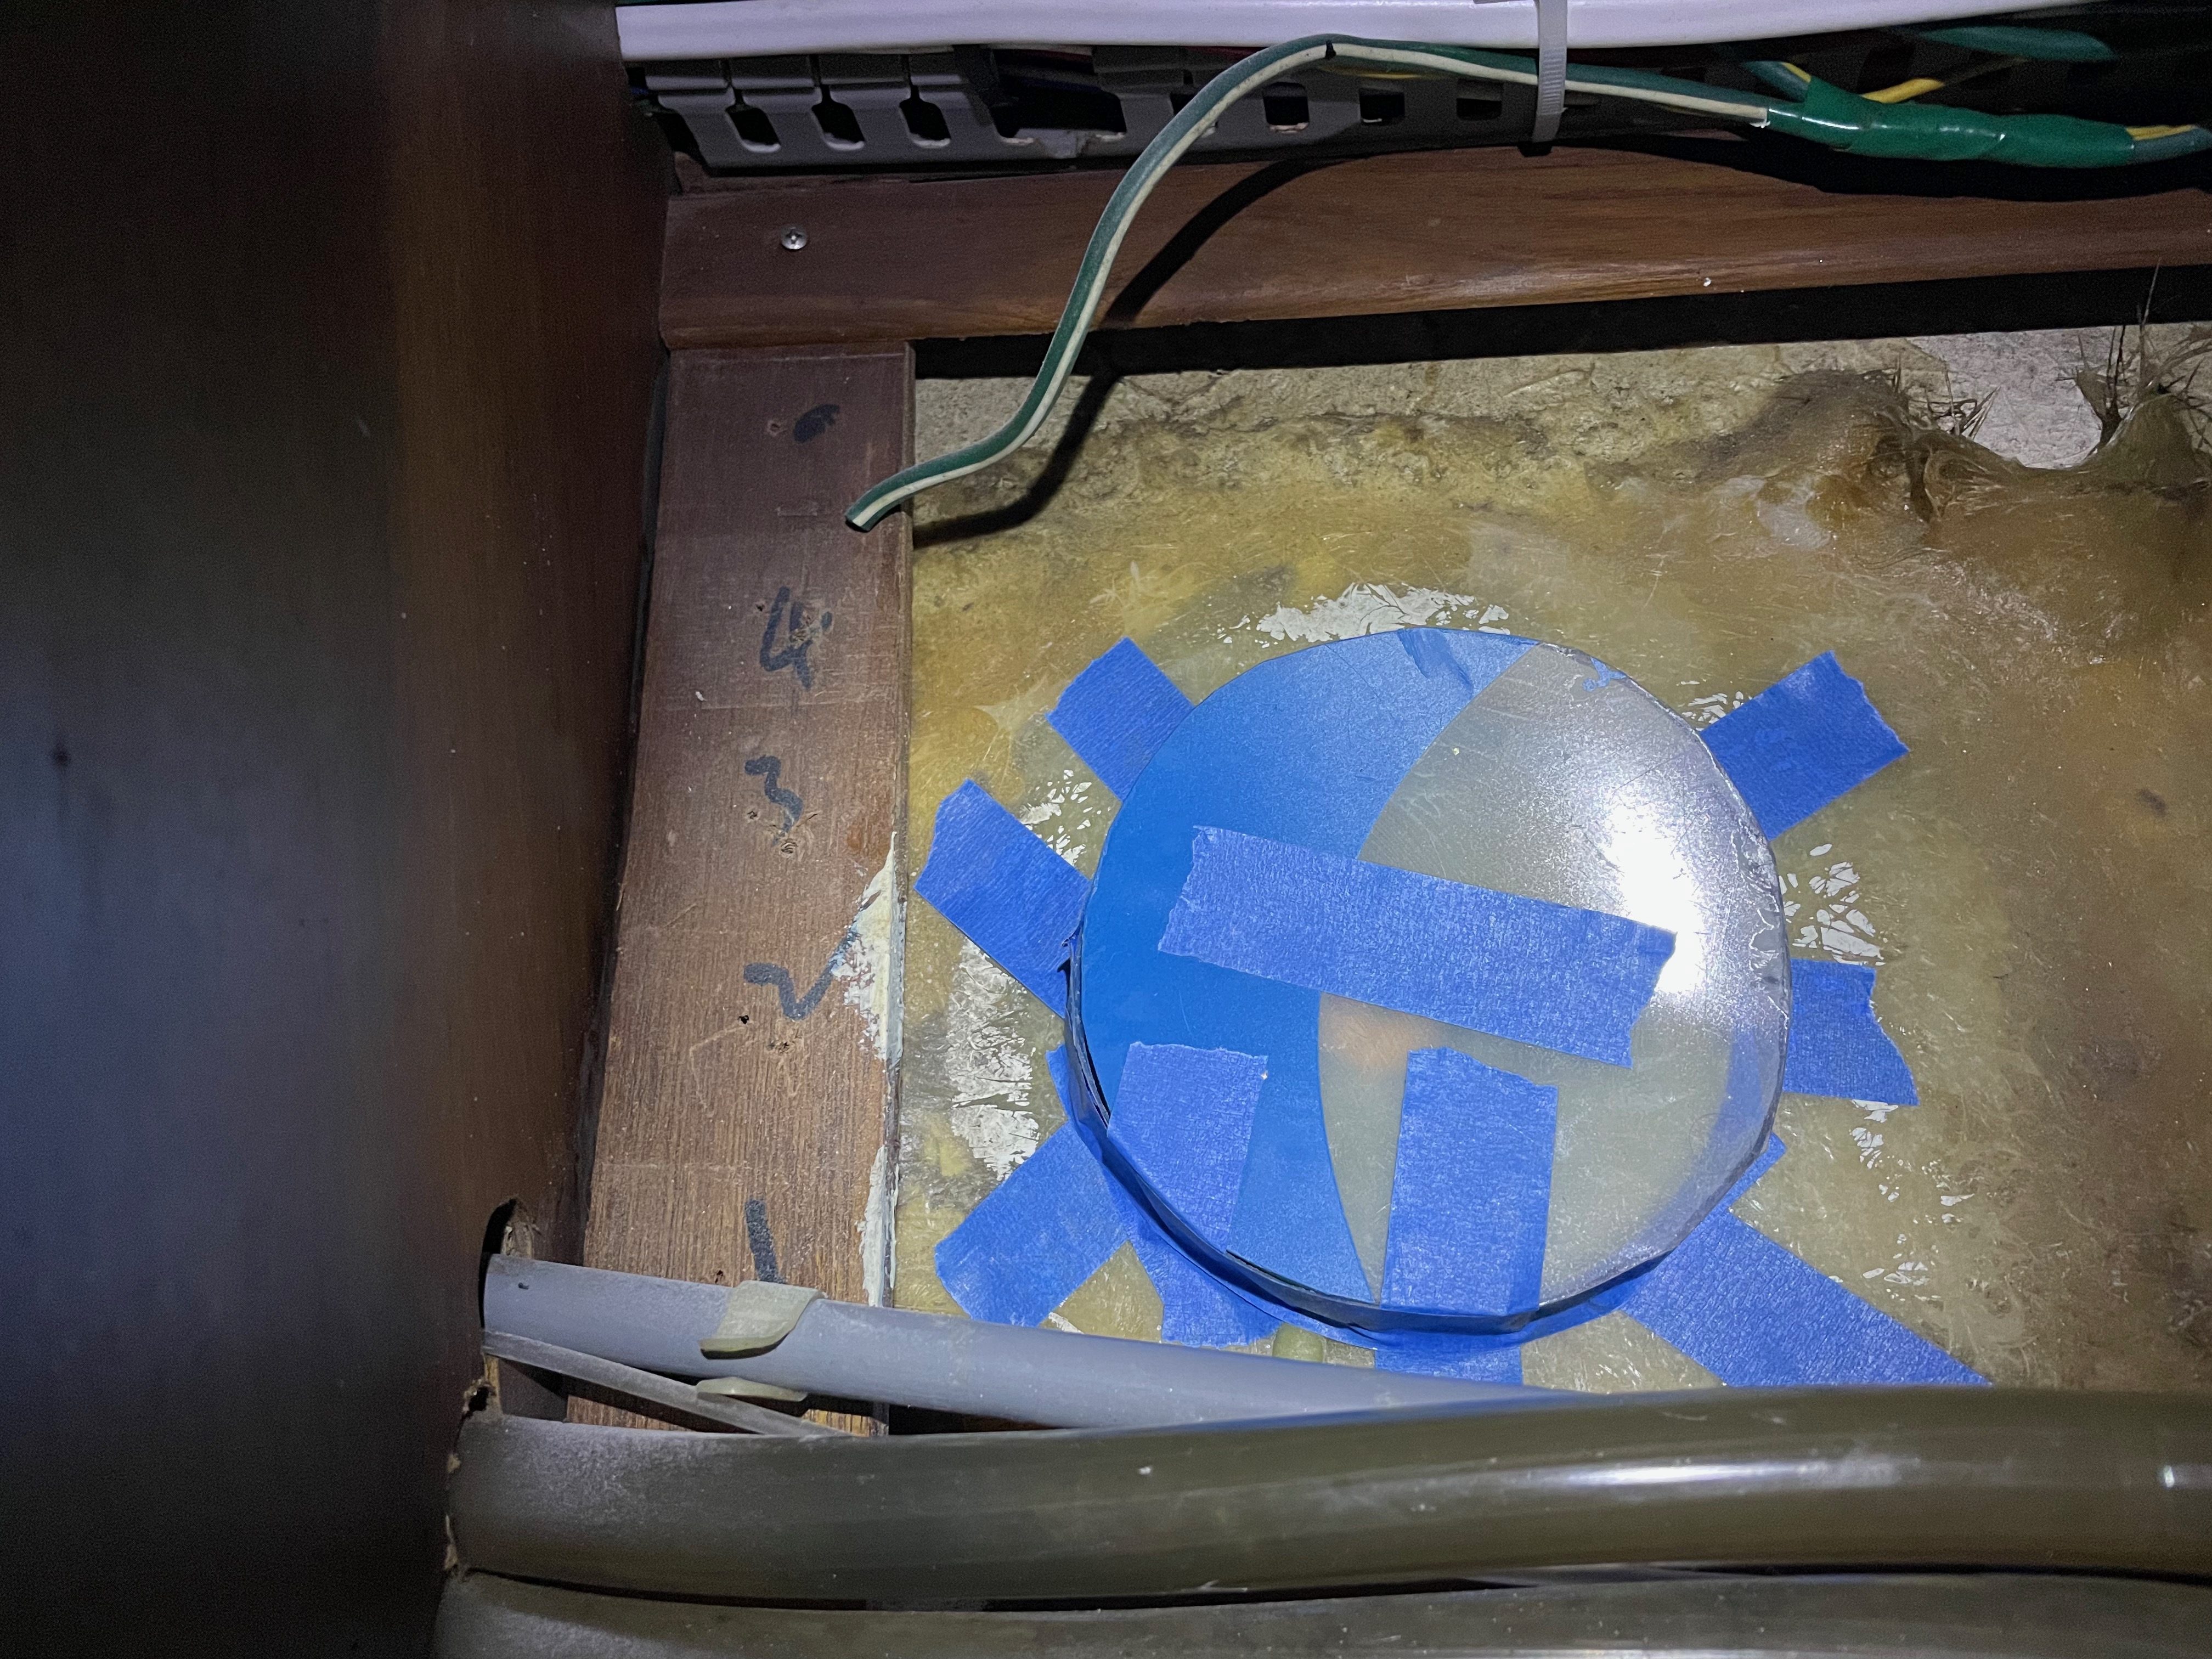
3. Exterior prep
- Add or remove material until thru-hull sits flush against hull
On the shower drain, we had to grind out a small amount of fiberglass for the thru-hull to sit flush. For the cockpit drain, we had to add thickened epoxy to fill in some of the area left behind by the old thru-hull.
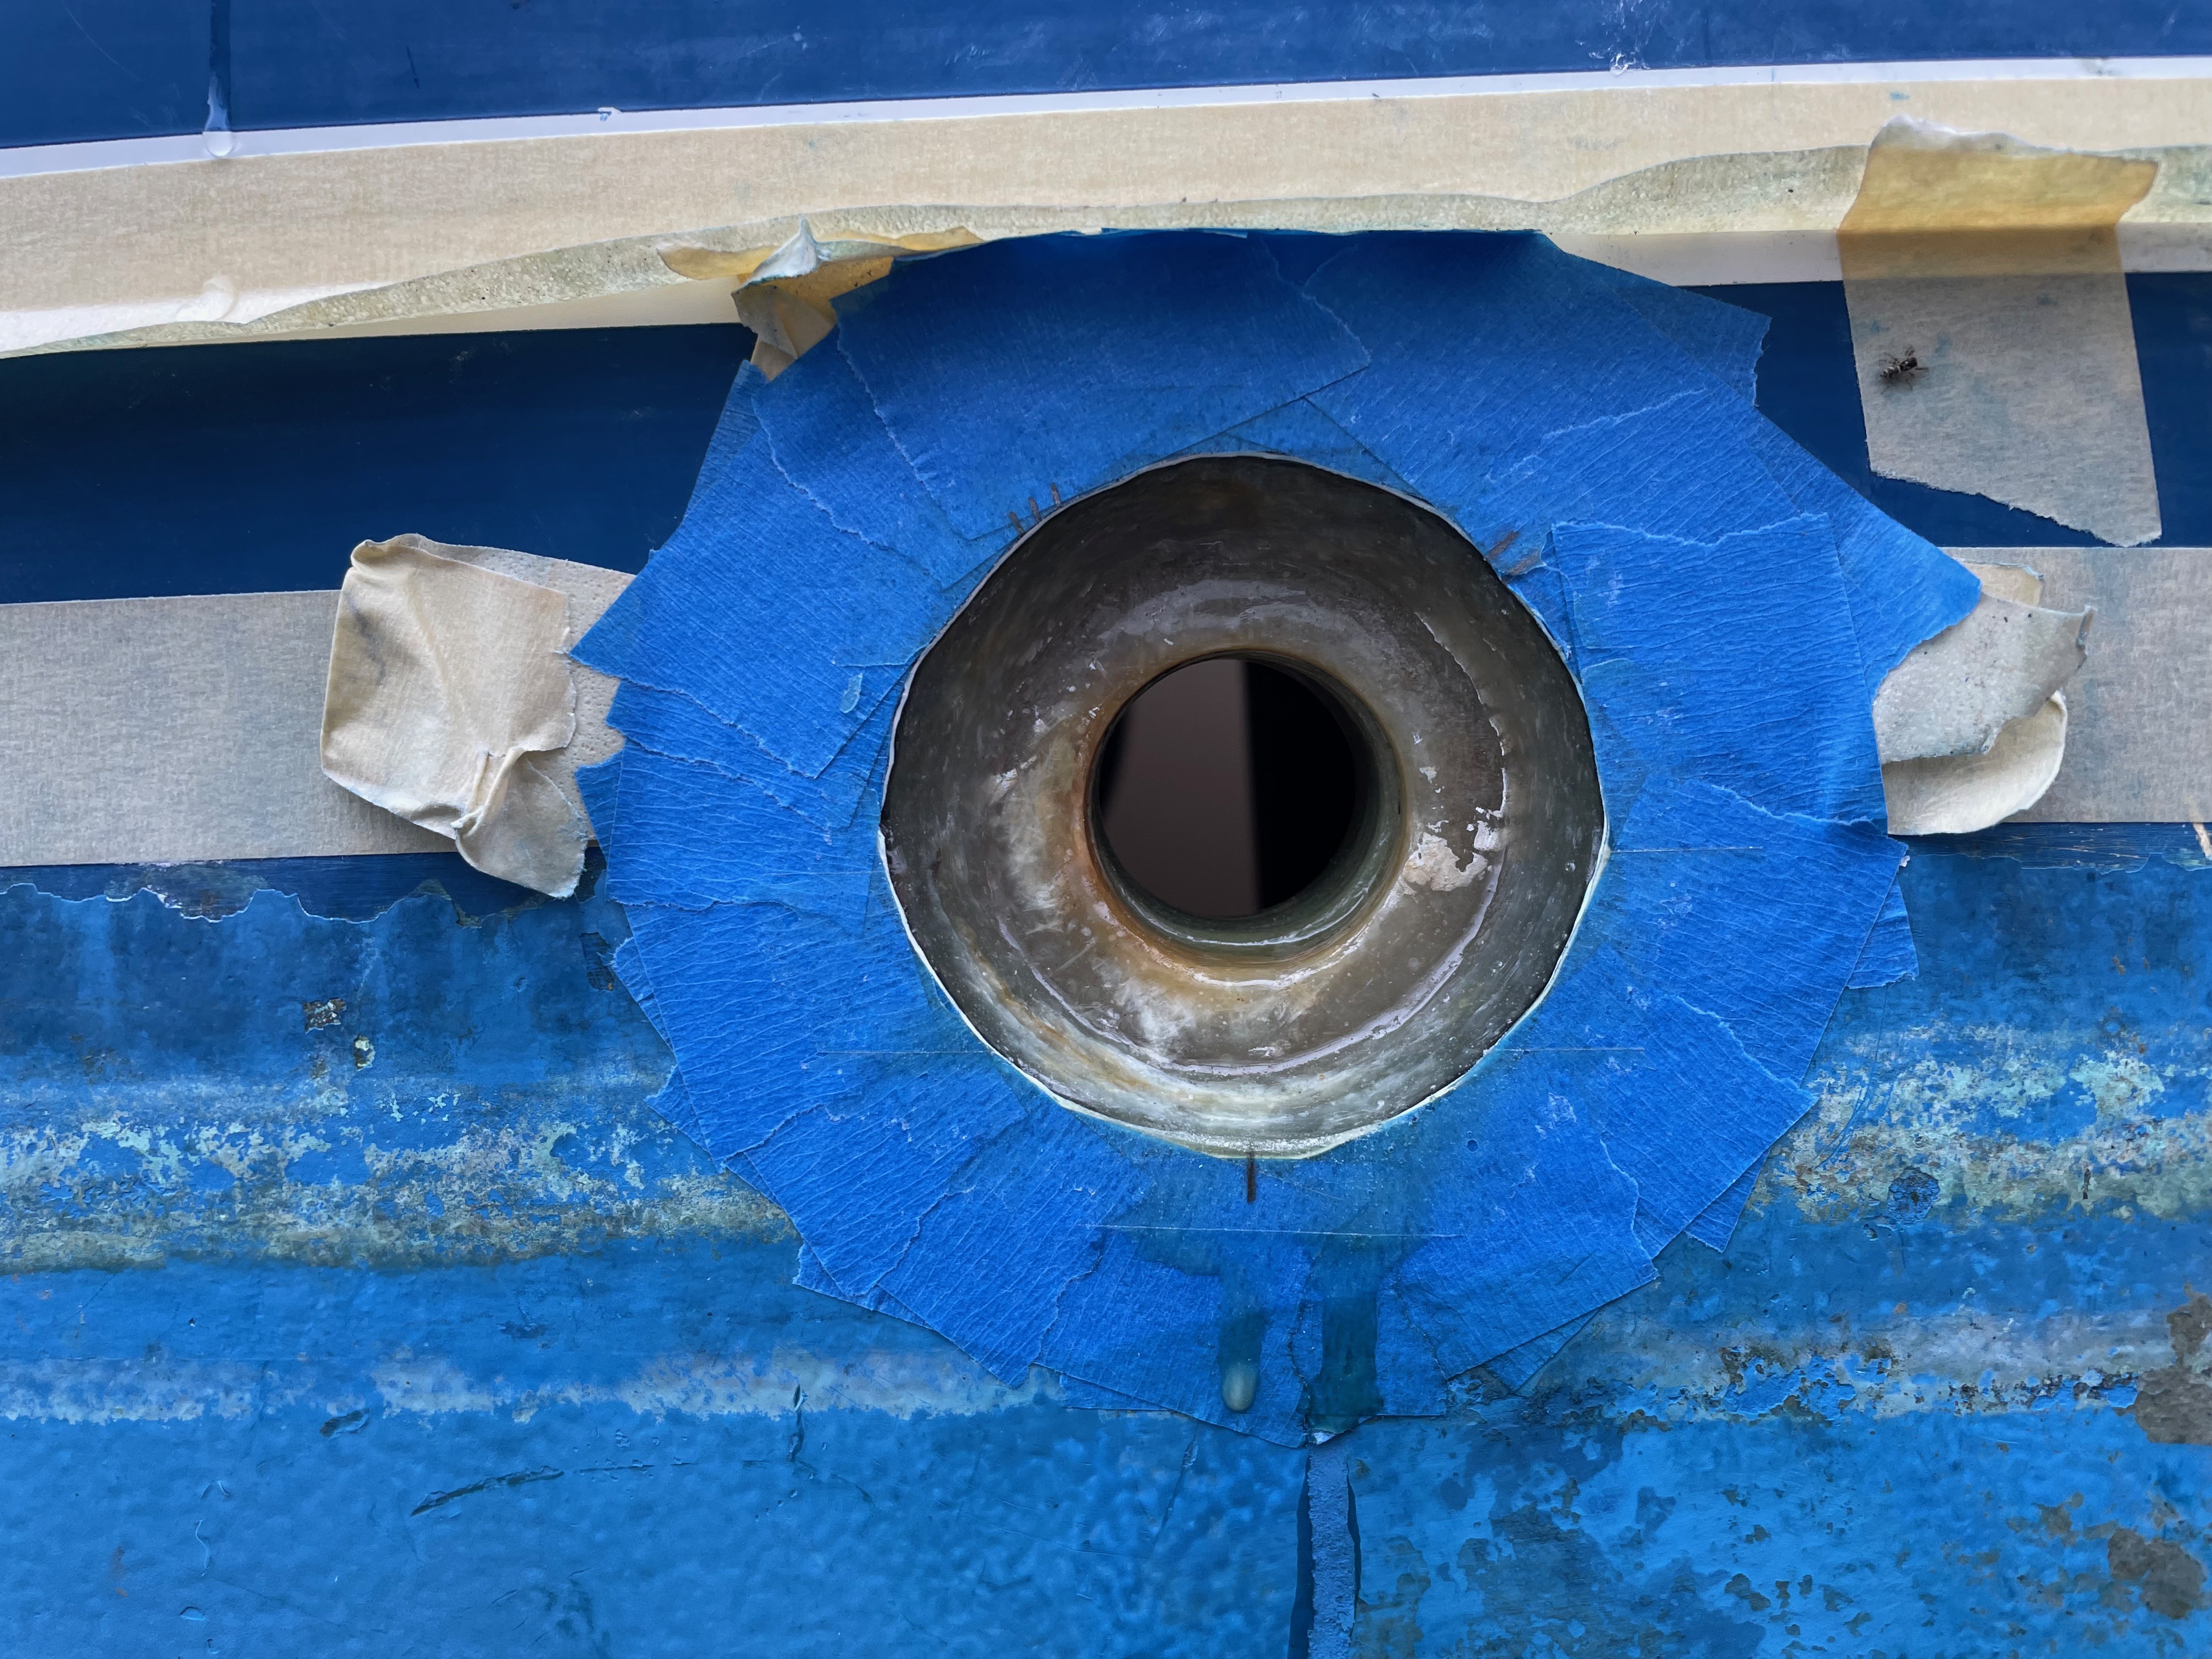
4. Test fit, adjust
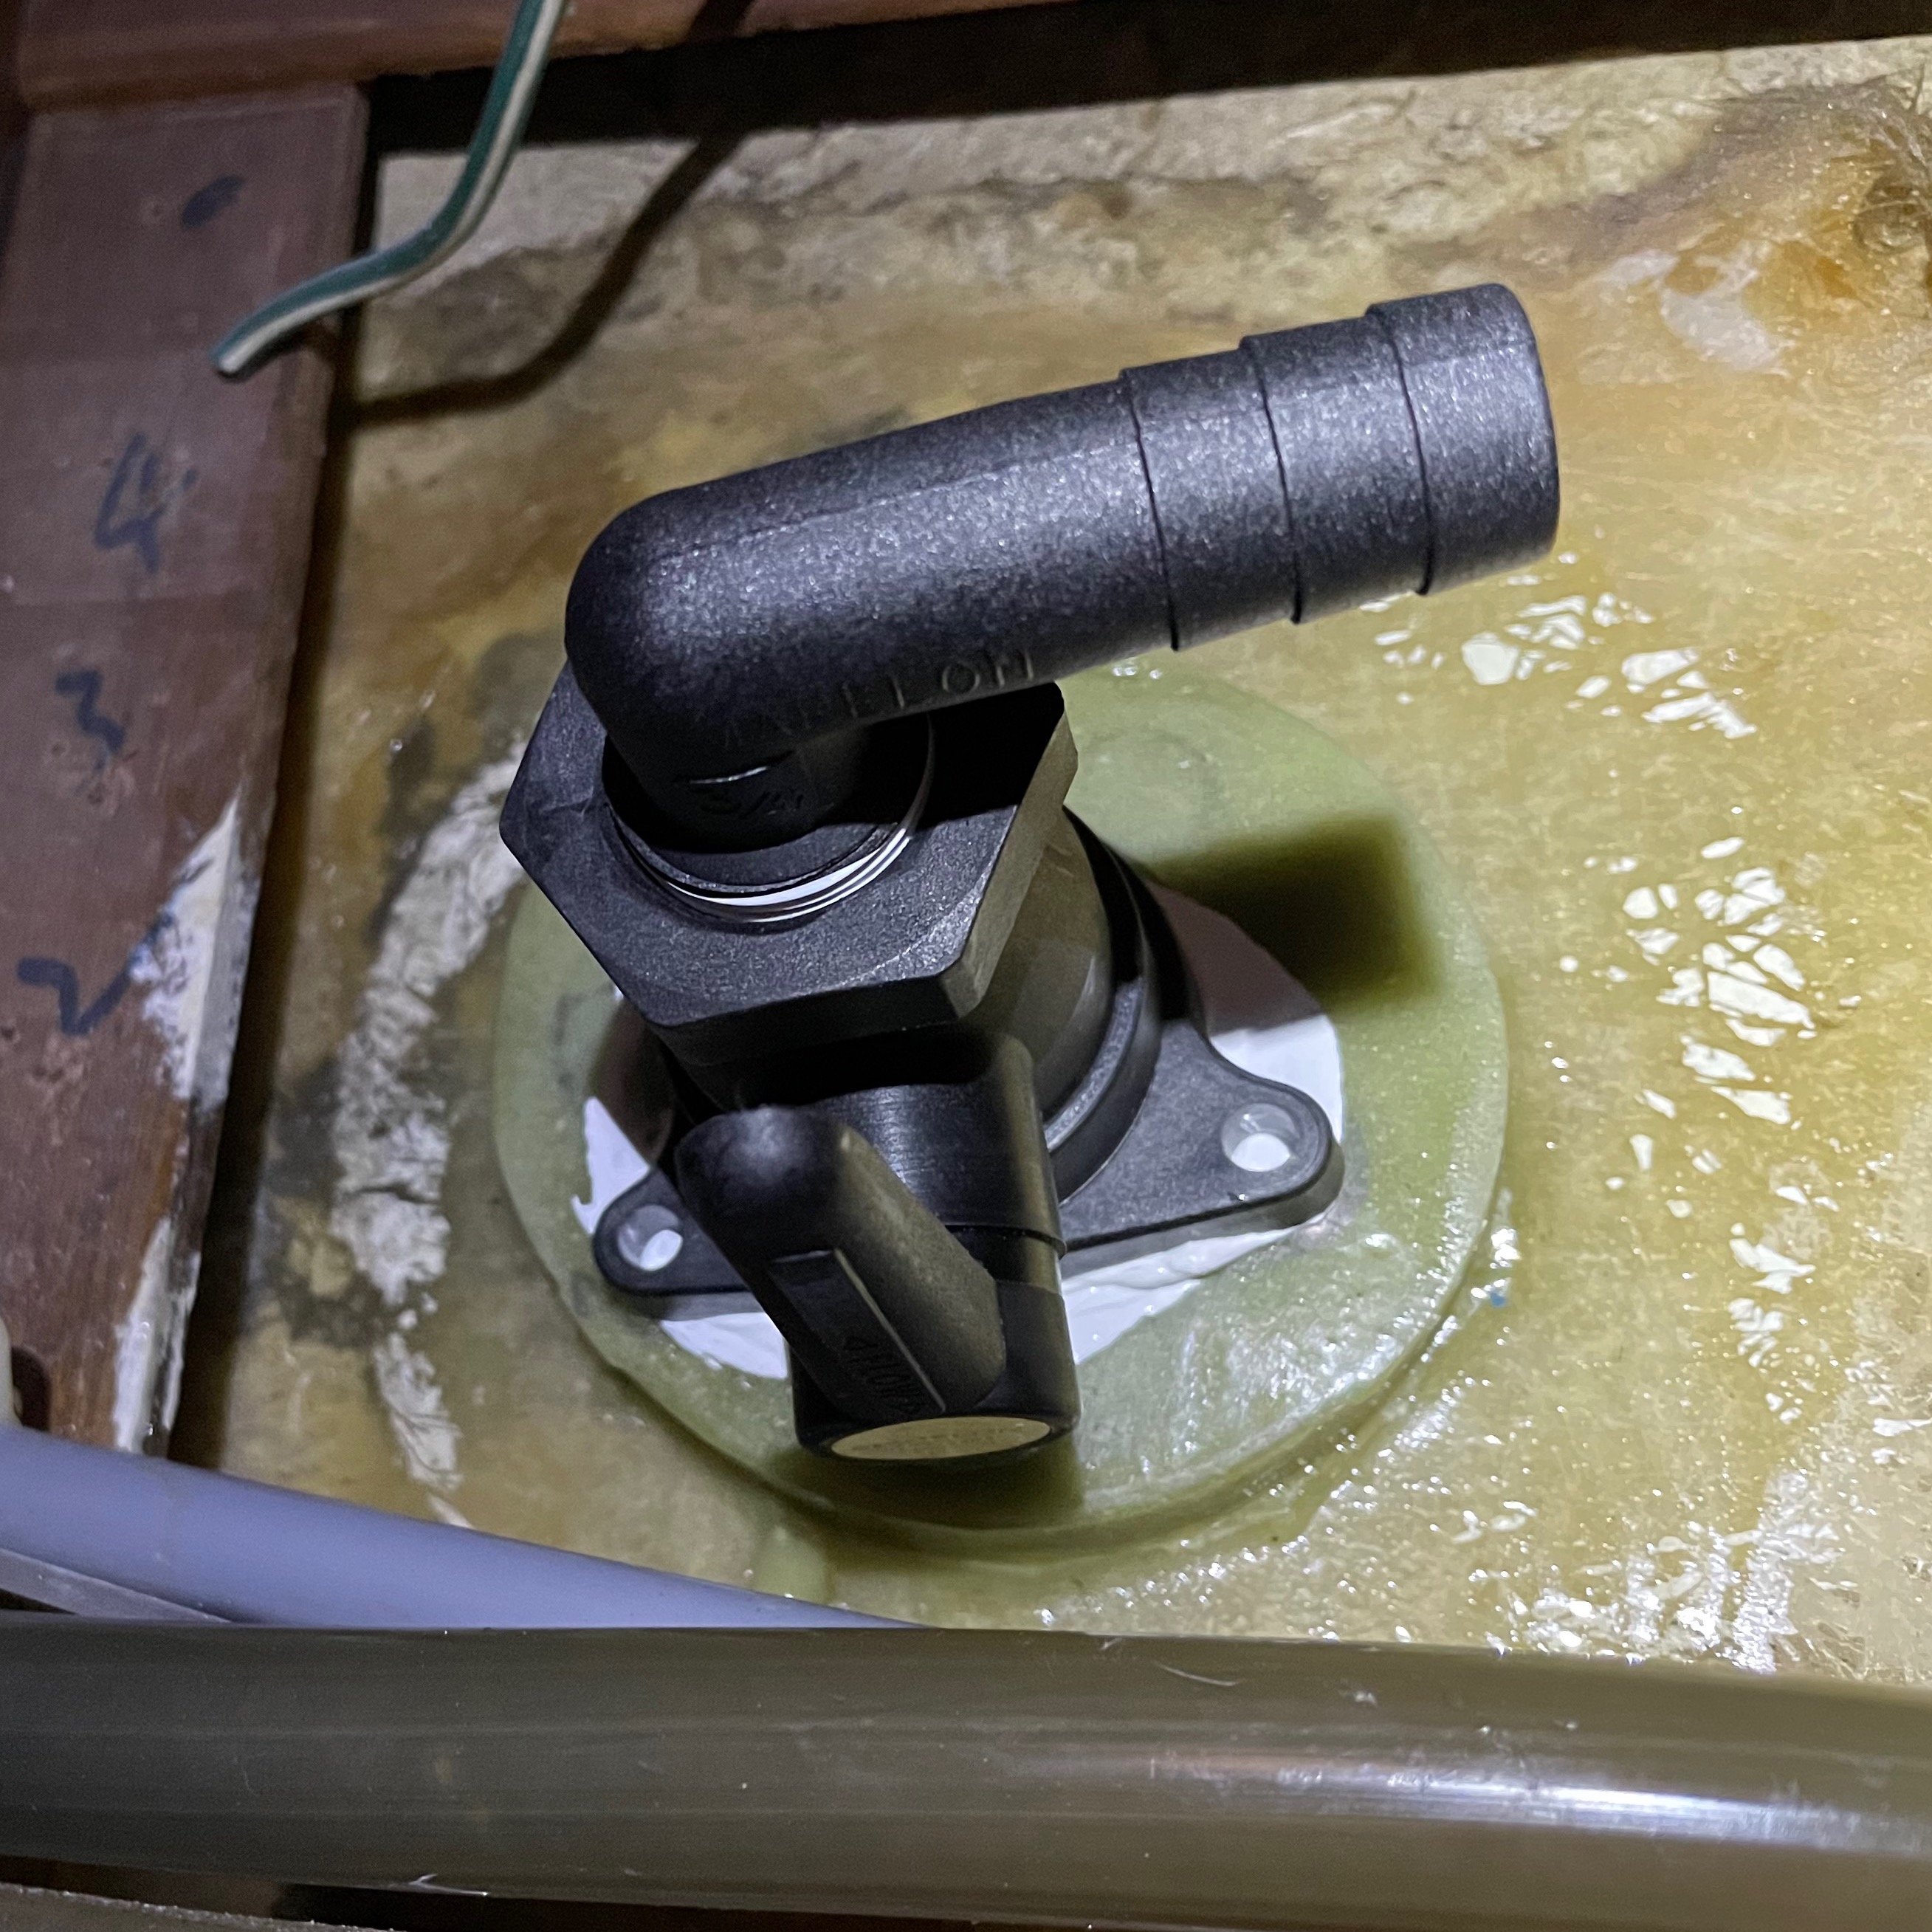
In this step, we had to cut down the thru-hulls to fit correctly. The standards say we needed at least 5 full rotations when threading the thru-hull into the seacocks. We ended up with about 8 for the shower drain, and around 12 for the cockpit drain, so these connections should be pretty strong.
We also had to finish sanding off the epoxy backing plate so that the seacocks would lie flat against the backing plates when connected.
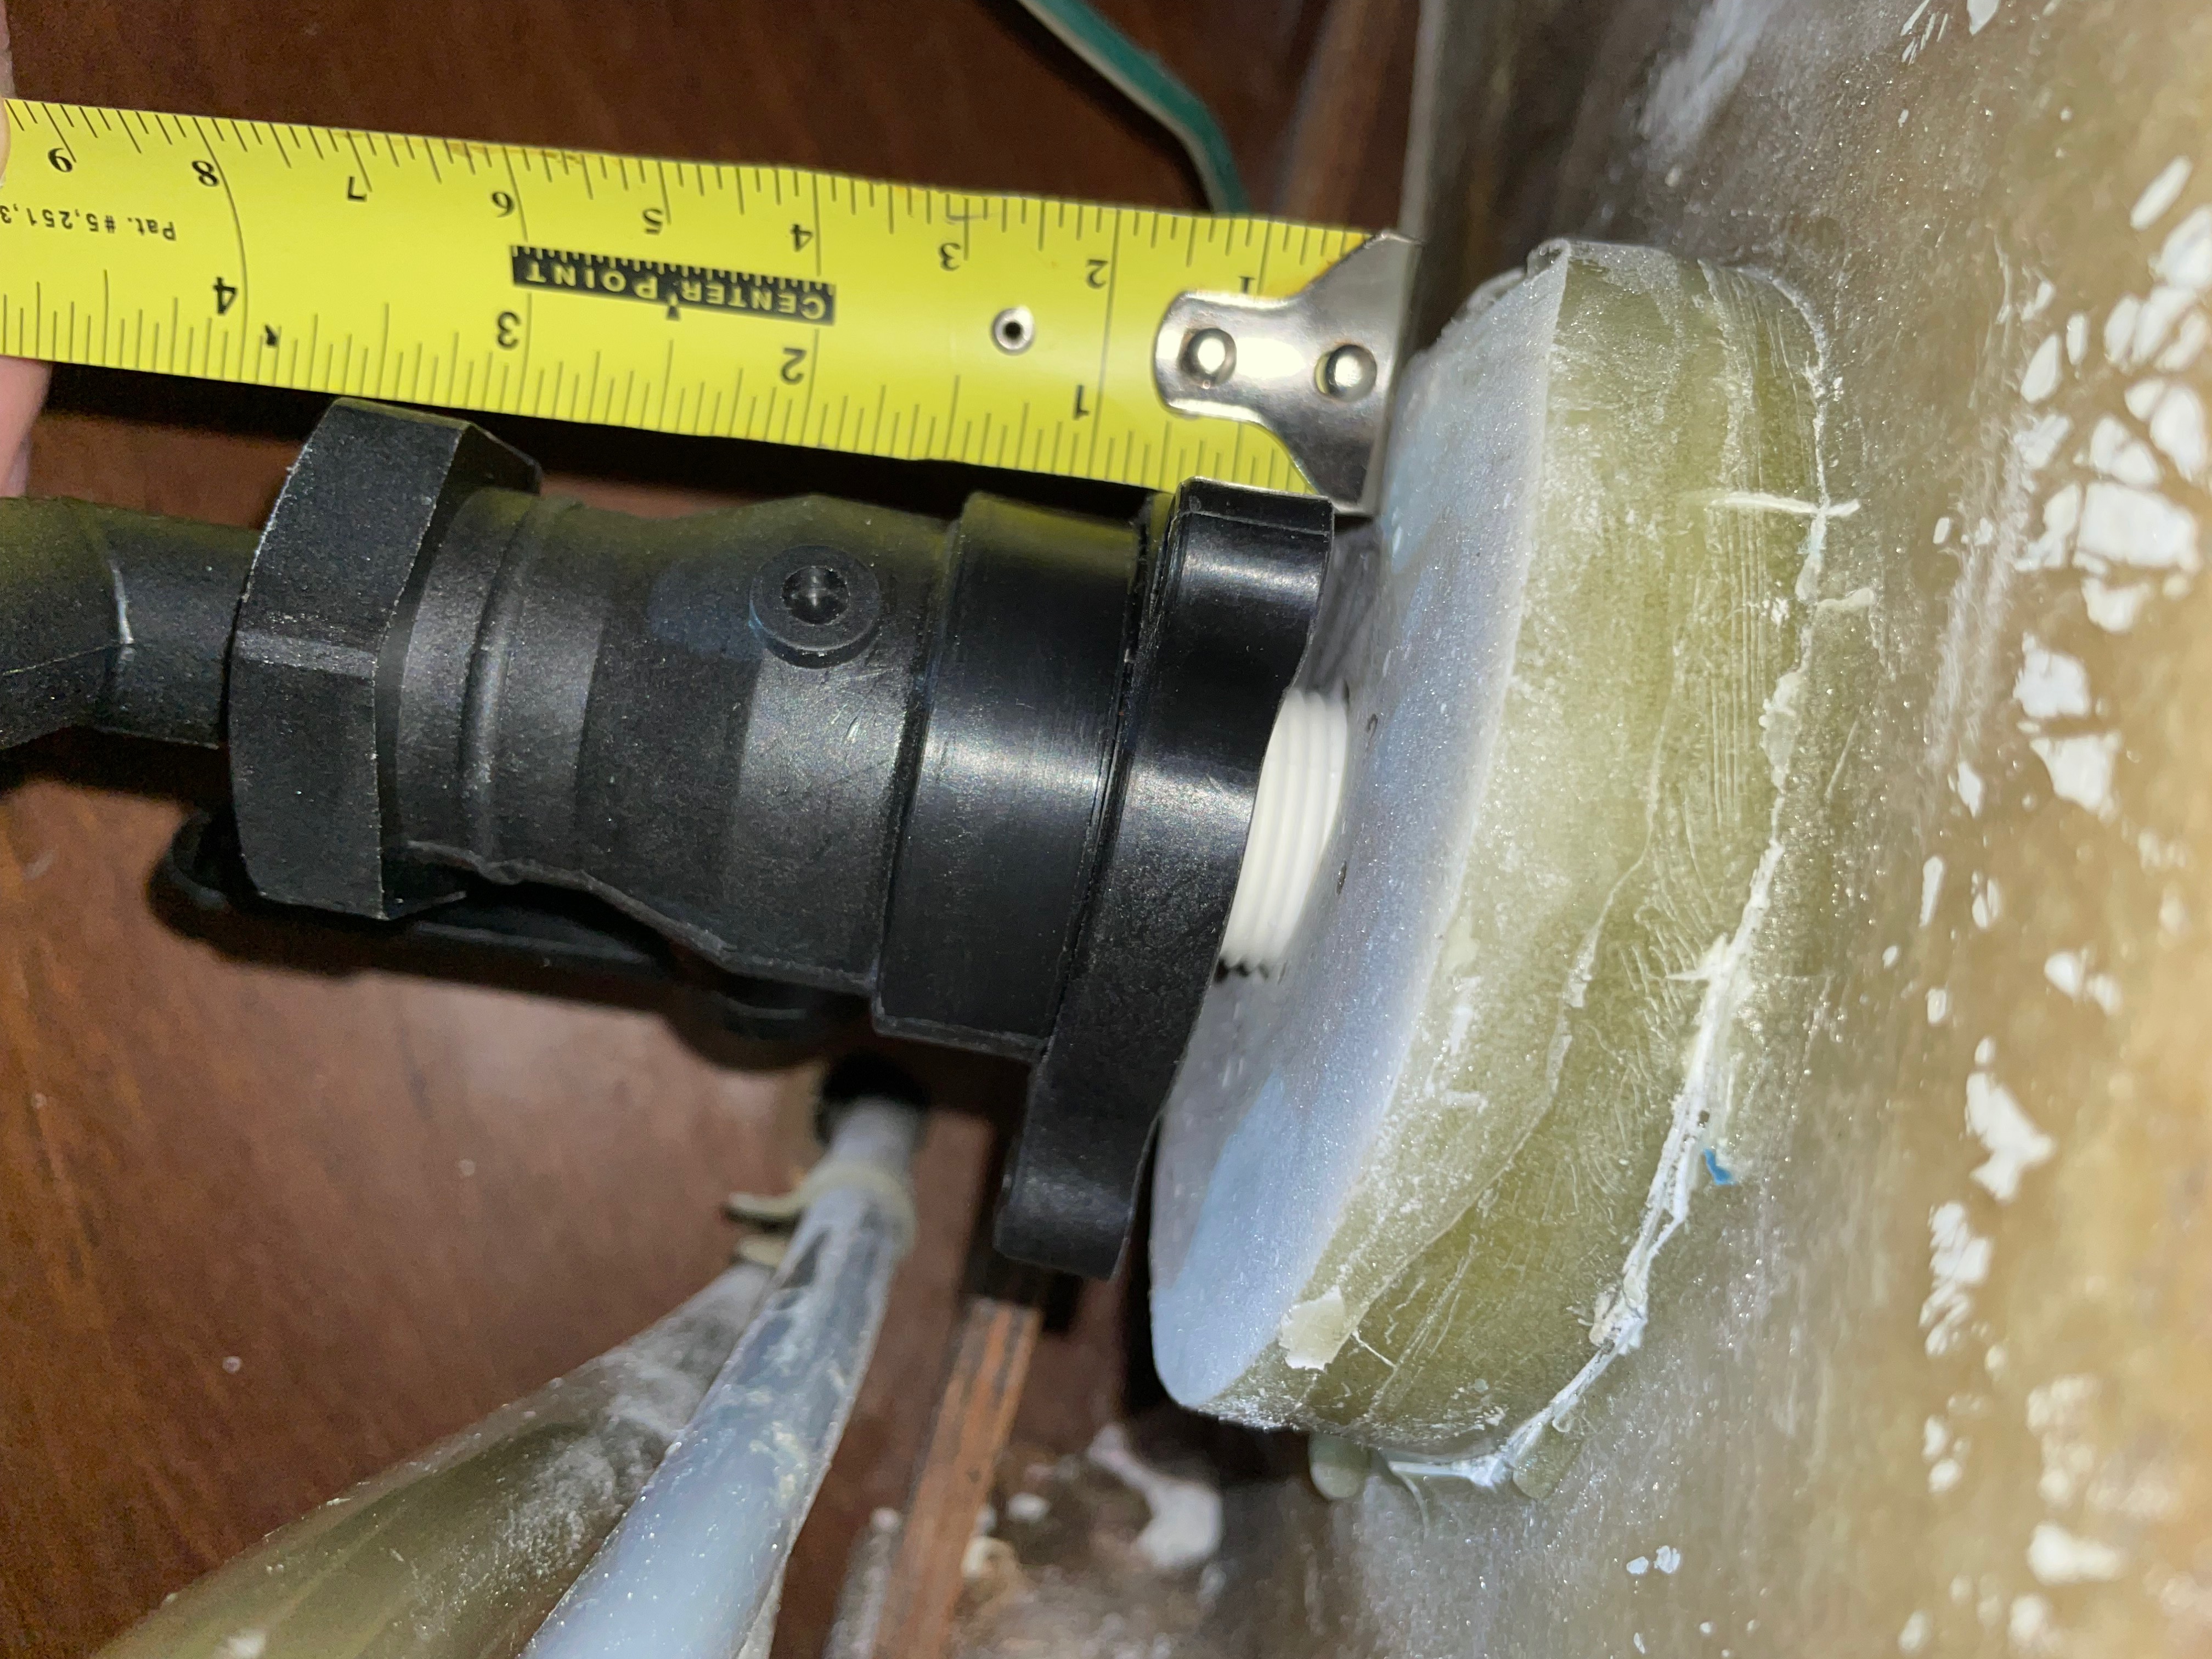
You can see in the picture above how more of the second batch of thickened epoxy went to the “top” of the backing plate.
5. Final coat epoxy for protection
With everything measured and test fit, we decided to add one final layer of epoxy to the whole thing, just to make sure it has sufficient protection from the water.
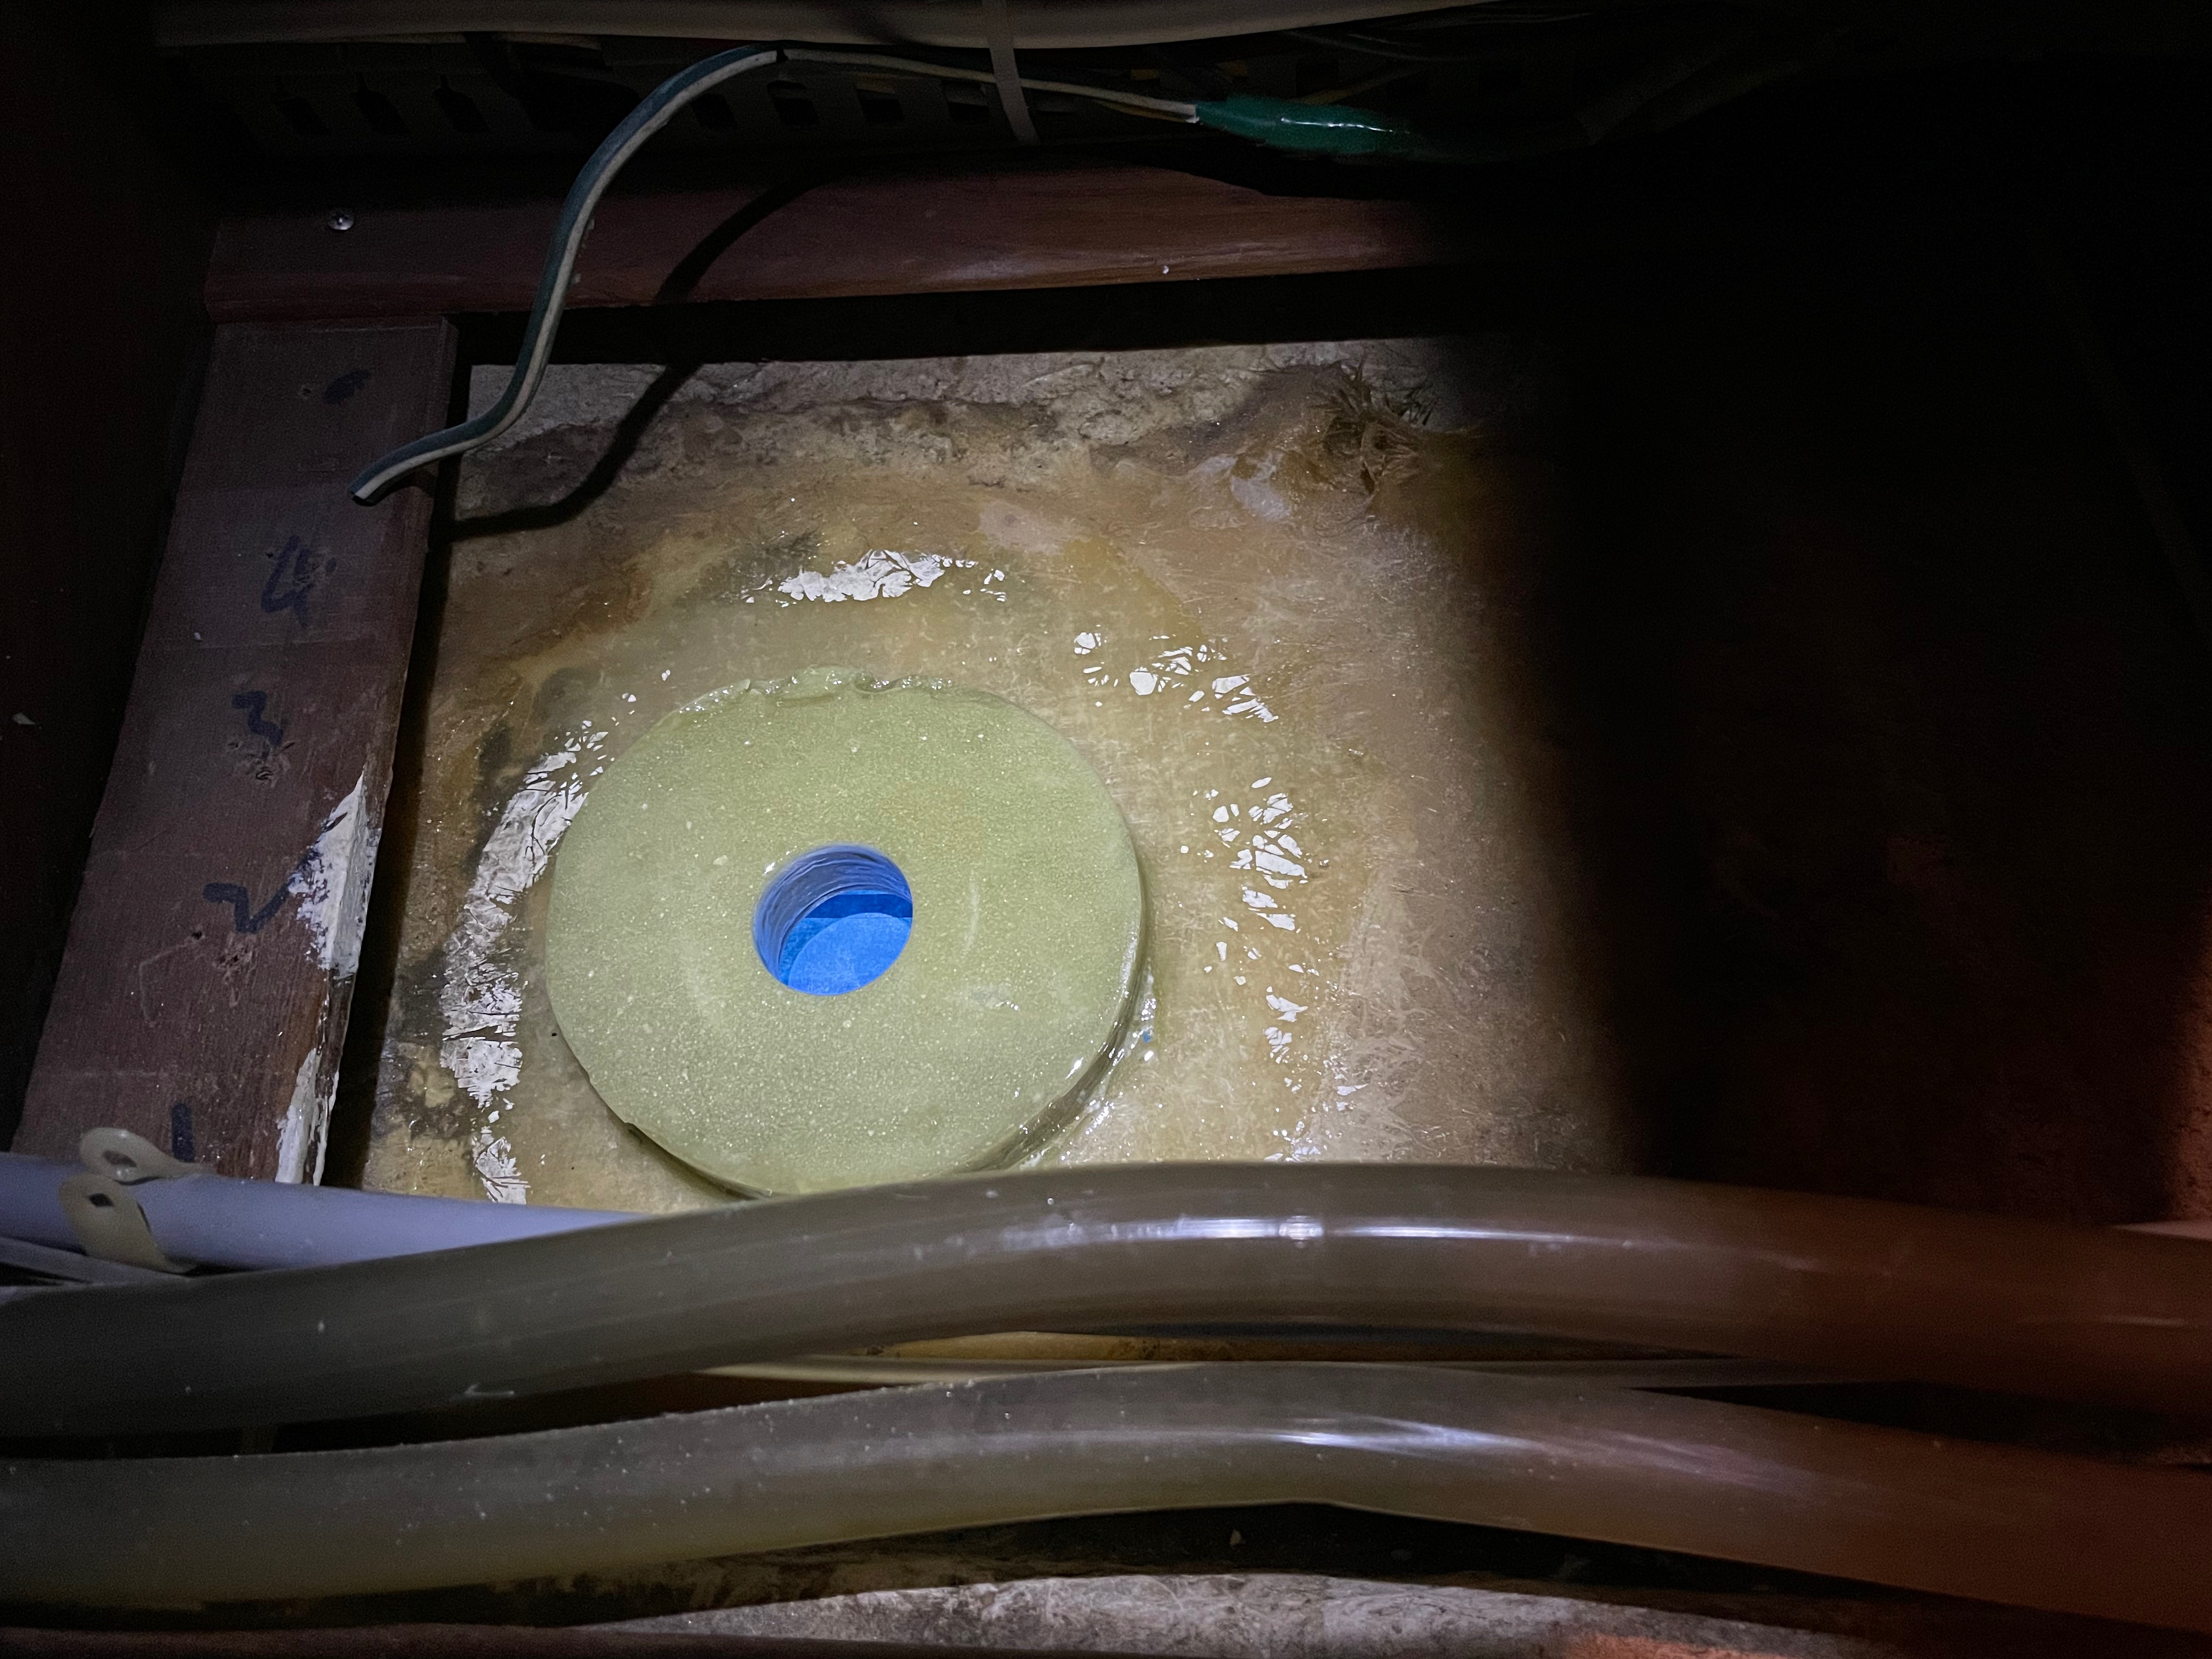
6. Install with strong adhesive sealant (3M 5200 or similar)
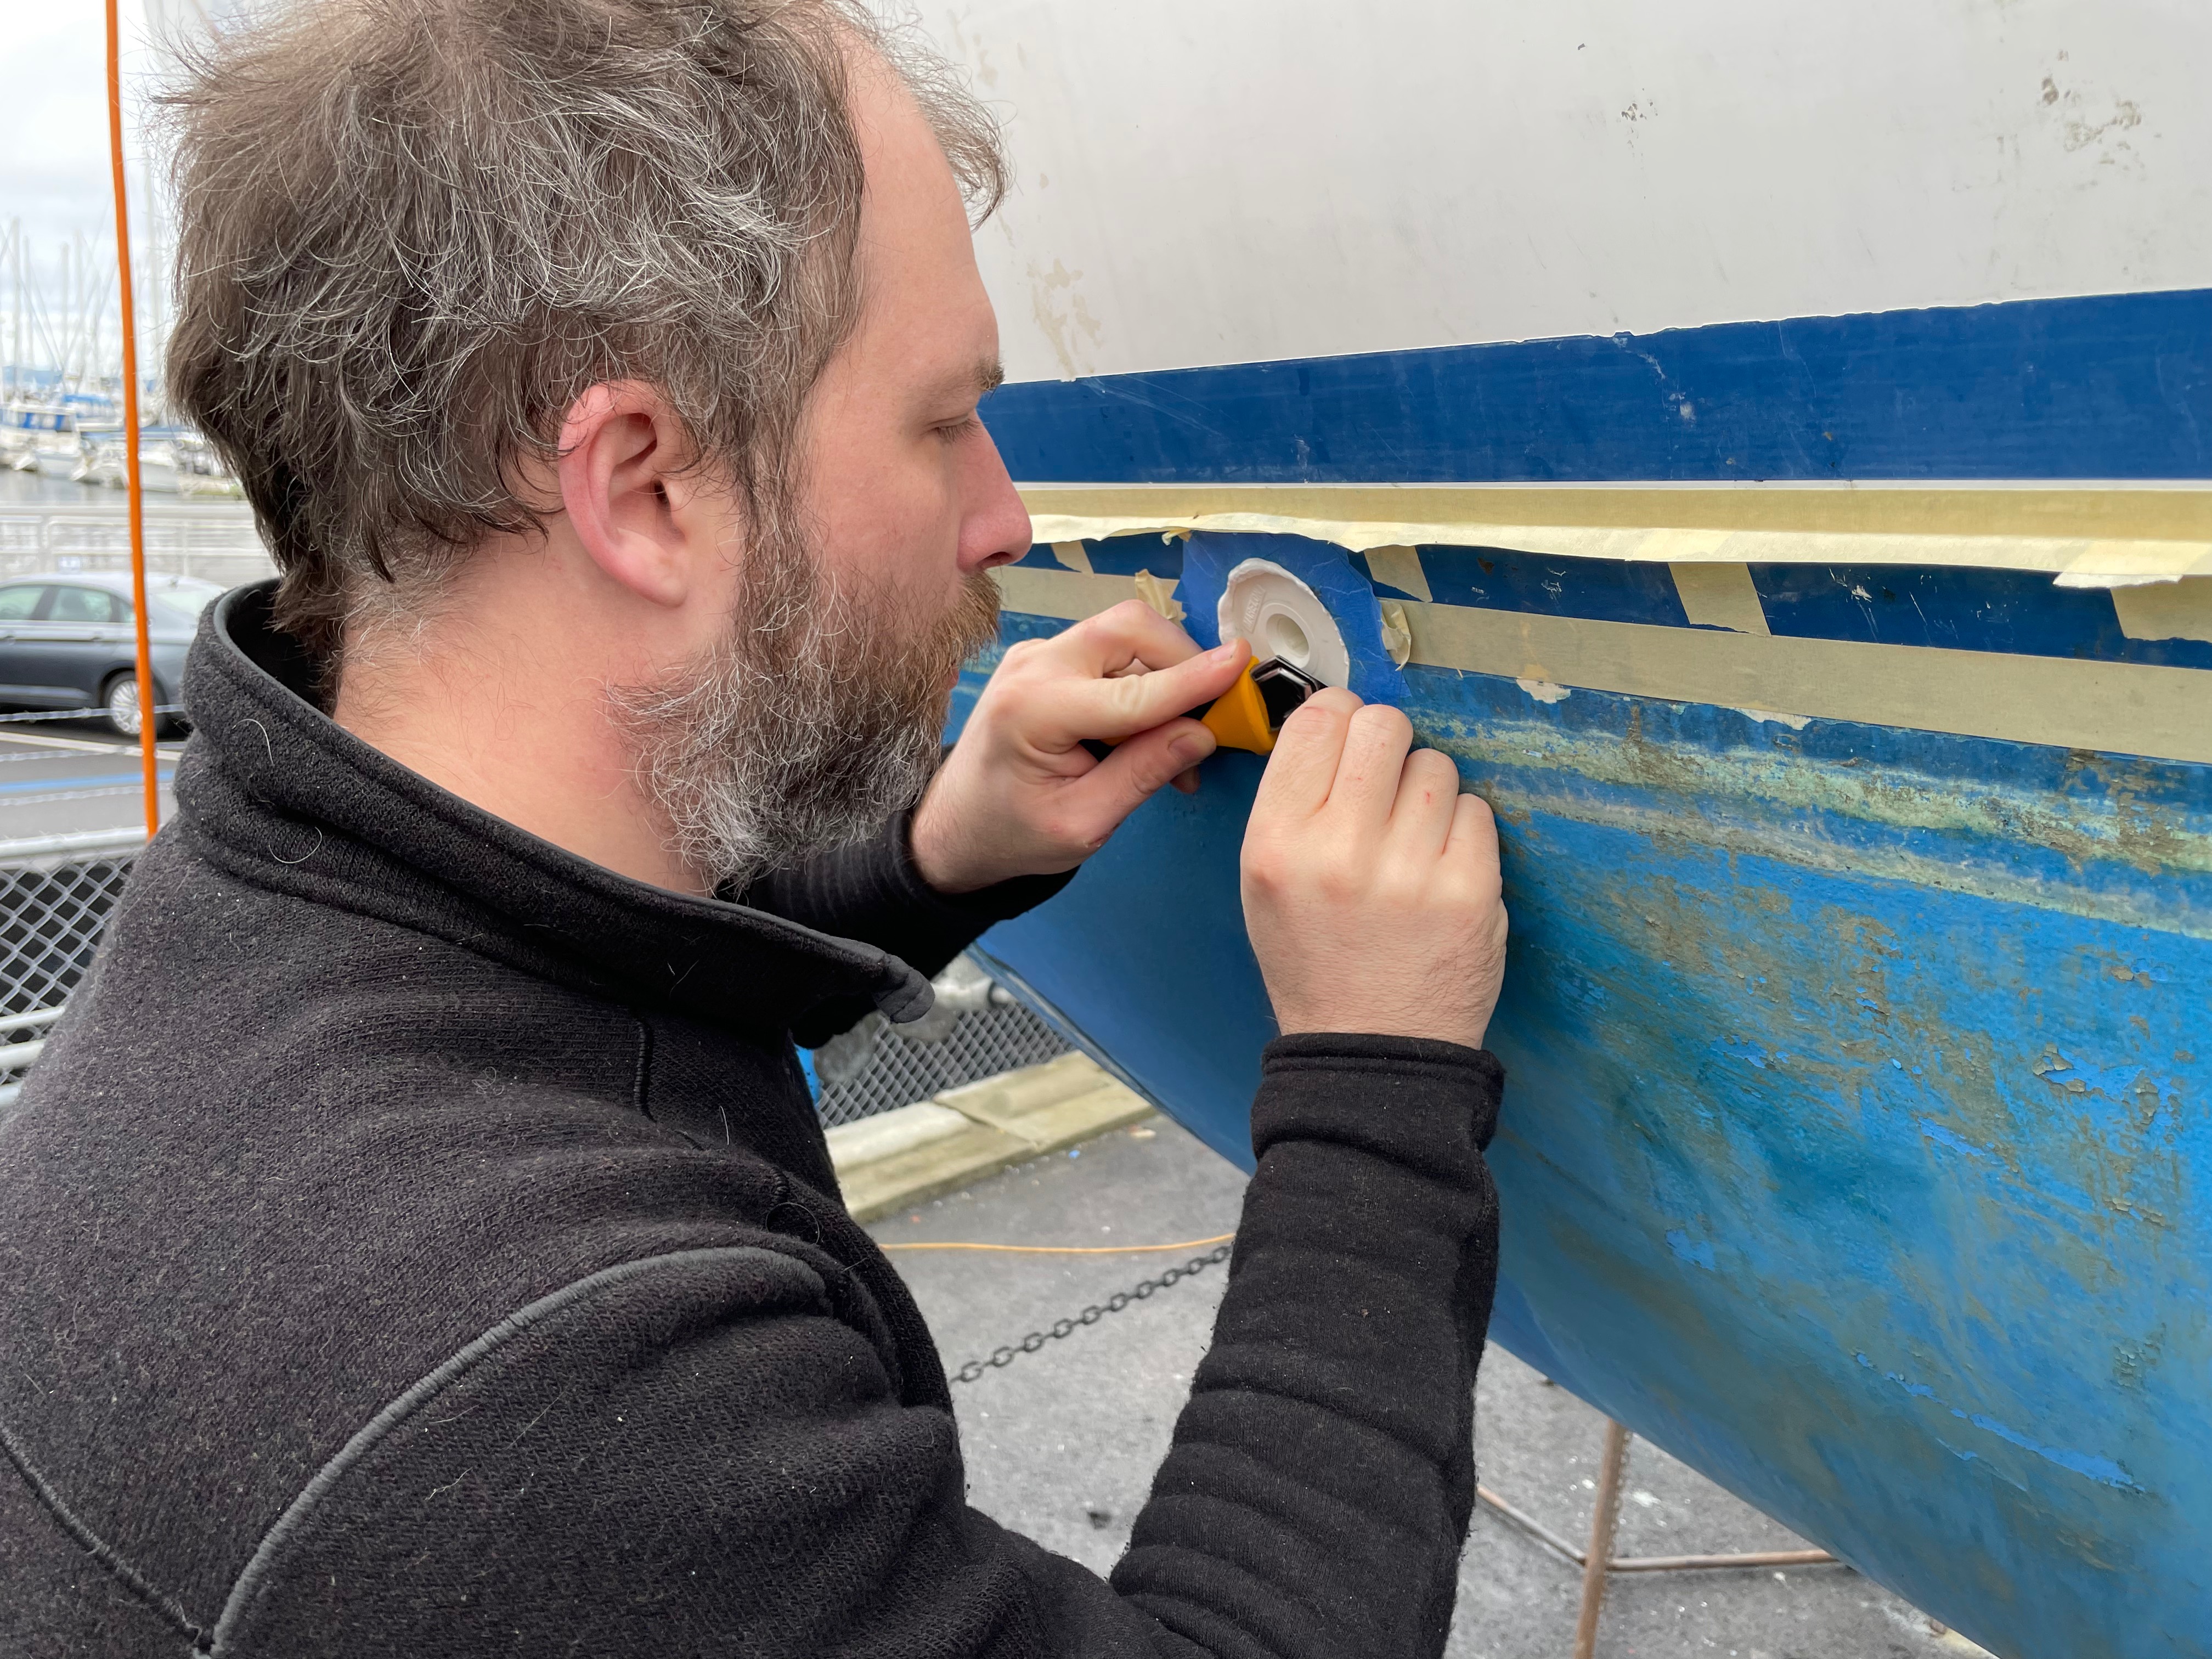
Finally, the time had come to apply a strong adhesive sealant, and attach the two fittings through the hull.
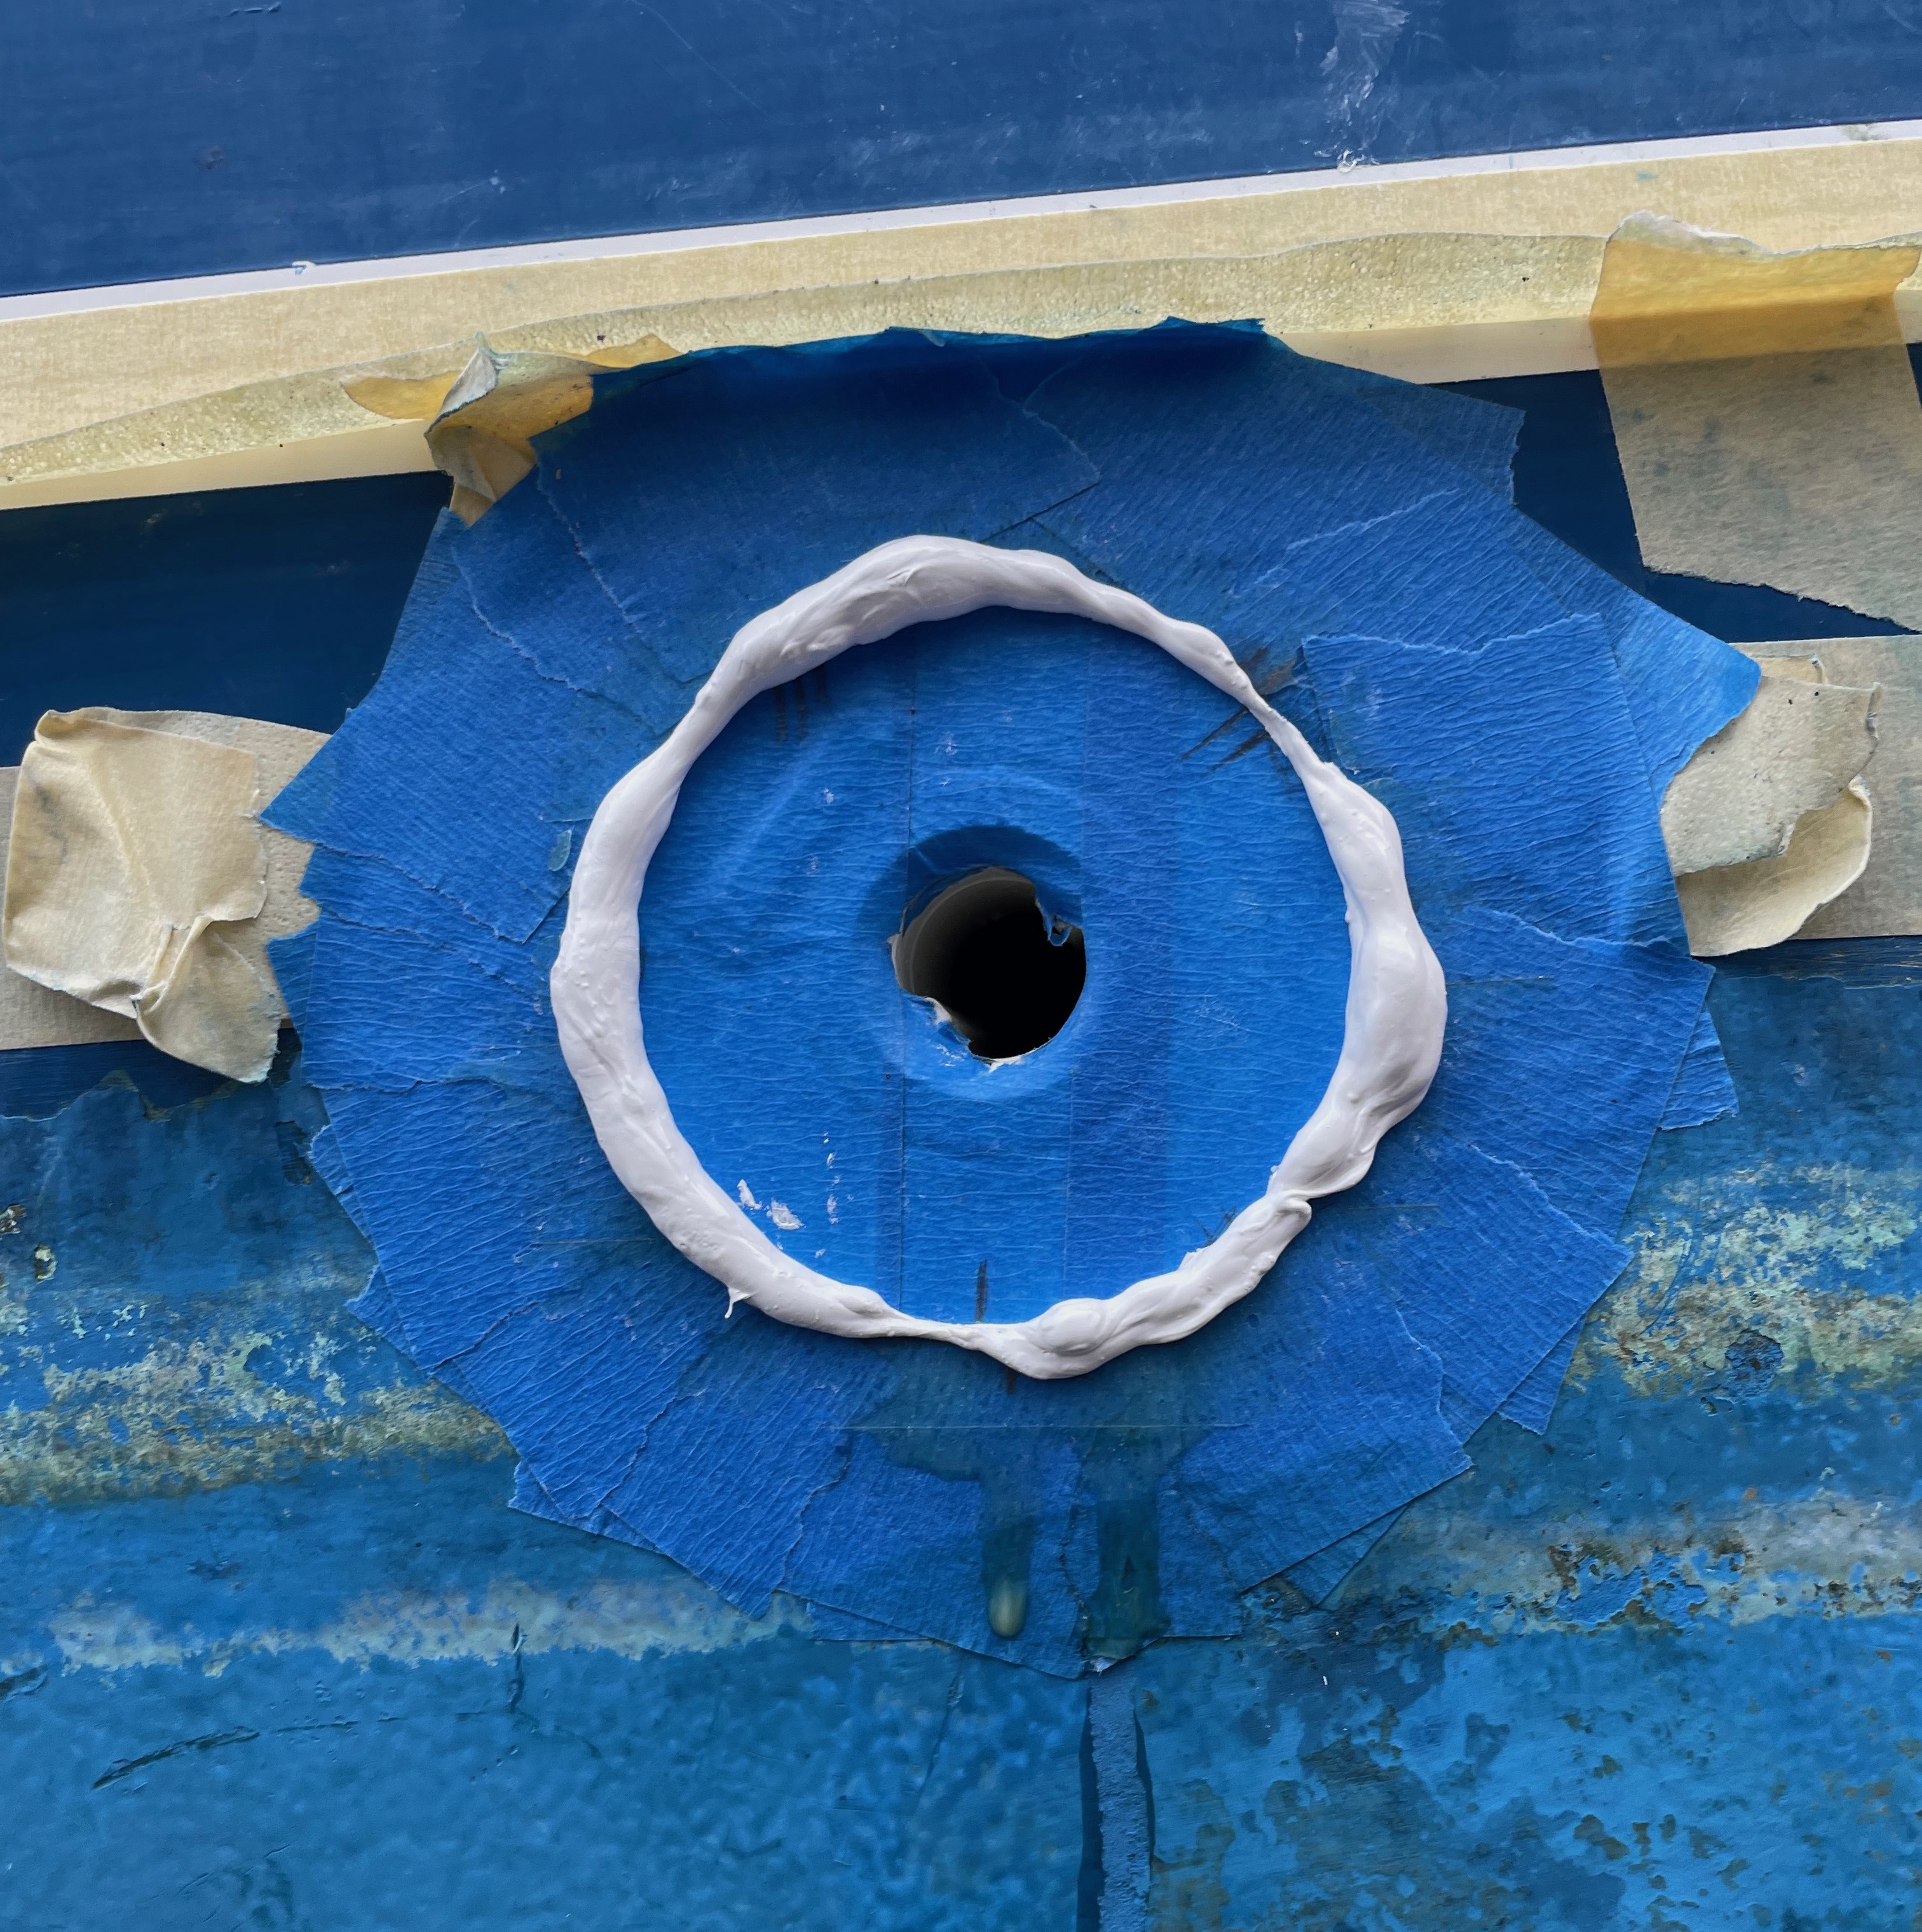
We used the fast-curing kind, so 24 hours later, we were able to cut off the excess, finishing the work on the exterior.
Final thoughts
It’s truly amazing how much time we spent setting up molds, sanding and prepping surfaces, and crawling in and out of the tiny compartment in the stern, and how little time the actual epoxy laying and sealant applying process took. The final sealant application took about 15 minutes each.
In the end, Shane and I are proud of how these turned out, especially since we’ve never done anything like this before. We still have to hook up the tubes (the tubes for the cockpit drains are unwieldy) and finish putting everything together, but we could technically go back into the water now if we had to.
The painting started on the boat this week, and next week we’re going to have the yard drop the rudder to diagnose the issues with our stiff helm - but with any luck, we’ll be back in the water late next week. In the meantime, there are plenty of other projects to keep us busy.