Mechanical Maintenance - And How!
Post written by Shane,When we first inspected Ripley we found that some winches weren’t operating very smoothly, and some seemed to be outright stuck. I wasn’t particularly worried about this as I have a bit of mechanical aptitude - mostly picked up from being around my Dad and working with him on various projects. I figured we would just service them all and see what’s what. Worst case, we have to buy a couple winches, right?
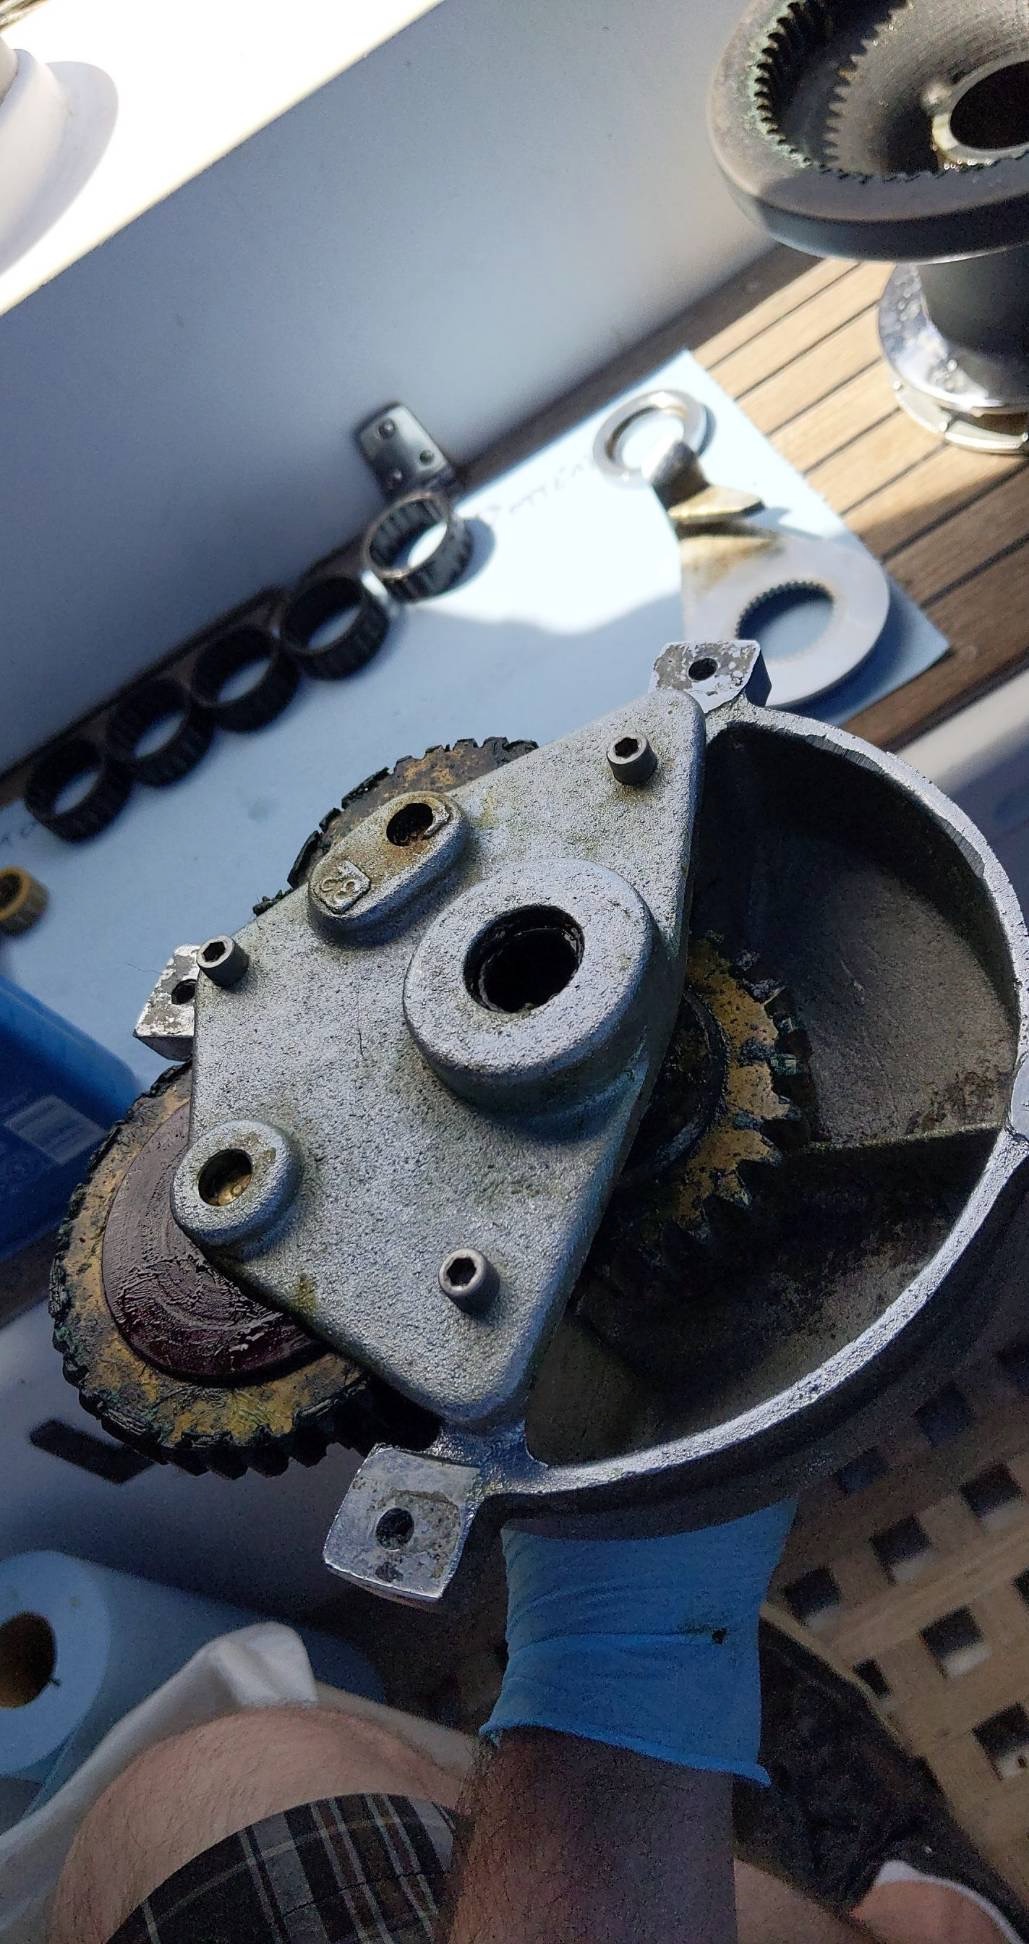
For me, the trickiest part of winch maintenance was figuring out how to get them apart. On Ripley, most of the winches are the original Barlow winches from ‘83. Originally, they came with a winch tool which slotted into two small holes on the top of the winch and turned the cap off. We didn’t have one of those, so I did a little of research. Turns out, you can just pop a screwdriver in one of the holes and turn the winch handle against the driver’s shaft, and they spin right off.
(insert picture of winch top here)
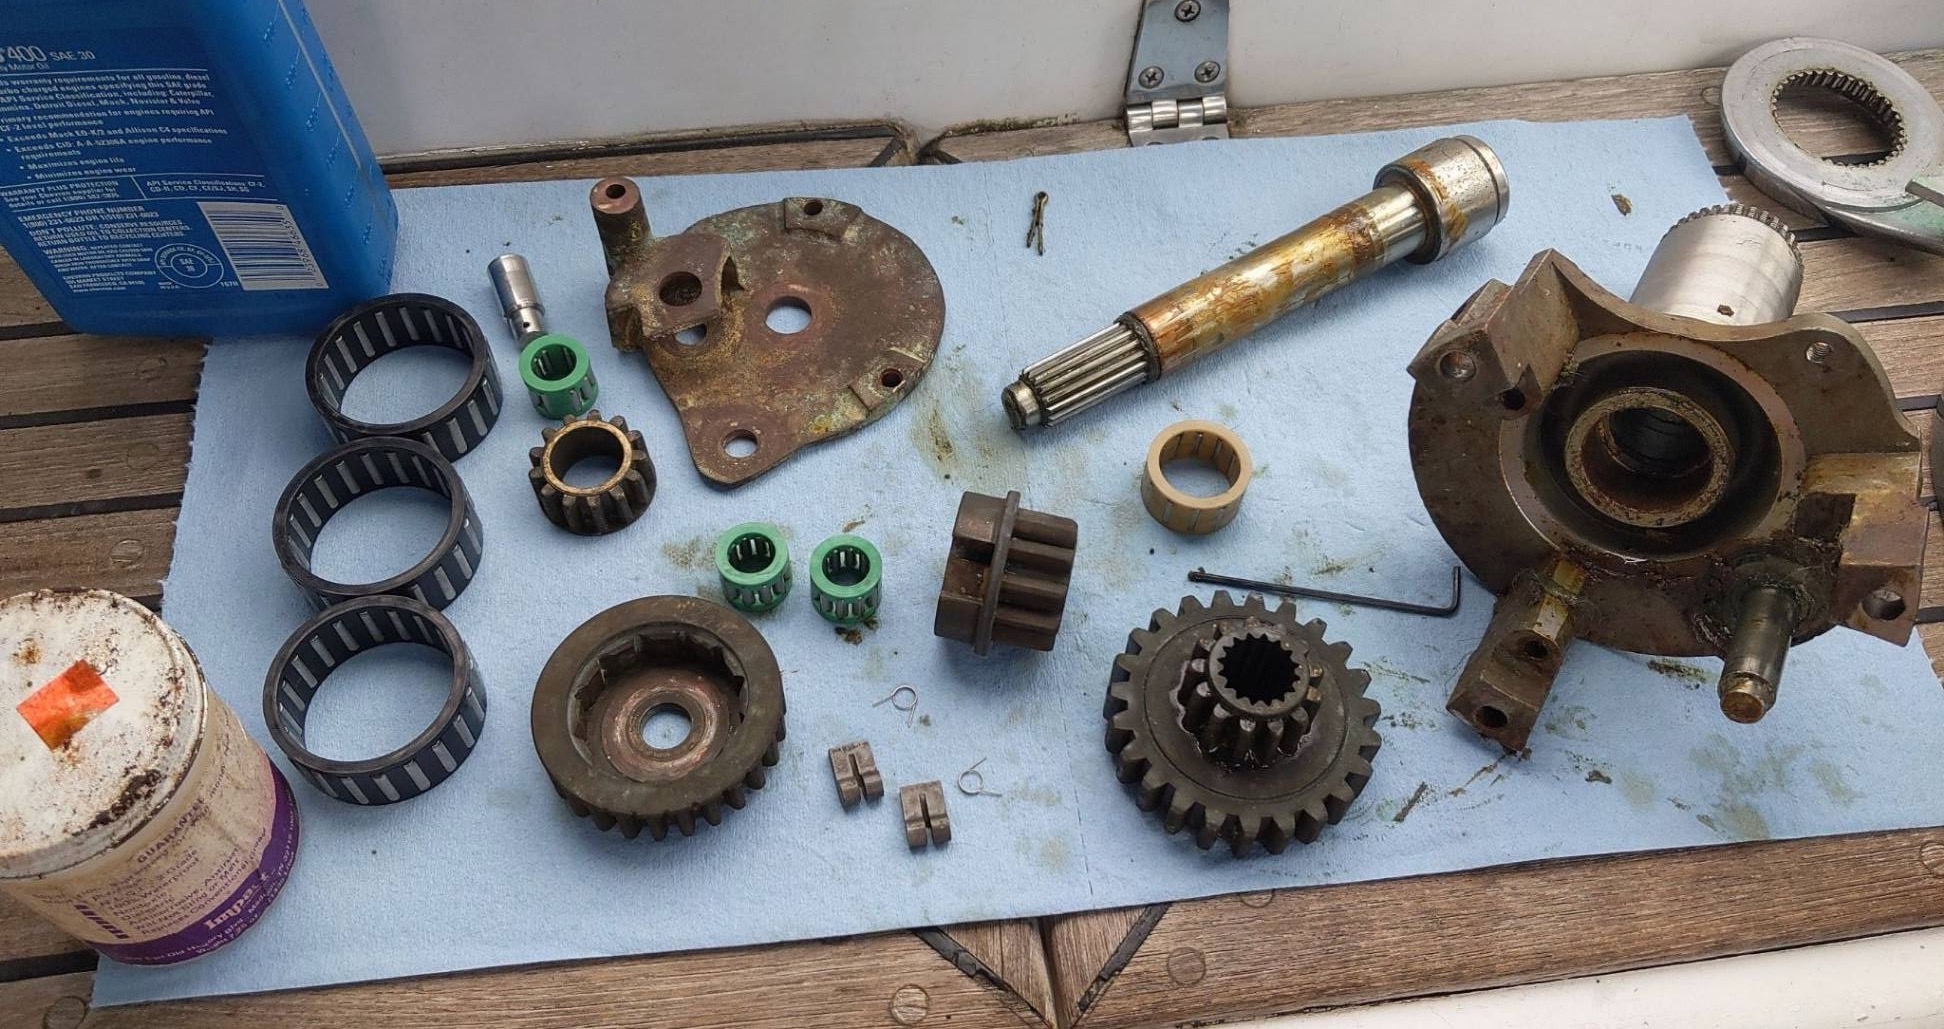
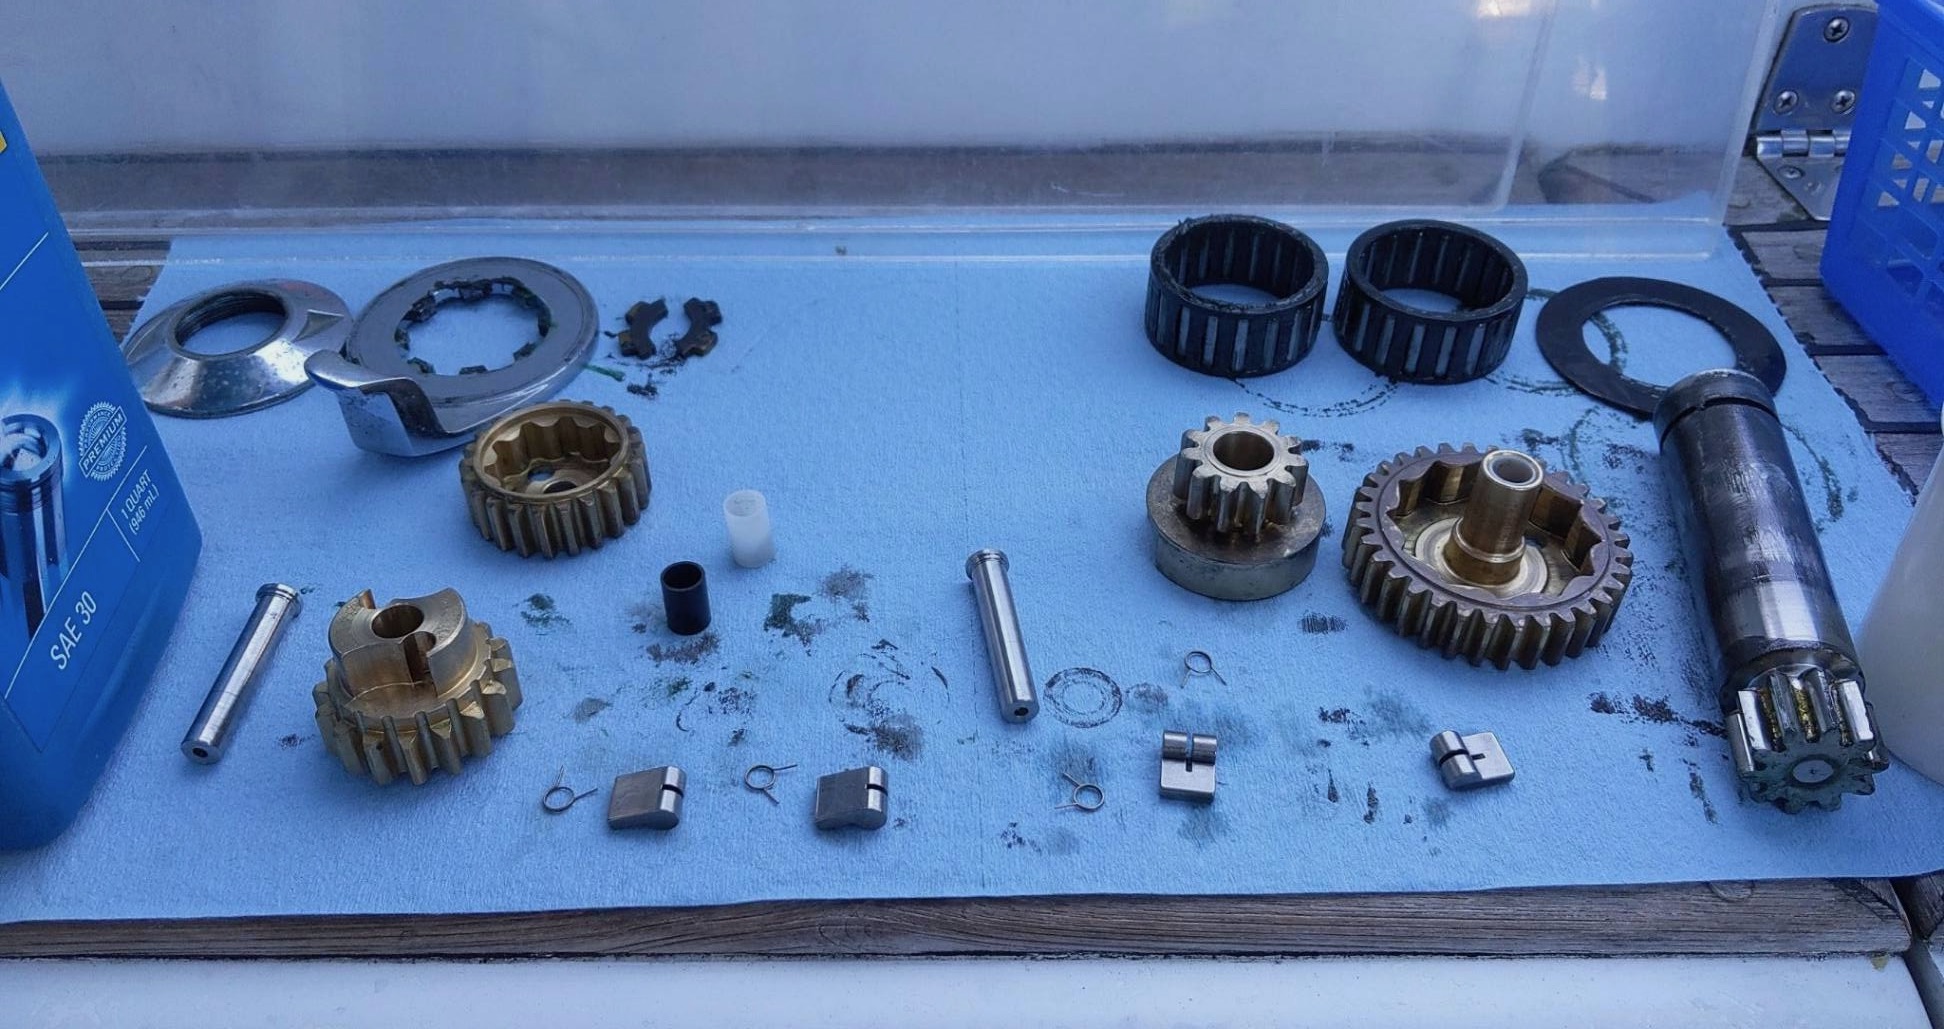
Once I could take the winches apart it became a process of careful disassembly while documenting how everything originally went together. The general rule with mechanical objects that wear on each other is that you want to put them back together in exactly the same orientations as they came apart. I’m sure this is far more important in high wear situations - like pistons in an engine block - but it can’t hurt to follow it here as well.

After disassembly, it was time to clean off all the crusty old grease and other gunk that had accumulated in the winch after years of use. I used a couple tools for this, but the most valuable thing was my pail of mineral spirits - a solvent which breaks down grease. Using this, a pick, a toothbrush, and a couple of brass wire brushes I was able to get all the winch components cleaned up for inspection.


After cleaning, the next step was careful reassembly. This includes proper lubrication of all parts. The two lubricants recommended are grease and engine oil. Initially, I found the recommendation for engine oil to be kind of surprising, but after seeing how winches are constructed it makes more sense. The pawls that allow winches to ratchet are not very large, and the springs that reset them are tiny. Using grease to lubricate the pawls and pawl springs would probably result in them sticking, creating a dangerous situation if it were to happen to both pawls at once. Imagine your main sheet winch breaking loose on a beam reach in 40 knot winds.
So the rule of thumb was to put a light coat of grease on all contact surfaces, properly pack all the roller bearings, and coat the pawl and pawl spring surface areas in engine oil. This was done as I reassembled the winch one piece at a time.
I did find a couple of issues with the winches. A couple of pawl springs were damaged and needed to be replaced. The Barlow website had springs and pawls available for sale, but I was impatient. After a bit of research I learned that nearly all winches use the same size pawls and similar springs. Armed with that information, I headed to West Marine and bought a Harken winch rebuild kit - basically a small box of pawls and springs.
One winch also has a pawl that didn’t seem to be properly rotating back from spring pressure alone. For now, we’ve just decided not to use that winch - we have plenty in the cockpit. On another winch, one of the roller bearings had come apart. Luckily I was able to find all the pieces and press it back together.
In the end, Marissa and I serviced all 8 winches. Five cockpit winches, two deck winches, and a boom winch. They all feel much better to use than before, so we consider it a job well done.